Getting started with the Amazon Mechanical Turk Requester UI
Follow the steps in this topic to get started with the Amazon Mechanical Turk Requester UI.
Step 1: Create an account
To create an Amazon Mechanical Turk account, or sign in, go to the Amazon Mechanical Turk Requester
To create an account, choose Create an Account and follow the on-screen instructions.
To sign in, choose Sign In: Requester and follow the on-screen instructions.

After you have signed in using your Amazon Mechanical Turk account, you are ready to use the RUI. The RUI makes it easy to create a Human Intelligence Task (HIT) template, publish HITs, manage batch results, and manage workers.
Step 2: Create a project
You must create a Mechanical Turk project before you can create a batch of HITs. The Mechanical Turk project contains the HTML of your HIT page as well as metadata about the HIT, called HIT properties, such as the HIT name, title, reward per response and expiration date. To create a project, start with one of the provided sample project templates and customize it. Mechanical Turk offers templates for common tasks, and they are a quick way to get you started. During the Step 4: Create the design layout step, you can edit the template to meet your needs.
Templates
Some of the templates you might find include:
Survey Link
Survey
Image Classification
Bounding Box
Semantic Segmentation
Instance Segmentation
Polygon
Keypoint
Image Contains
Video Classification
Moderation of an Image
Image Tagging
Image Summarization
Sentiment Analysis
Collect Utterance
Emotion Detection
Semantic Similarity
Conversation Relevance
Audio Transcription
Document Classification
Translation Quality
Audio Naturalness
Data Collection
Website Collection
Website Classification
Item Equality
Search Relevance
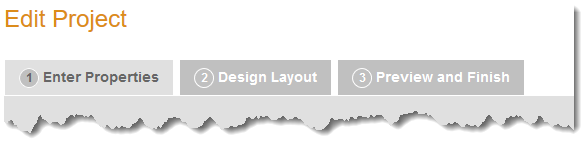
After selecting a template, there are three steps needed to complete creating the project.
Step 3: Enter properties
In Section 1: Describing Your Project to Your Workers, enter the following information:
Project Name – This is for your own reference and will appear in your project list. It will not be shown to workers. It is filled with a default value, but you are encouraged to change it to something more descriptive.
Title – The title of the HIT that is displayed to workers. Be specific about the task. For example, use "Tag landmark images" instead of "Tag photos."
Description – Search uses the description you enter here, so use words you think will help Workers find your HITs.
Keywords – A comma-separated list of words Workers can use to find your HIT.
In Section 2: Rewards and Time Allotments, enter the following information:
Reward per assignment – Specify how much money you'll pay the worker if you approve an assignment.
Number of assignments per task – Specify how many workers should work on each HIT. One assignment for each HIT means that only one worker works on each HIT. You can increase the number to get the HIT completed by multiple workers and see if they agree, which can increase your trust in the results.
A worker can only accept a HIT once and only submit one assignment per HIT to prevent the same worker from submitting multiple assignments for the same HIT.
Time allotted per assignment – Specify how long the worker can hold on to individual assignments within your batch to work on them. After this time has passed, the HITs are withdrawn from the worker so others can work on them.
Task expires in – Specify how long workers can accept HITs in this batch. workers can't accept HITs from the batch once it expires, but workers who accept HITs before it expires have the full allotted time to complete them. To estimate when all accepted and completed HITs will be ready, add the allotted time to the expiration time.
Automatically approve and pay workers – Specify when Mechanical Turk will automatically approve HITs and pay workers. This determines the amount of time you have to reject an assignment submitted by a Worker before the assignment is auto-approved and the Worker is paid. This limit ensures Workers get paid in a timely manner.
In Section 3: Requirements and Qualifications, enter the following information:
Require that Workers be Masters to do your tasks – Limit your HITs to workers with a history of excellence across a broad range of tasks.
Specify additional qualifications Workers must meet to work on your tasks – For more information about managing qualifications, see Managing qualification types. This Mechanical Turk blog post about understanding requirements and qualifications
provides a good tutorial on the topic. Specify any additional qualifications Workers must meet to work on your tasks – Select this check the box if your HITs will contain explicit or offensive content, such as nudity or extreme violence.
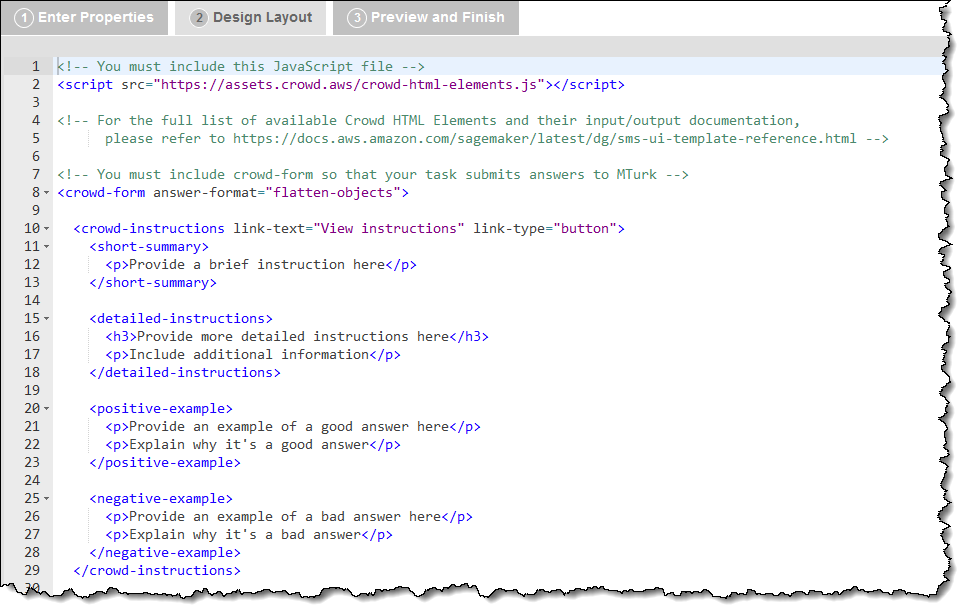
Step 4: Create the design layout
You can edit any of the templates that are available to you, with the exception of the Survey Link template. Use the embedded text editor in the Design Layout panel to modify a template. You can use HTML, CSS, and JavaScript to customize your layout and functionality. You can also use Crowd HTML Elements to design your layout with configured widgets for common Mechanical Turk HIT types.
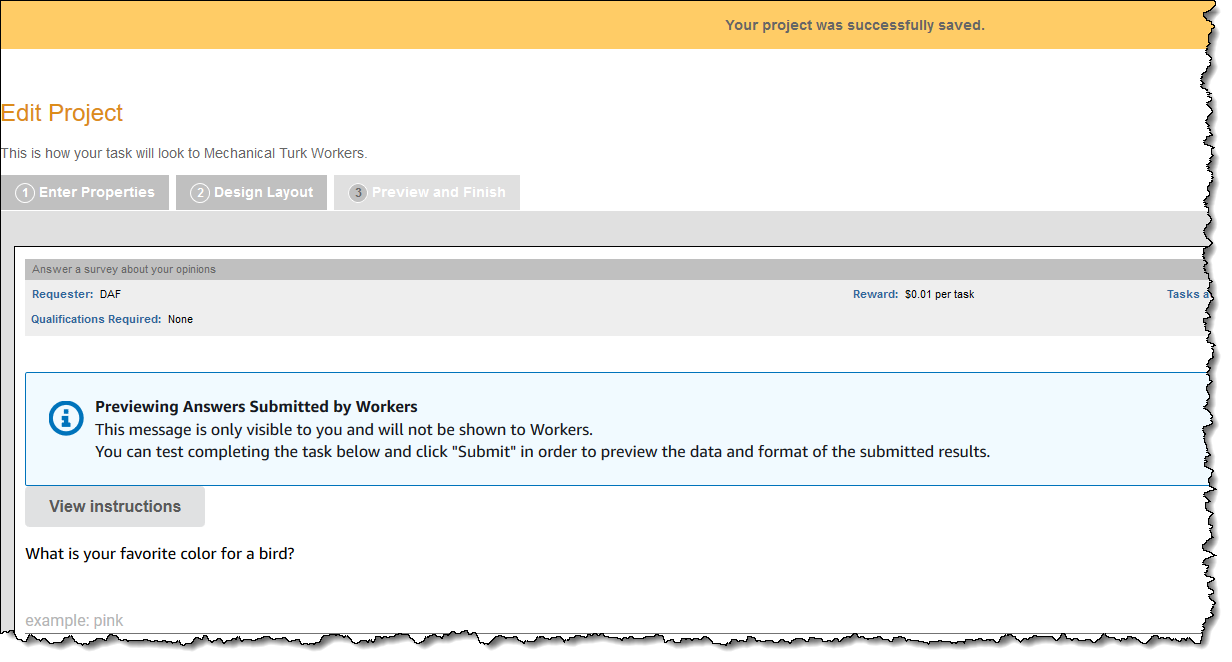
Step 5: Preview and finish
The Preview and Finish panel displays your HIT as it will appear to workers. Do one of the following:
If it's incorrect, you can go back to the Design Layout panel and edit it.
If it's ready, choose Finish to save your project. After it's saved, your project is ready to publish.
After you choose Finish, the Create page is displayed and your project appears in your list of existing projects.
Next, publish a batch to make it available to workers. For information about publishing a batch, see Publish a batch of HITs.