Create an Amazon RDS DB instance
Create an RDS for MariaDB, RDS for MySQL, or RDS for PostgreSQL DB instance that maintains the data used by a web application.
- RDS for MariaDB
-
To create a MariaDB instance
Sign in to the AWS Management Console and open the Amazon RDS console at https://console.aws.amazon.com/rds/
. -
In the upper-right corner of the AWS Management Console, check the AWS Region. It should be the same as the one where you created your EC2 instance.
-
In the navigation pane, choose Databases.
-
Choose Create database.
-
On the Create database page, choose Standard create.
-
For Engine options, choose MariaDB.

-
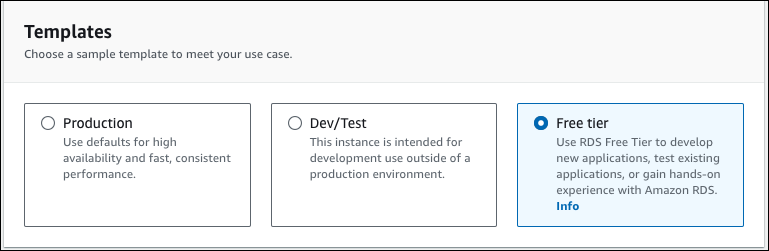
For Templates, choose Free tier.
-
In the Availability and durability section, keep the defaults.
-
In the Settings section, set these values:
-
DB instance identifier – Type
tutorial-db-instance. -
Master username – Type
tutorial_user. -
Auto generate a password – Leave the option turned off.
-
Master password – Type a password.
-
Confirm password – Retype the password.

-
-
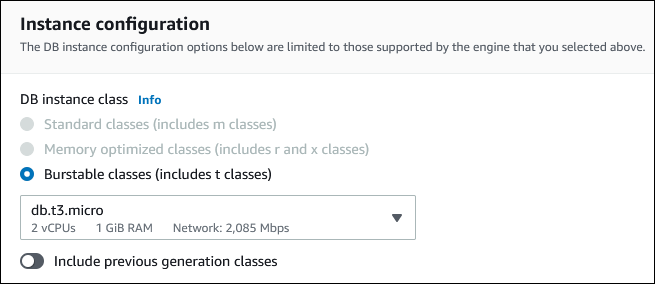
In the Instance configuration section, set these values:
-
Burstable classes (includes t classes)
-
db.t3.micro
-
-
In the Storage section, keep the defaults.
-
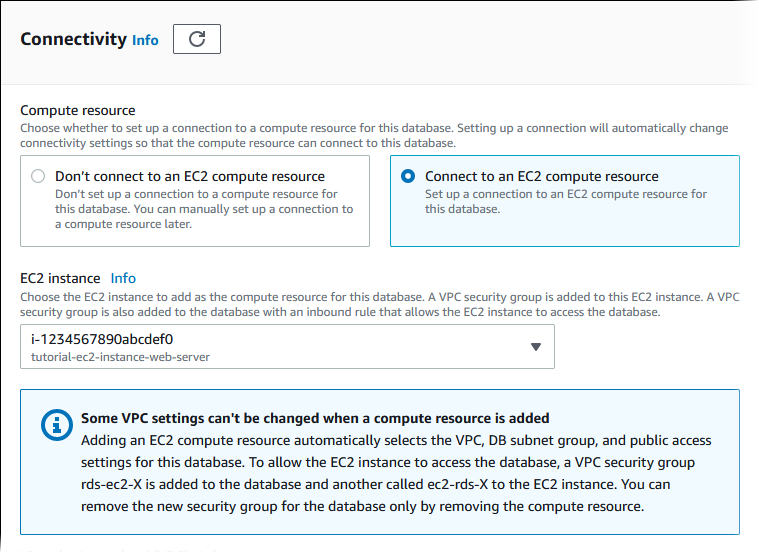
In the Connectivity section, set these values and keep the other values as their defaults:
-
For Compute resource, choose Connect to an EC2 compute resource.
-
For EC2 instance, choose the EC2 instance you created previously, such as tutorial-ec2-instance-web-server.
-
-
In the Database authentication section, make sure Password authentication is selected.
-
Open the Additional configuration section, and enter
samplefor Initial database name. Keep the default settings for the other options. -
To create your MariaDB instance, choose Create database.
Your new DB instance appears in the Databases list with the status Creating.
-
Wait for the Status of your new DB instance to show as Available. Then choose the DB instance name to show its details.
-
In the Connectivity & security section, view the Endpoint and Port of the DB instance.
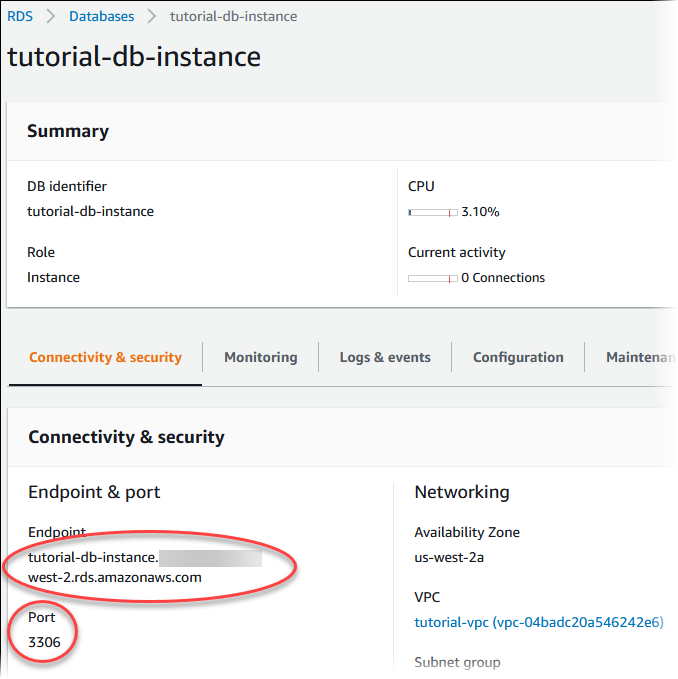
Note the endpoint and port for your DB instance. You use this information to connect your web server to your DB instance.
- RDS for MySQL
-
To create a MySQL DB instance
Sign in to the AWS Management Console and open the Amazon RDS console at https://console.aws.amazon.com/rds/
. -
In the upper-right corner of the AWS Management Console, check the AWS Region. It should be the same as the one where you created your EC2 instance.
-
In the navigation pane, choose Databases.
-
Choose Create database.
-
On the Create database page, choose Standard create.
-
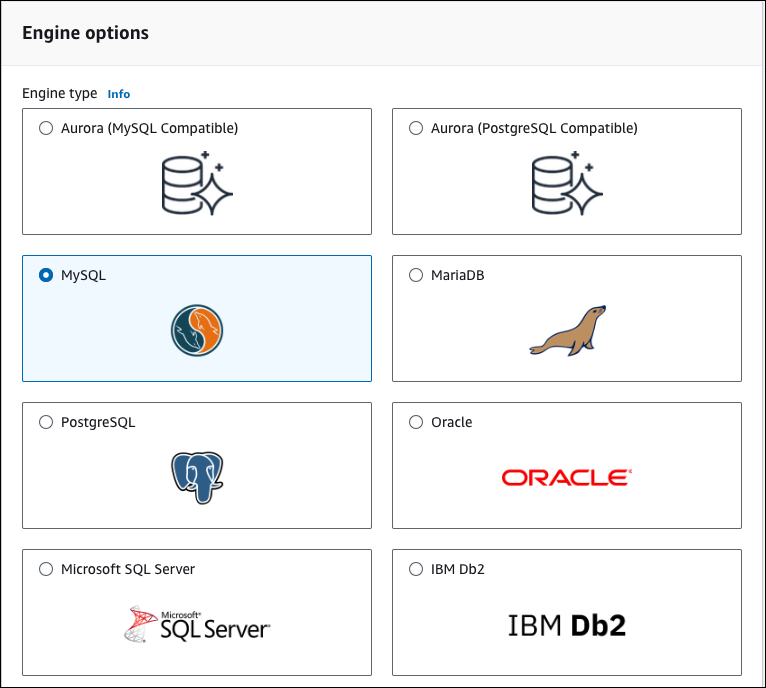
For Engine options, choose MySQL.
-
For Templates, choose Free tier.
-
In the Availability and durability section, keep the defaults.
-
In the Settings section, set these values:
-
DB instance identifier – Type
tutorial-db-instance. -
Master username – Type
tutorial_user. -
Auto generate a password – Leave the option turned off.
-
Master password – Type a password.
-
Confirm password – Retype the password.
-
-
In the Instance configuration section, set these values:
-
Burstable classes (includes t classes)
-
db.t3.micro
-
-
In the Storage section, keep the defaults.
-
In the Connectivity section, set these values and keep the other values as their defaults:
-
For Compute resource, choose Connect to an EC2 compute resource.
-
For EC2 instance, choose the EC2 instance you created previously, such as tutorial-ec2-instance-web-server.
-
-
In the Database authentication section, make sure Password authentication is selected.
-
Open the Additional configuration section, and enter
samplefor Initial database name. Keep the default settings for the other options. -
To create your MySQL DB instance, choose Create database.
Your new DB instance appears in the Databases list with the status Creating.
-
Wait for the Status of your new DB instance to show as Available. Then choose the DB instance name to show its details.
-
In the Connectivity & security section, view the Endpoint and Port of the DB instance.
Note the endpoint and port for your DB instance. You use this information to connect your web server to your DB instance.
- RDS for PostgreSQL
-
To create a PostgreSQL DB instance
Sign in to the AWS Management Console and open the Amazon RDS console at https://console.aws.amazon.com/rds/
. -
In the upper-right corner of the AWS Management Console, check the AWS Region. It should be the same as the one where you created your EC2 instance.
-
In the navigation pane, choose Databases.
-
Choose Create database.
-
On the Create database page, choose Standard create.
-
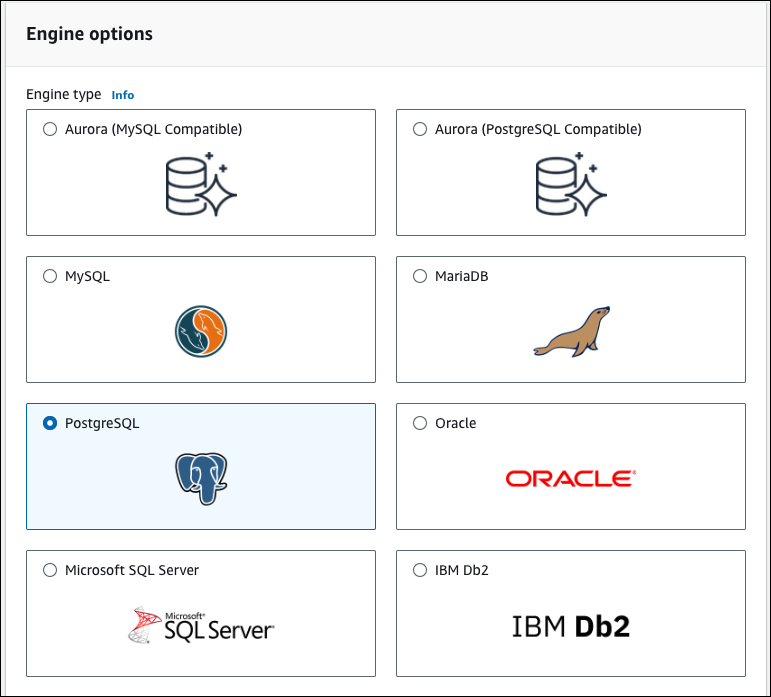
For Engine options, choose PostgreSQL.
-
For Templates, choose Free tier.
-
In the Availability and durability section, keep the defaults.
-
In the Settings section, set these values:
-
DB instance identifier – Type
tutorial-db-instance. -
Master username – Type
tutorial_user. -
Auto generate a password – Leave the option turned off.
-
Master password – Type a password.
-
Confirm password – Retype the password.
-
-
In the Instance configuration section, set these values:
-
Burstable classes (includes t classes)
-
db.t3.micro
-
-
In the Storage section, keep the defaults.
-
In the Connectivity section, set these values and keep the other values as their defaults:
-
For Compute resource, choose Connect to an EC2 compute resource.
-
For EC2 instance, choose the EC2 instance you created previously, such as tutorial-ec2-instance-web-server.
-
-
In the Database authentication section, make sure Password authentication is selected.
-
Open the Additional configuration section, and enter
samplefor Initial database name. Keep the default settings for the other options. -
To create your PostgreSQL DB instance, choose Create database.
Your new DB instance appears in the Databases list with the status Creating.
-
Wait for the Status of your new DB instance to show as Available. Then choose the DB instance name to show its details.
-
In the Connectivity & security section, view the Endpoint and Port of the DB instance.

Note the endpoint and port for your DB instance. You use this information to connect your web server to your DB instance.
