Building your first circuit
After your notebook instance has launched, open the instance with a standard Jupyter interface by choosing the notebook you just created.

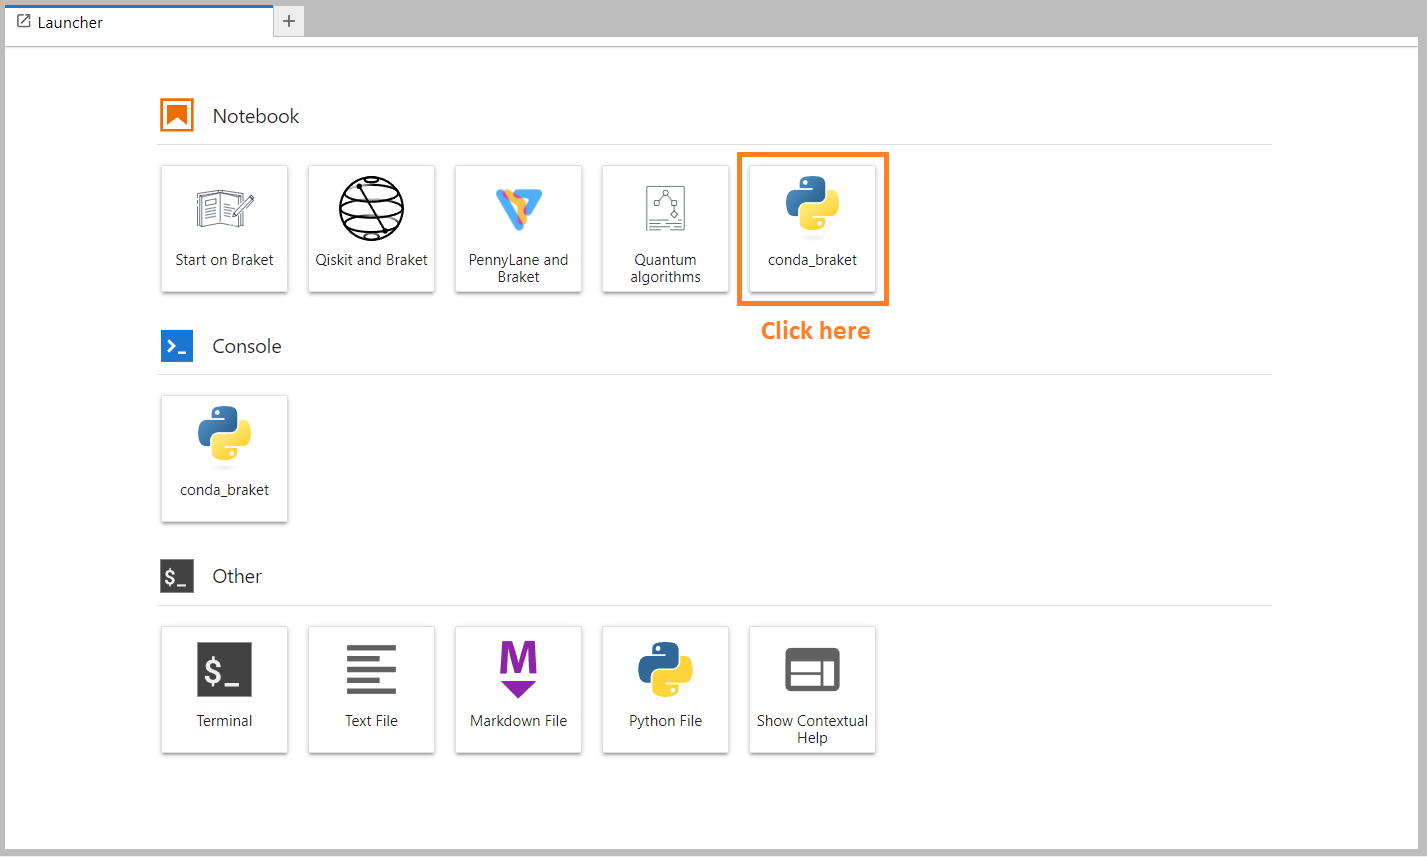
Amazon Braket notebook instances are pre-installed with the Amazon Braket SDK and all its dependencies. Start by creating a new
notebook with conda_braket kernel.
You can start with a simple “Hello, world!” example. First, construct a circuit that prepares a Bell state, and then run that circuit on different devices to obtain the results.
Begin by importing the Begin by importing the Amazon Braket SDK modules and defining a simpleBRAKETlong; SDK modules and defining a basic Bell State circuit.
import boto3
from braket.aws import AwsDevice
from braket.devices import LocalSimulator
from braket.circuits import Circuit

# Create the circuit
bell = Circuit().h(0).cnot(0, 1)
You can visualize the circuit with this command:
print(bell)
T  : │  0  │  1  │
      ┌───┐
q0 : ─┤ H ├───●───
      └───┘   │
            ┌─┴─┐
q1 : ───────┤ X ├─
            └───┘
T  : │  0  │  1  │
Run your circuit on the local simulator
Next, choose the quantum device on which to run the circuit. The Amazon Braket SDK comes with a local simulator for rapid prototyping and testing. We recommend using the local simulator for smaller circuits, which can be up to 25 qubits (depending on your local hardware).
To instantiate the local simulator:
# Instantiate the local simulator
local_sim = LocalSimulator()
and run the circuit:
# Run the circuit
result = local_sim.run(bell, shots=1000).result()
counts = result.measurement_counts
print(counts)
You should see a result something like this:
Counter({'11': 503, '00': 497})
The specific Bell state you have prepared is an equal superposition of |00⟩ and |11⟩, and an about equal (up to shot noise) distribution of 00 and 11 as measurement outcomes, as expected.
Run your circuit on an on-demand simulator
Amazon Braket also provides access to an on-demand, high-performance
simulator, SV1, for running larger circuits. SV1 is an
on-demand state-vector simulator that allows for simulation of quantum circuits of up to 34
qubits. You can find more information on SV1 in the Supported Devices section and in the AWS console. When
running quantum tasks on SV1 (and on TN1 or any QPU), the results of
your quantum task are stored in an S3 bucket in your account. If you do not specify a bucket, the
Braket SDK creates a default bucket amazon-braket-{region}-{accountID} for
you. To learn more, see Managing access to
Amazon Braket .
Note
Fill in your actual, existing bucket name where the following example shows
amazon-braket-s3-demo-bucket as your bucket name. Bucket names for Amazon Braket always begin with amazon-braket- followed
by other identifying characters you add. If you need information on how to set up an S3
bucket, see Getting started with Amazon S3.
# Get the account ID
aws_account_id = boto3.client("sts").get_caller_identity()["Account"]

# The name of the bucket
my_bucket = "amazon-braket-s3-demo-bucket"

# The name of the folder in the bucket
my_prefix = "simulation-output"
s3_folder = (my_bucket, my_prefix)
To run a circuit on SV1, you must provide the location of the S3 bucket
you previously selected as a positional argument in the .run() call.
# Choose the cloud-based on-demand simulator to run your circuit
device = AwsDevice("arn:aws:braket:::device/quantum-simulator/amazon/sv1")

# Run the circuit
task = device.run(bell, s3_folder, shots=100)

# Display the results
print(task.result().measurement_counts)
The Amazon Braket console provides further information about your quantum task. Navigate to the Quantum Tasks tab in the console and your quantum task should be on the top of the list. Alternatively, you can search for your quantum task using the unique quantum task ID or other criteria.
Note
After 90 days, Amazon Braket automatically removes all quantum task IDs and other metadata associated with your quantum tasks. For more information, see Data retention.
Running on a QPU
With Amazon Braket, you can run the previous quantum circuit example on a physical quantum computer by just changing a single line of code. Amazon Braket provides access to QPU devices from IonQ, IQM, QuEra, and Rigetti. You can find information about the different devices and availability windows in the Supported Devices section, and in the AWS console under the Devices tab. The following example shows how to instantiate an IQM device.
# Choose the IQM hardware to run your circuit
device = AwsDevice("arn:aws:braket:eu-north-1::device/qpu/iqm/Garnet")
Or choose an IonQ device with this code:
# Choose the Ionq device to run your circuit
device = AwsDevice("arn:aws:braket:us-east-1::device/qpu/ionq/Aria-1")
After selecting a device and before running your workload, you can query device queue depth with the following code to determine the number of quantum tasks or hybrid jobs. Additionally, customers can view device specific queue depths on the Devices page of the Amazon Braket Management Console.
# Print your queue depth
print(device.queue_depth().quantum_tasks)
# Returns the number of quantum tasks queued on the device
# {<QueueType.NORMAL: 'Normal'>: '0', <QueueType.PRIORITY: 'Priority'>: '0'}

print(device.queue_depth().jobs)
# Returns the number of hybrid jobs queued on the device
# '2'
When you run your task, the Amazon Braket SDK polls for a result (with a default
timeout of 5 days). You can change this default by modifying the
poll_timeout_seconds parameter in the the .run() command as
shown in the example that follows. Keep in mind that if your polling timeout is too short,
results may not be returned within the polling time, such as when a QPU is unavailable and
a local timeout error is returned. You can restart the polling by calling the
task.result() function.
# Define quantum task with 1 day polling timeout
task = device.run(bell, s3_folder, poll_timeout_seconds=24*60*60)
print(task.result().measurement_counts)
Additionally, after submitting your quantum task or hybrid job, you can call the
queue_position() function to check your queue position.
print(task.queue_position().queue_position)
# Return the number of quantum tasks queued ahead of you
# '2'
