Change a default flow in your Amazon Connect contact center
You can override the way the default flows work by editing them directly.
Generally we recommend creating new flows based on the defaults, rather than editing the default flow directly. You can make a copy of the default flow, assign a name that indicates it's a custom version, and then edit that one. This gives you more control over how your flows work.
Change how a default flow works in Amazon Connect
The following steps show how to change the default message customers hear when they are put in a queue to wait for the next available agent.
-
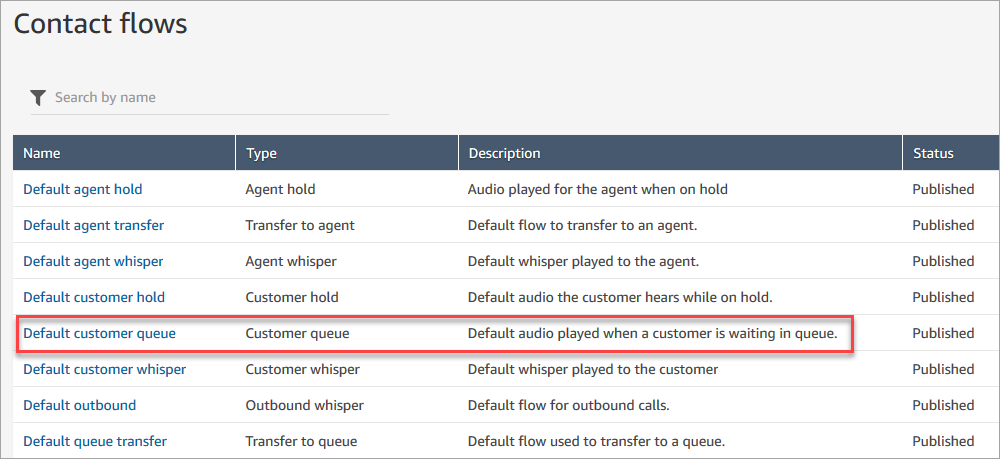
On the navigation menu, choose Routing, Flows.
-
Choose the default flow you want to customize. For example, choose Default customer queue if you want to create your own message when a customer is put in queue instead of using the one we've provided. This is shown in the following image.
-
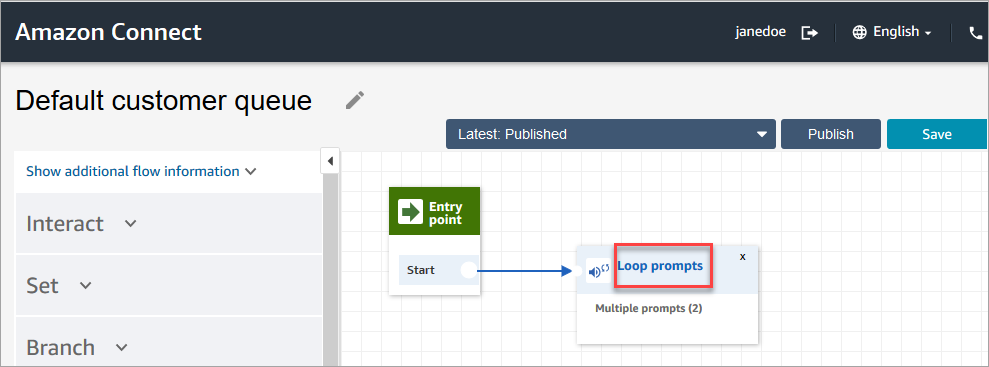
To customize the message, choose the Loop prompts block to open the properties page.
-
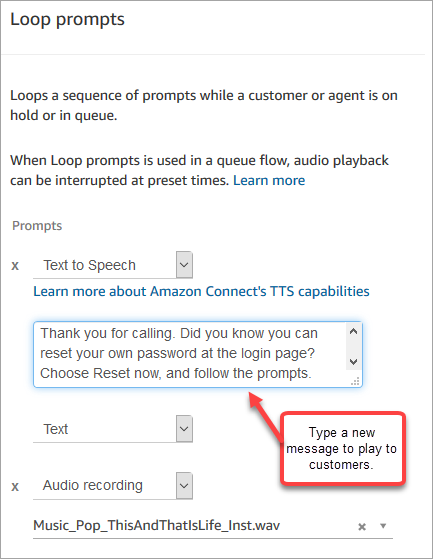
On the Properties page of the Loop prompts block, use the dropdown box to either choose different music, or set to Text to Speech. Type a message to be played.
For example, the following image shows the message "Thank you for calling. Did you know you can reset your own password at the login page? Choose Reset now, and following the prompts."
-
Choose Save at the bottom of the properties page.
-
Choose Publish. Amazon Connect starts playing the new message almost immediately (it may take a few moments for it to fully take effect).

Copy a default flow before customizing it
Use the following steps to create a new flow based a current default.
-
On the navigation menu, choose Routing, Flows.
-
Choose the default flow you want to customize.
-
In the upper right corner of the page, choose the Save drop-down arrow. Choose Save as, as shown in the following image.

-
Assign a new name for the flow, for example, Customer hold message.

-
Add the new flow (in this case, Customer hold message) to the flows you create so it's run instead of the default.
