Create a case in Amazon Connect Cases or a customer profile to document a customer's issue
You can create a case either by choosing + Case from the Cases page or by choosing + Connect case directly from a customer profile. If you are not on active contact, you can still create a case directly from the customer profile.
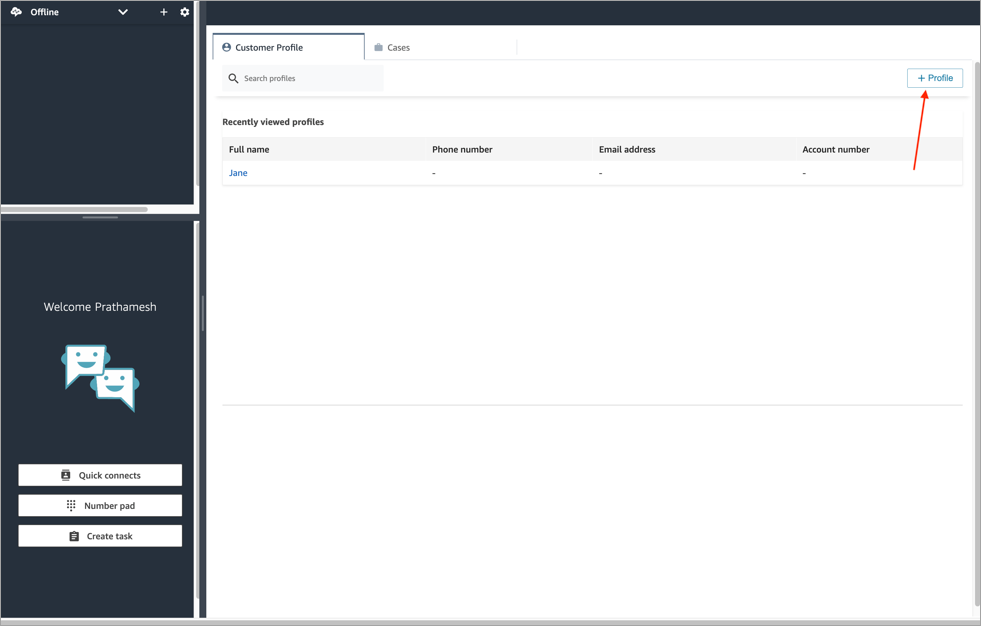
To create a case while on the Customer Profile page
-
Choose + Profile to create a customer profile, as shown in the following image.
-
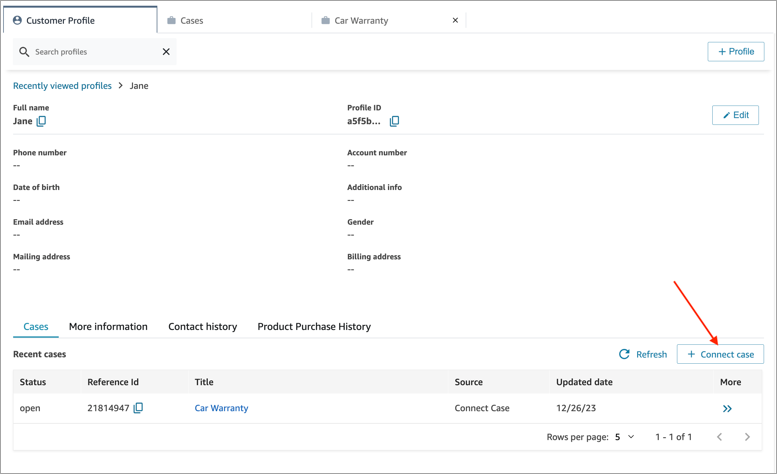
Choose + Connect Case to create a case, as shown in the following image.
-
Complete the required information for the case, and then choose Save. A case is created for the customer, as shown in the following image.

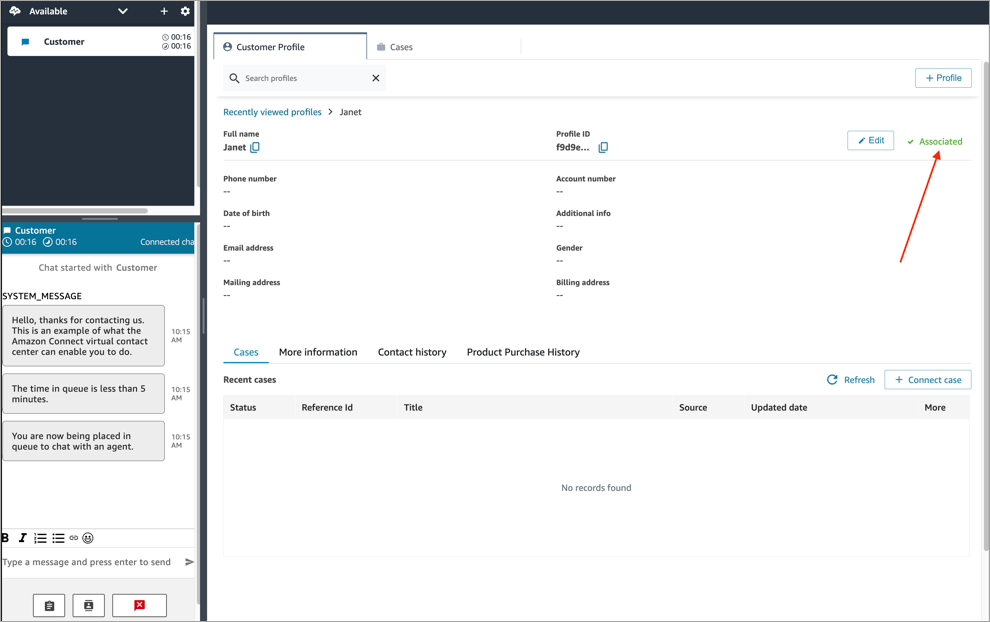
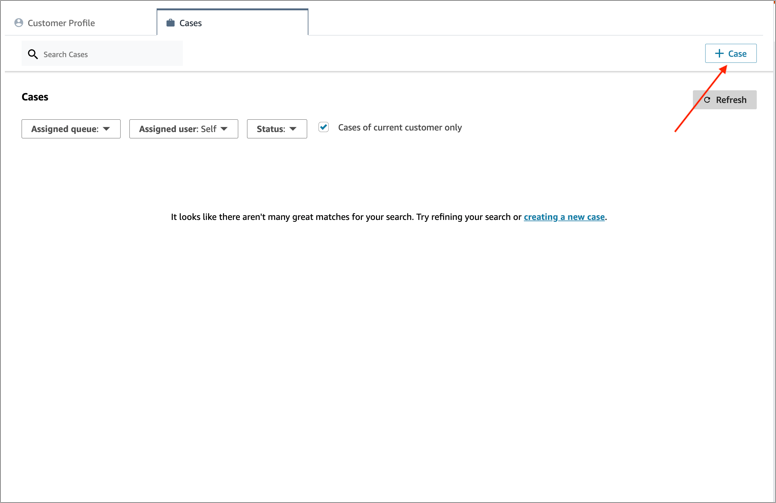
To create a case while on the Cases page
-
You must be on a contact (call, chat, or task) and the contact must already be Associated with a customer profile, as shown in the following image.
-
Choose the Cases tab and then choose + Case, as shown in the following image.
-
Complete the required information for the case, and then choose Save. A case is created for the customer.
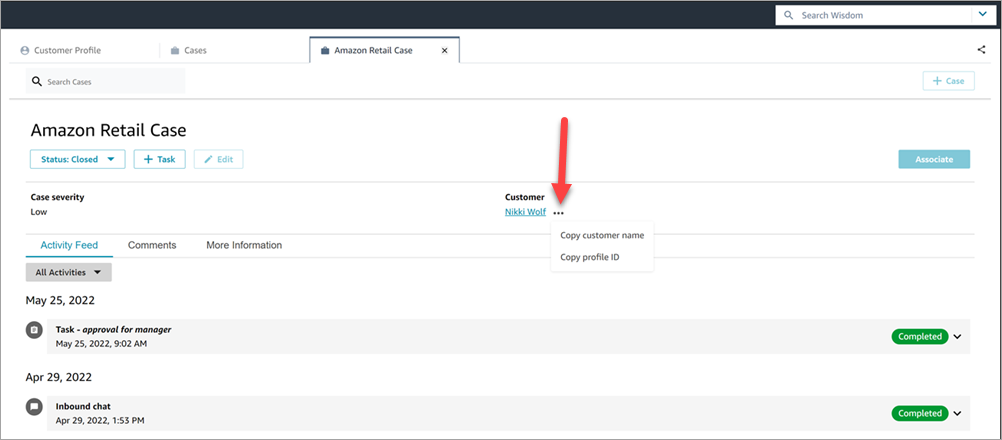
Customer name
Each case that is created is connected to a customer profile from your Amazon Connect instance. While viewing the case details page, an agent can click or tap the customer's name to open the associated Customer Profile in a different tab. Or, the agent can choose More (...) to copy the customer name or profile ID to the clipboard. On new case templates, the customer name appears by default on the case details page. You can rearrange this field on your case template, or even remove it entirely.