Set up application integration for Salesforce using Amazon AppFlow
If you integrate with Salesforce for event creation, Amazon Connect also uses Amazon AppFlow to put the
data into EventBridge. This is because of how Salesforce sends events through the Amazon AppFlow APIs.
To learn more about how Amazon Connect uses EventBridge and Amazon AppFlow resources to power Salesforce
integrations, see this blog post: Building Salesforce integrations with Amazon EventBridge and Amazon AppFlow
Note
If you use custom AWS Identity and Access Management (IAM) policies, for a list of the required IAM permissions to set up Amazon Connect Tasks, see Tasks page.
To integrate Salesforce for task creation
-
Open the Amazon Connect console at https://console.aws.amazon.com/connect/
. -
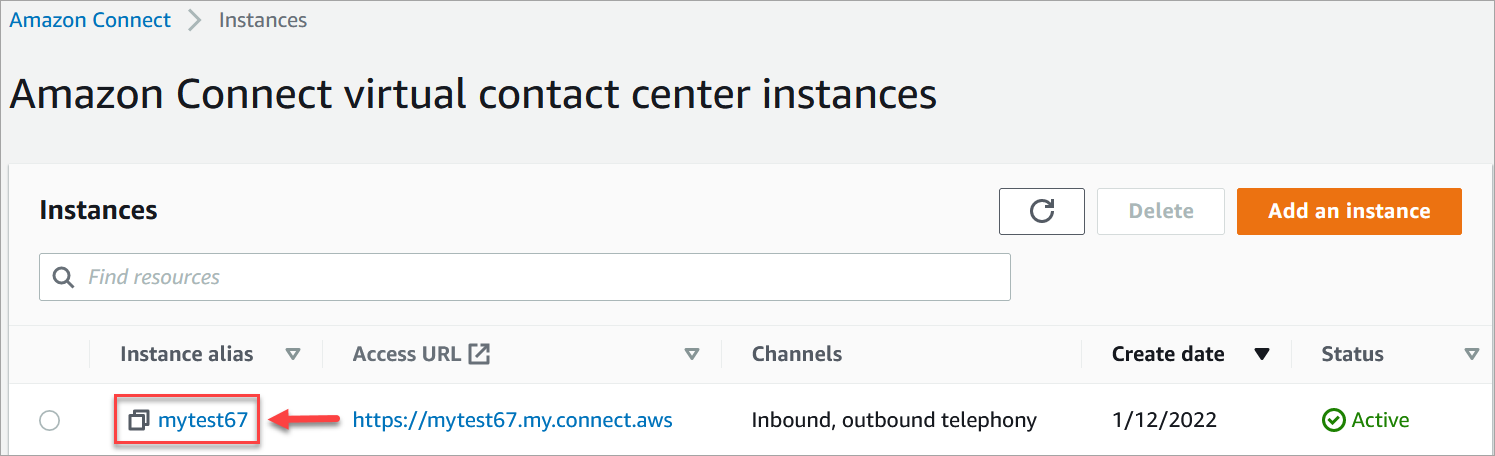
On the instances page, choose the instance alias. The instance alias is also your instance name, which appears in your Amazon Connect URL. The following image shows the Amazon Connect virtual contact center instances page, with a box around the instance alias.
-
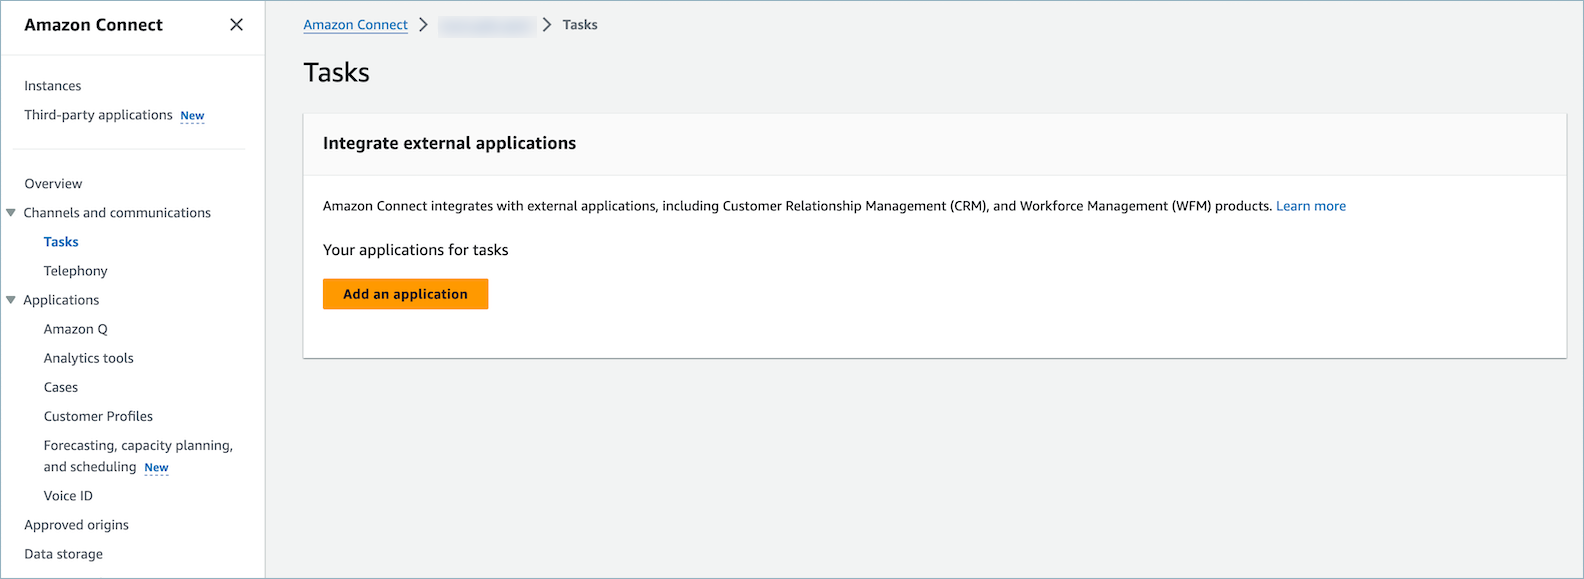
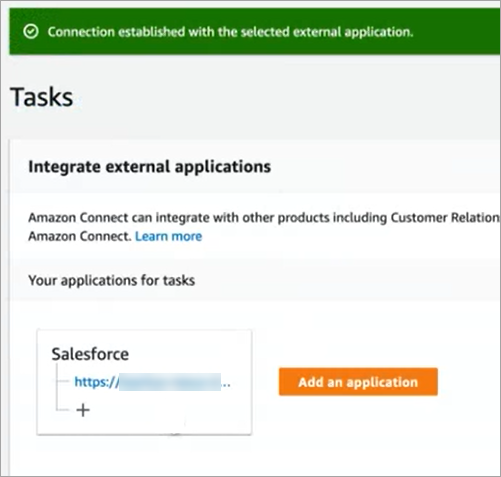
Choose Tasks, and then choose Add an application.
-
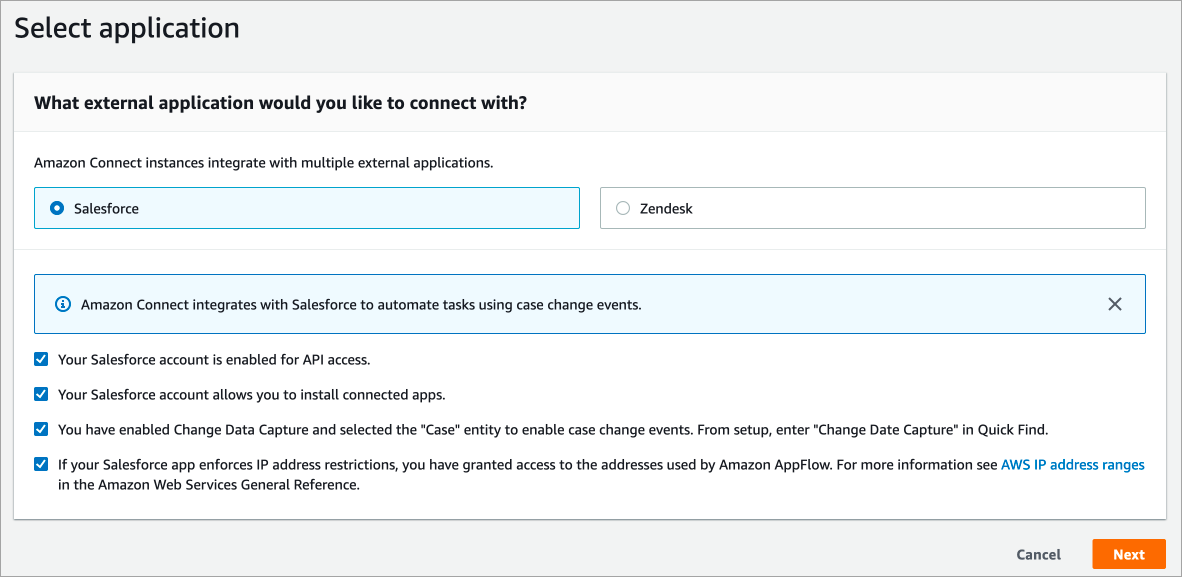
On the Select application page, choose Salesforce.
-
Review the application requirements that are listed on the Select application page.
The following image shows the requirements for Salesforce.
-
To verify that Salesforce is compatible with Amazon AppFlow, log in to Salesforce, for example, https://[instance_name].my.salesforce.com.
Important
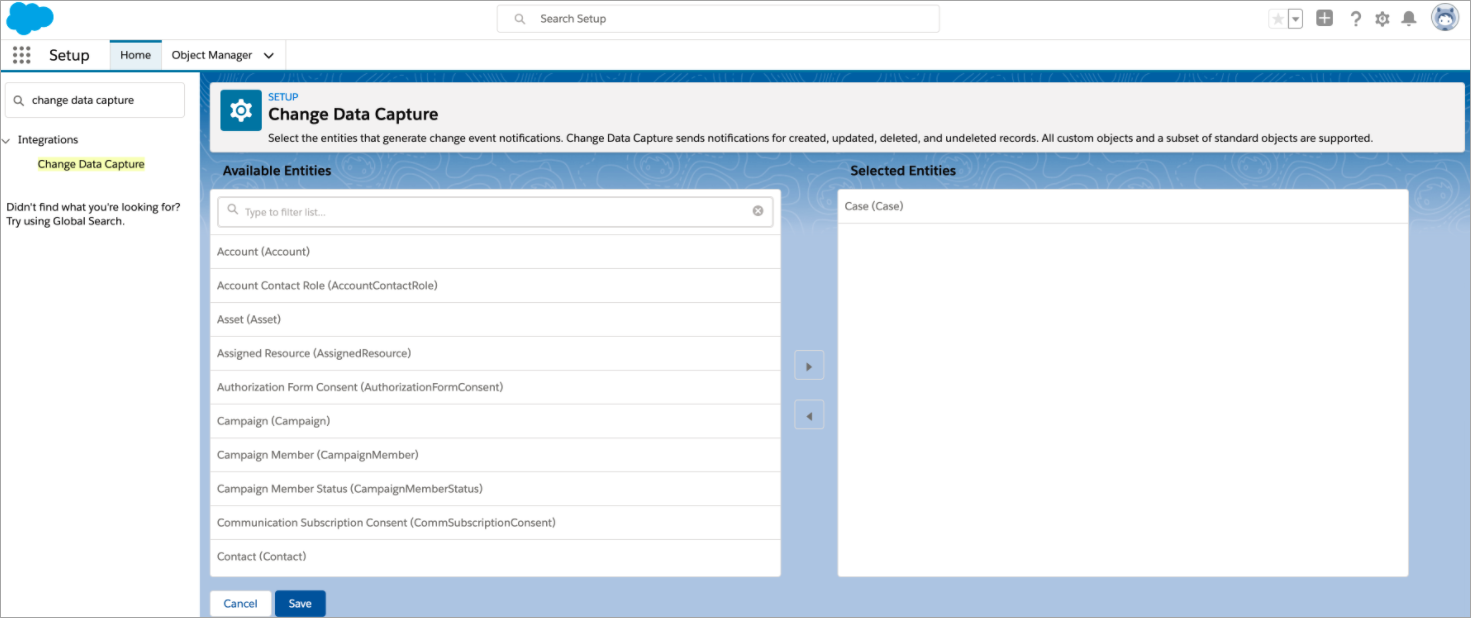
Verify that you have enabled Change Data Capture in Salesforce. The following image shows an example Change Data Capture page in Salesforce where you select the Case entities:
-
-
After you verify Salesforce requirements, on the Select application page, choose Next.
-
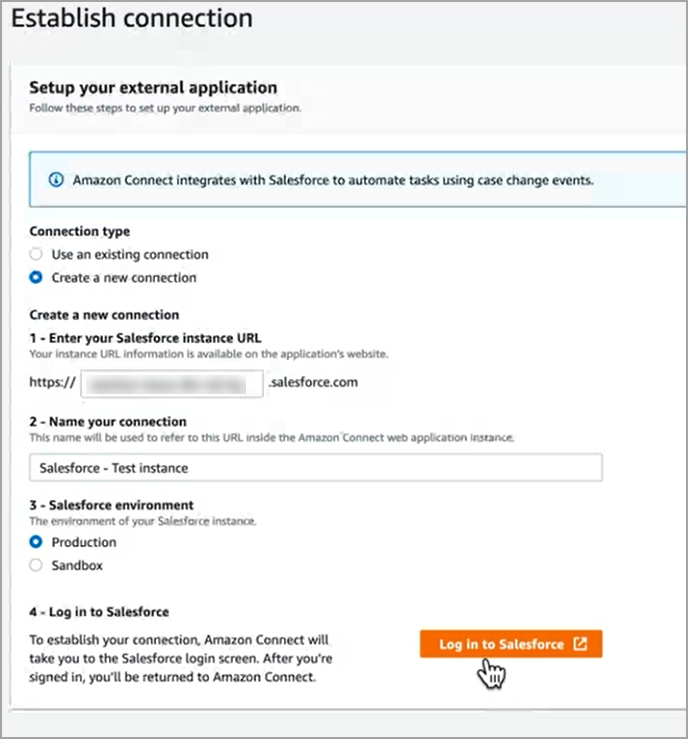
On the Establish connection page, choose one of the following:
-
Use an existing connection. This allows you to reuse existing EventBridge resources that are linked to Amazon AppFlow flows that you may have created in your AWS account.
-
Create a new connection: Enter the information required by the external application.
-
Enter your application instance URL. This URL is used for deep-linking into the tasks created in your external application.
-
Provide a friendly name for your connection, for example, Salesforce - Test instance. Later, when you add rules, you'll refer to this friendly name.
-
Specify whether this is a production or sandbox environment.
-
-
-
Choose Log in to Salesforce.
-
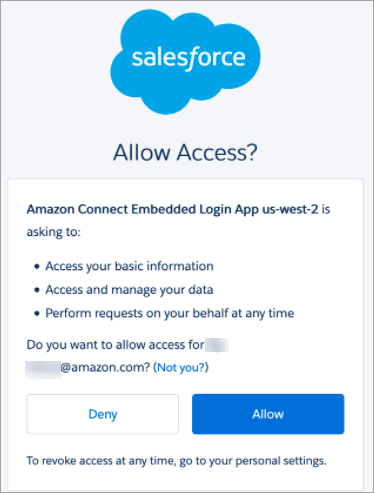
In Salesforce, choose to allow access to Amazon Connect Embedded Login App [Region].
-
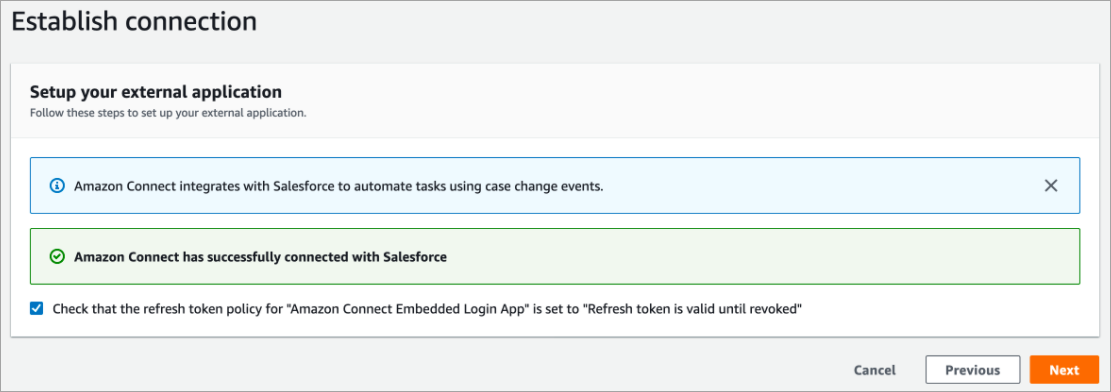
After Amazon Connect has successfully connected with the Salesforce, go to Salesforce and verify that the refresh token policy for Amazon Connect Embedded Login App is set to Refresh token is valid until revoked. This grants Amazon AppFlow access to pull data from your Salesforce account without re-authenticating.
-
On the Establish connection page, select the box shown in the following image, and choose Next.
-
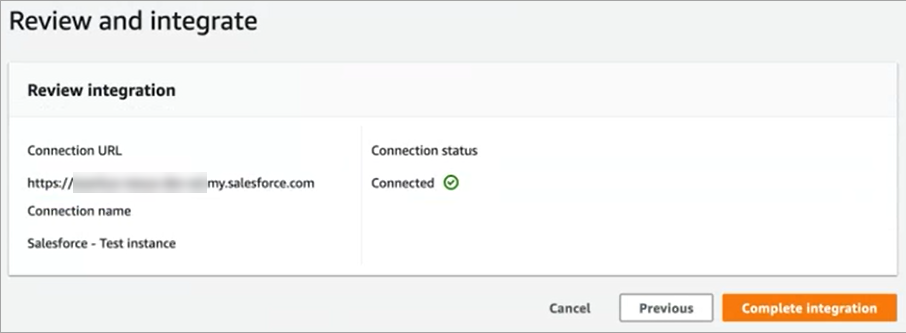
On the Review and integrate page, check that the Connection status says Connected, and then choose Complete integration.
-
On the Tasks page, the new connection is listed.
You're done! Next, add rules that tell Amazon Connect when to create a task and how to route it. For instructions, see Create rules that generate tasks for third-party integrations in Amazon Connect.
What to do when is a connection isn't successfully established
A connection might fail to be established for Salesforce if you didn’t follow the instructions next to the check boxes to verify that it's compatible with Amazon AppFlow.
A common error is not setting up the Case entity in the Change Data Capture settings to capture these events. To fix:
-
Log in to Salesforce, go to the Change Data Capture, and select the Case entity.
-
Open the Amazon AppFlow console at https://console.aws.amazon.com/appflow)
to select the flow that was just created, and then choose Activate flow. 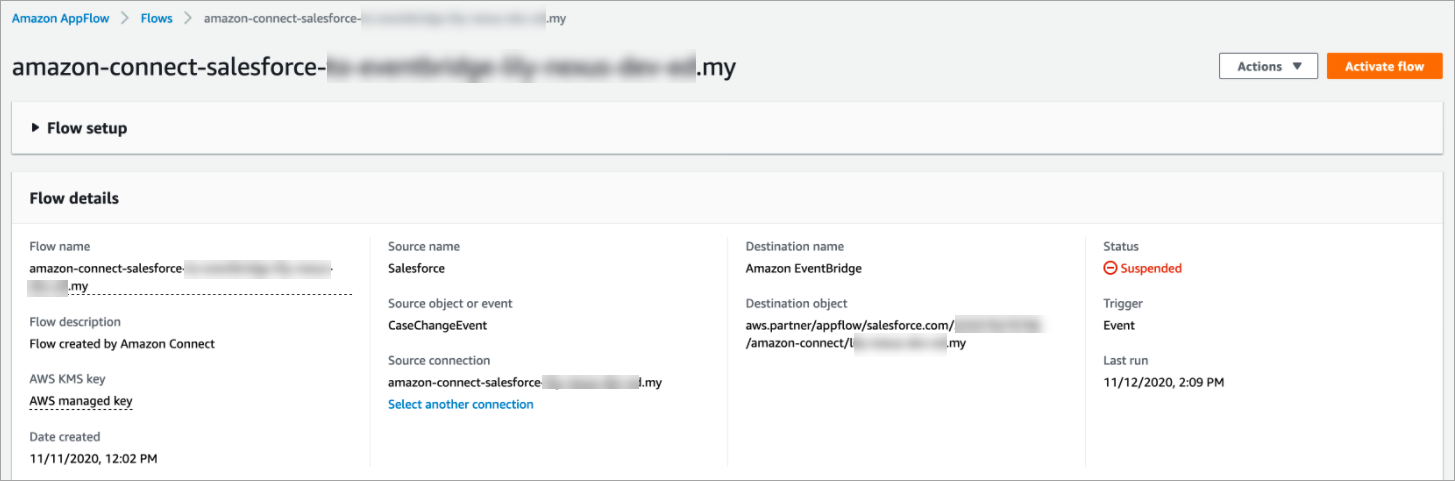
Alternatively, you might need to delete the Amazon AppFlow Salesforce connection and flow, and start again.
