Step 1: Handle a voice contact
-
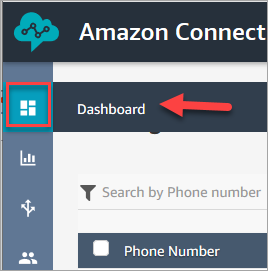
On the Amazon Connect navigation menu, choose Dashboard.
-
On the Dashboard page, choose Test chat.

-
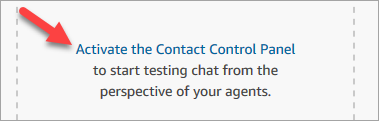
On the Test Chat page, choose Activate Contact Control Panel.
-
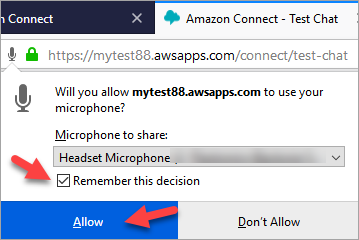
If your browser prompts you to grant microphone access, choose Allow.
-
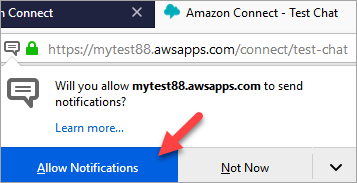
If your browser prompts you to allow notifications, choose Allow.
-
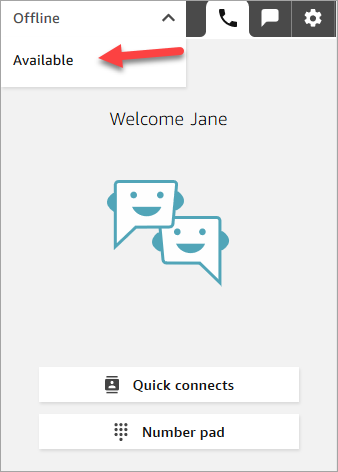
In the test CCP, set your status to Available.
-
Use your mobile phone to call the phone number that you claimed earlier. If you didn't write down the number, you can find it by going to Channels, Phone numbers.
-
When your call is joined to Amazon Connect you'll hear "Press 1 to be put in queue for an agent, 2 to ..." This is the Sample inbound flow that Amazon Connect runs by default. You're going to change this later in the tutorial.
-
You can play around with the different options in the Sample inbound flow. To connect to an agent, press 1, 1, 1.
-
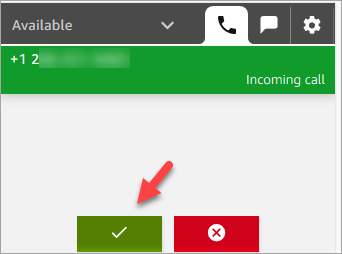
In the CCP, choose Accept call.
-
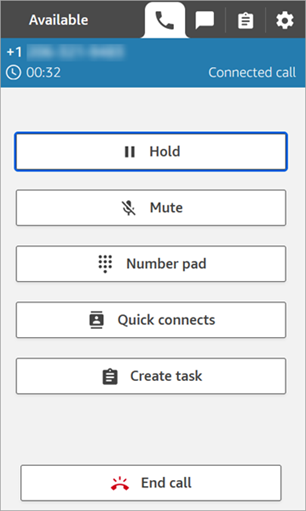
You'll see what the CCP looks like when an agent is connected to a customer.
-
Choose End call.
Now the contact is in the After Contact Work (ACW) state. This is when the agent might enter some notes about the contact.

-
Choose Close contact. This frees the agent to take another incoming contact.
Well done! You've handled your first voice contact!
Tip
As an administrator, you can launch the CCP from anywhere on the Amazon Connect console by choosing the phone icon on the top of the page.
Next step
Go to Step 2: Use the CCP to handle a chat contact to experience how to handle a chat contact.
