Add quick responses for use with chat and email contacts in Connect Customer
This topic explains how to add a quick response by using the Connect Customer admin website. For the APIs used to create and manage quick responses programmatically, see APIs to create and manage quick responses.
To add responses
-
Log in to the Connect Customer admin website at https://instance name.my.connect.aws/. Use an Admin account, or an account assigned to a security profile that has Content Management - Quick responses - Create permission.
-
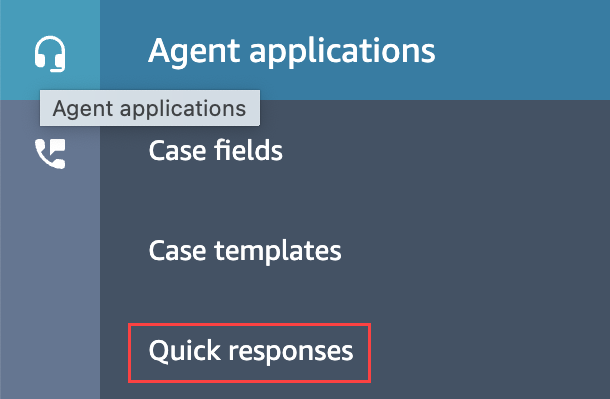
On the navigation bar, choose Content Management, then Quick responses.
-
On the Quick responses page, choose Add response.
Note
If the Add response button isn't available, sign in with an account that has the admin security profile, or ask another admin for help.
-
On the Add response page, choose whether the response is for chat, email, or both channels.
-
On the Add response page, enter a name, description, and shortcut key for the quick response. You must enter a unique name and shortcut key because agents will search on those values.
-
Open the Routing profiles list and select one or more profiles. You can select a maximum of 20 profiles, or choose All. Only the agents assigned to a given profile can see the quick responses associated with that profile.
-
(Optional) Choose Activate: Make this response visible for agents if you want agents to see and search for the response.
-
In the Content section, enter the response, then choose Save.
Note
If you configured user-defined attributes in the flow block, those attributes, such as customer name, appear when an agent searches for a response in CCP. For more information, see Set contact attributes.
APIs to create and manage quick responses
Use the following APIs to create and manage quick responses programmatically:
