Make an Amazon EBS volume available for use
After you attach an Amazon EBS volume to your instance it is exposed as a block device. You can format the volume with any file system and then mount it. After you make the EBS volume available for use, you can access it in the same ways that you access any other volume. Any data written to this file system is written to the EBS volume and is transparent to applications using the device.
You can take snapshots of your EBS volume for backup purposes or to use as a baseline when you create another volume. For more information, see Amazon EBS snapshots.
If the EBS volume you are preparing for use is greater than 2 TiB, you must use a GPT partitioning scheme to access the entire volume. For more information, see Amazon EBS volume constraints.
Format and mount an attached volume
Suppose that you have an EC2 instance with an EBS volume for the root device,
/dev/xvda, and that you have just attached an empty EBS volume to the
instance using /dev/sdf. Use the following procedure to make the newly
attached volume available for use.
To format and mount an EBS volume on Linux
-
Connect to your instance using SSH. For more information, see Connect to your Linux instance.
-
The device could be attached to the instance with a different device name than you specified in the block device mapping. For more information, see device names on Linux instances. Use the lsblk command to view your available disk devices and their mount points (if applicable) to help you determine the correct device name to use. The output of lsblk removes the
/dev/prefix from full device paths.The following is example output for an instance built on the Nitro System, which exposes EBS volumes as NVMe block devices. The root device is
/dev/nvme0n1, which has two partitions namednvme0n1p1andnvme0n1p128. The attached volume is/dev/nvme1n1, which has no partitions and is not yet mounted.[ec2-user ~]$lsblkNAME MAJ:MIN RM SIZE RO TYPE MOUNTPOINT nvme1n1 259:0 0 10G 0 disk nvme0n1 259:1 0 8G 0 disk -nvme0n1p1 259:2 0 8G 0 part / -nvme0n1p128 259:3 0 1M 0 partThe following is example output for a T2 instance. The root device is
/dev/xvda, which has one partition namedxvda1. The attached volume is/dev/xvdf, which has no partitions and is not yet mounted.[ec2-user ~]$lsblkNAME MAJ:MIN RM SIZE RO TYPE MOUNTPOINT xvda 202:0 0 8G 0 disk -xvda1 202:1 0 8G 0 part / xvdf 202:80 0 10G 0 disk -
Determine whether there is a file system on the volume. New volumes are raw block devices, and you must create a file system on them before you can mount and use them. Volumes that were created from snapshots likely have a file system on them already; if you create a new file system on top of an existing file system, the operation overwrites your data.
Use one or both of the following methods to determine whether there is a file system on the volume:
-
Use the file -s command to get information about a specific device, such as its file system type. If the output shows simply
data, as in the following example output, there is no file system on the device[ec2-user ~]$sudo file -s/dev/xvdf/dev/xvdf: dataIf the device has a file system, the command shows information about the file system type. For example, the following output shows a root device with the XFS file system.
[ec2-user ~]$sudo file -s/dev/xvda1/dev/xvda1: SGI XFS filesystem data (blksz 4096, inosz 512, v2 dirs) -
Use the lsblk -f command to get information about all of the devices attached to the instance.
[ec2-user ~]$sudo lsblk -fFor example, the following output shows that there are three devices attached to the instances—
nvme1n1,nvme0n1, andnvme2n1. The first column lists the devices and their partitions. TheFSTYPEcolumn shows the file system type for each device. If the column is empty for a specific device, it means that the device does not have a file system. In this case, devicenvme1n1and partitionnvme0n1p1on devicenvme0n1are both formatted using the XFS file system, while devicenvme2n1and partitionnvme0n1p128on devicenvme0n1do not have file systems.NAME FSTYPE LABEL UUID MOUNTPOINT nvme1n1 xfs 7f939f28-6dcc-4315-8c42-6806080b94dd nvme0n1 ├─nvme0n1p1 xfs / 90e29211-2de8-4967-b0fb-16f51a6e464c / └─nvme0n1p128 nvme2n1
If the output from these commands show that there is no file system on the device, you must create one.
-
-
(Conditional) If you discovered that there is a file system on the device in the previous step, skip this step. If you have an empty volume, use the mkfs -t command to create a file system on the volume.
Warning
Do not use this command if you're mounting a volume that already has data on it (for example, a volume that was created from a snapshot). Otherwise, you'll format the volume and delete the existing data.
[ec2-user ~]$sudo mkfs -t xfs/dev/xvdfIf you get an error that
mkfs.xfsis not found, use the following command to install the XFS tools and then repeat the previous command:[ec2-user ~]$sudo yum install xfsprogs -
Use the mkdir command to create a mount point directory for the volume. The mount point is where the volume is located in the file system tree and where you read and write files to after you mount the volume. The following example creates a directory named
/data.[ec2-user ~]$sudo mkdir/data -
Mount the volume or partition at the mount point directory you created in the previous step.
If the volume has no partitions, use the following command and specify the device name to mount the entire volume.
[ec2-user ~]$sudo mount/dev/xvdf/dataIf the volume has partitions, use the following command and specify the partition name to mount a partition.
[ec2-user ~]$sudo mount/dev/xvdf1/data -
Review the file permissions of your new volume mount to make sure that your users and applications can write to the volume. For more information about file permissions, see File security
at The Linux Documentation Project. -
The mount point is not automatically preserved after rebooting your instance. To automatically mount this EBS volume after reboot, follow the next procedure.
Automatically mount an attached volume after reboot
To mount an attached EBS volume on every system reboot, add an entry for the device to
the /etc/fstab file.
You can use the device name, such as /dev/xvdf, in
/etc/fstab, but we recommend using the device's 128-bit universally
unique identifier (UUID) instead. Device names can change, but the UUID persists throughout
the life of the partition. By using the UUID, you reduce the chances that the system becomes
unbootable after a hardware reconfiguration. For more information, see Map Amazon EBS volumes to NVMe device names.
To mount an attached volume automatically after reboot
-
(Optional) Create a backup of your
/etc/fstabfile that you can use if you accidentally destroy or delete this file while editing it.[ec2-user ~]$sudo cp /etc/fstab /etc/fstab.orig -
Use the blkid command to find the UUID of the device. Make a note of the UUID of the device that you want to mount after reboot. You'll need it in the following step.
For example, the following command shows that there are two devices mounted to the instance, and it shows the UUIDs for both devices.
[ec2-user ~]$sudo blkid/dev/xvda1: LABEL="/" UUID="ca774df7-756d-4261-a3f1-76038323e572" TYPE="xfs" PARTLABEL="Linux" PARTUUID="02dcd367-e87c-4f2e-9a72-a3cf8f299c10" /dev/xvdf: UUID="aebf131c-6957-451e-8d34-ec978d9581ae" TYPE="xfs"For Ubuntu 18.04 use the lsblk command.
[ec2-user ~]$sudo lsblk -o +UUID -
Open the
/etc/fstabfile using any text editor, such as nano or vim.[ec2-user ~]$sudo vim /etc/fstab -
Add the following entry to
/etc/fstabto mount the device at the specified mount point. The fields are the UUID value returned by blkid (or lsblk for Ubuntu 18.04), the mount point, the file system, and the recommended file system mount options. For more information about the required fields, runman fstabto open the fstab manual.In the following example, we mount the device with UUID
aebf131c-6957-451e-8d34-ec978d9581aeto mount point/dataand we use thexfsfile system. We also use thedefaultsandnofailflags. We specify0to prevent the file system from being dumped, and we specify2to indicate that it is a non-root device.UUID=aebf131c-6957-451e-8d34-ec978d9581ae/dataxfsdefaults,nofail 0 2Note
If you ever boot your instance without this volume attached (for example, after moving the volume to another instance), the
nofailmount option enables the instance to boot even if there are errors mounting the volume. Debian derivatives, including Ubuntu versions earlier than 16.04, must also add thenobootwaitmount option. -
To verify that your entry works, run the following commands to unmount the device and then mount all file systems in
/etc/fstab. If there are no errors, the/etc/fstabfile is OK and your file system will mount automatically after it is rebooted.[ec2-user ~]$sudo umount/data[ec2-user ~]$sudo mount -aIf you receive an error message, address the errors in the file.
Warning
Errors in the
/etc/fstabfile can render a system unbootable. Do not shut down a system that has errors in the/etc/fstabfile.If you are unsure how to correct errors in
/etc/fstaband you created a backup file in the first step of this procedure, you can restore from your backup file using the following command.[ec2-user ~]$sudo mv /etc/fstab.orig /etc/fstab
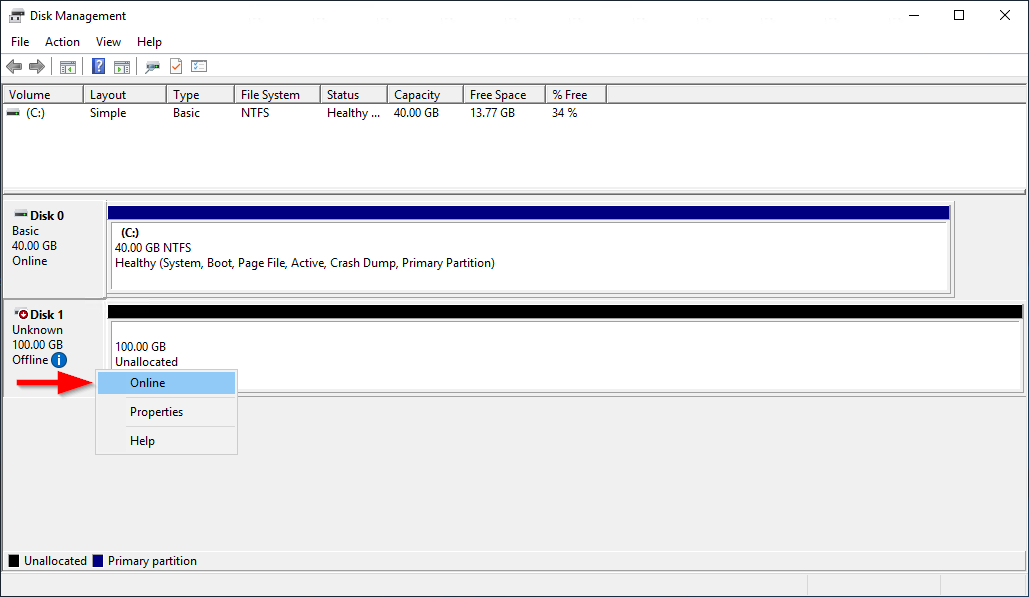
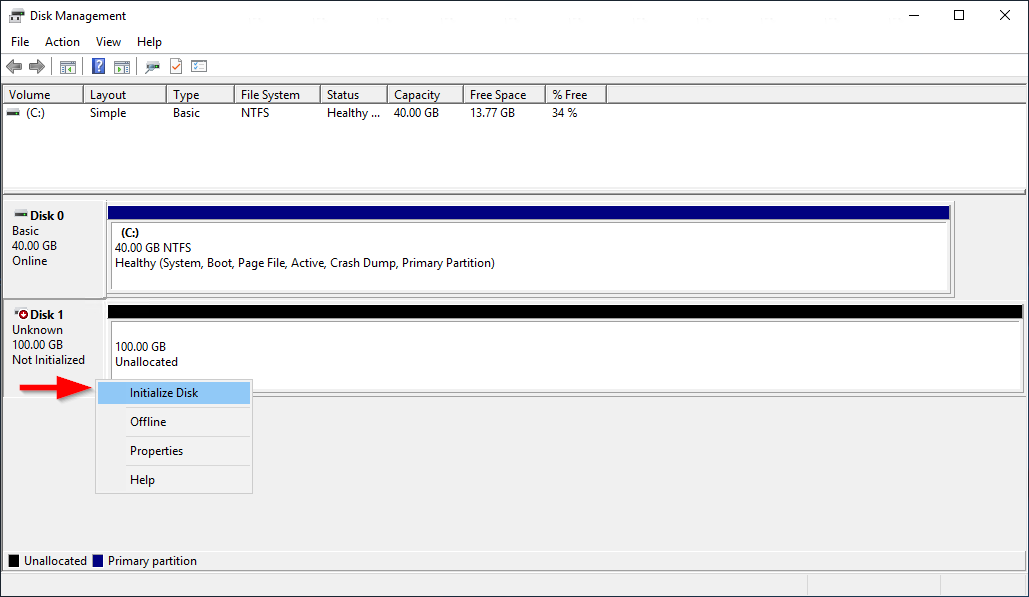
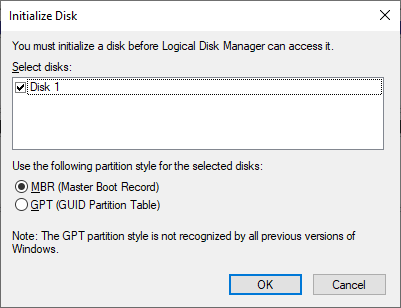
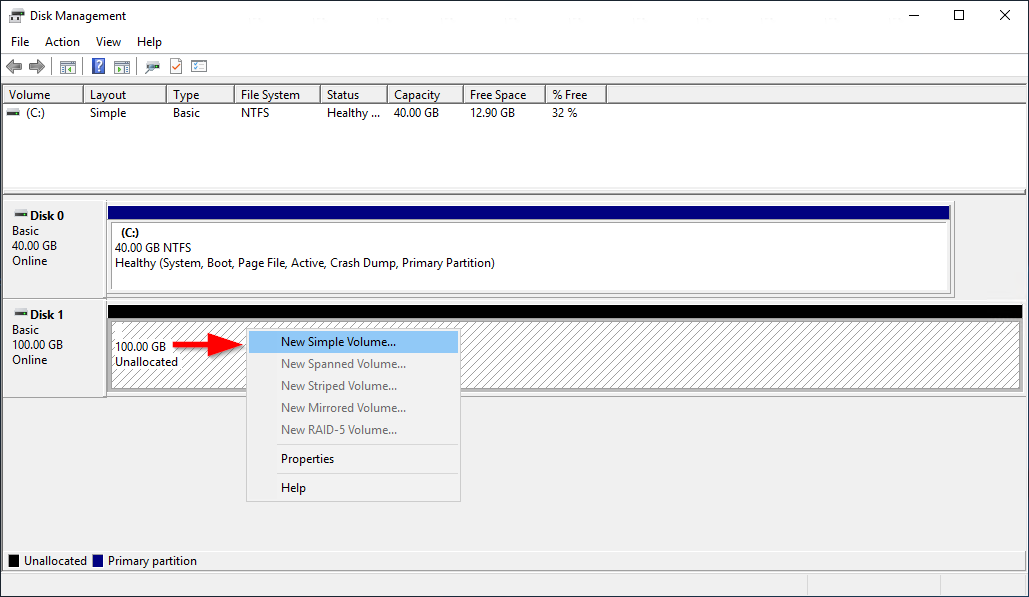
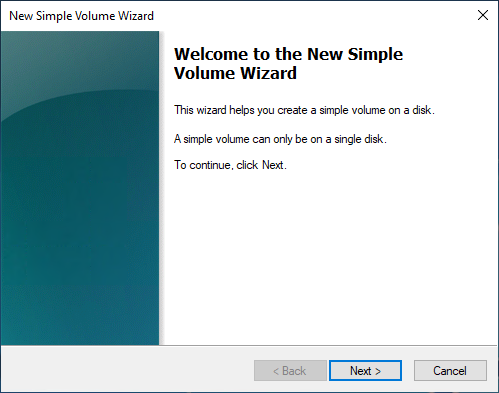
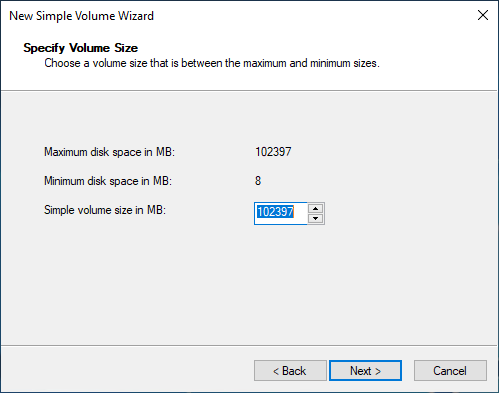
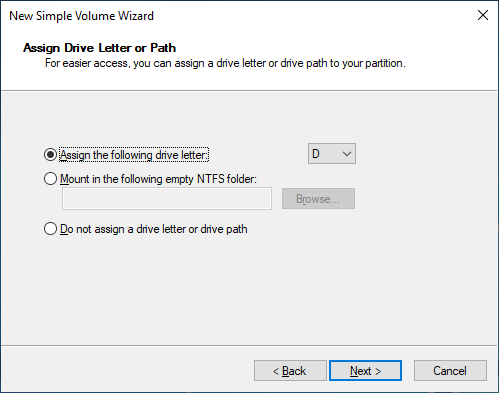
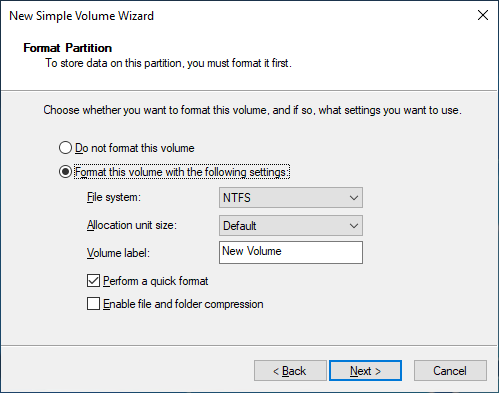
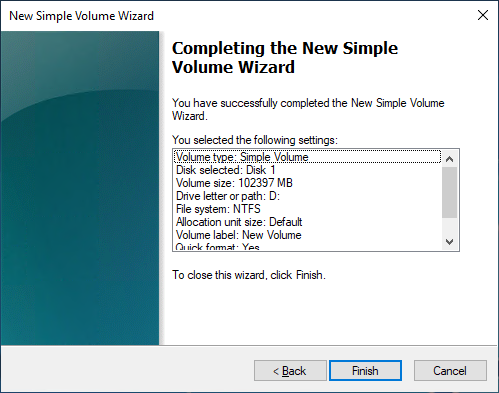
Use one of the following methods to make a volume available on a Windows instance.
