End of support notice: On November 13, 2025, AWS will discontinue support for Amazon Elastic Transcoder. After November 13, 2025, you will no longer be able to access the Elastic Transcoder console or Elastic Transcoder resources.
For more information about transitioning to AWS Elemental MediaConvert, visit this blog post
Create an Amazon S3 Bucket or Two, and Upload a Media File
Create an Amazon S3 bucket for the files that you want to transcode (the input bucket) and another bucket for the transcoded files (the output bucket). You can also use the same bucket for the input bucket and the output bucket.
To create Amazon S3 buckets and upload a media file
Sign in to the AWS Management Console and open the Amazon S3 console at https://console.aws.amazon.com/s3/
. In the Amazon S3 console, click Create Bucket.
In the Create Bucket dialog box, enter a bucket name. If you want to create separate input and output buckets, give the bucket an appropriate name.
Select a region for your bucket. By default, Amazon S3 creates buckets in the US Standard region. We recommend that you choose a region close to you to optimize latency, minimize costs, or to address regulatory requirements. This is also the region in which you want Elastic Transcoder to do the transcoding.
Click Create.
If you want to create separate buckets for the files that you are transcoding and the files that Elastic Transcoder has finished transcoding, repeat Step 2 through Step 5.
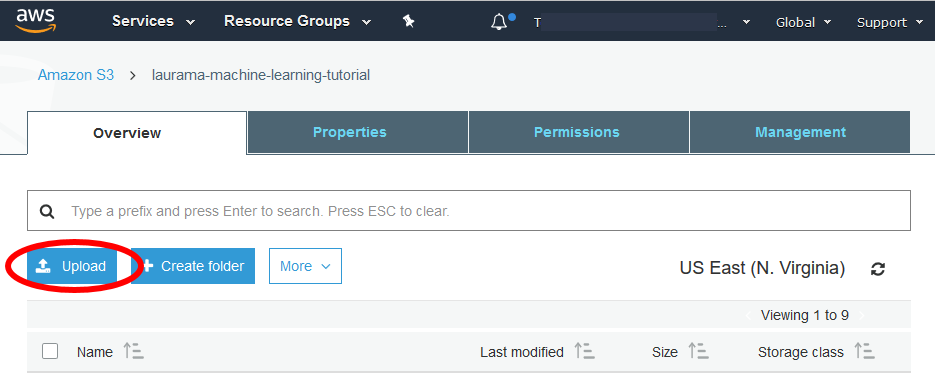
In the Buckets pane, click the name of your input bucket.
Click Actions and then click Upload.
On the Upload - Select Files page, click Add Files, and upload a media file that you want to transcode.
Click Start Upload.
