Adding geospatial data
You can flag geographic fields in your data, so that Amazon QuickSight can display them on a map. Amazon QuickSight can chart latitude and longitude coordinates. It also recognizes geographic components such as country, state or region, county or district, city, and ZIP code or postal code. You can also create geographic hierarchies that can disambiguate similar entities, for example the same city name in two states.
Note
Geospatial charts in Amazon QuickSight aren't currently supported in some AWS Regions, including in China. We are working on adding support for more Regions.
Use the following procedures to add geospatial data types and hierarchies to your dataset.
To add geospatial data types and hierarchies to your dataset
-
On the data preparation page, label the geographic components with the correct data type.
There are several ways to do this. One is to choose the field under Fields and use the ellipses icon (…) to open the context menu.
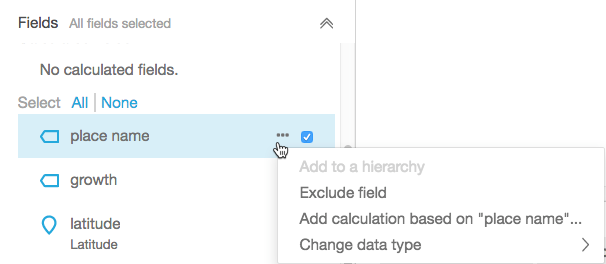
Then choose the correct geospatial data type.

You can also change the data type in the work area with the data sample. To do this, choose the data type listed under the field name. Then choose the data type you want to assign.
-
Verify that all geospatial fields necessary for mapping are labeled as geospatial data types. You can check this by looking for the place marker icon. This icon appears under the field names across the top of the page, and also in the Fields pane on the left.
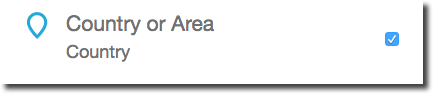
Also check the name of the data type, for example latitude or country.
-
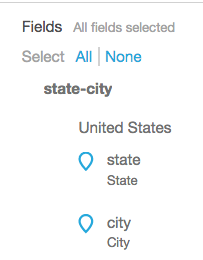
(Optional) You can set up a hierarchy or grouping for geographical components (state, city), or for latitude and longitude coordinates. For coordinates, you must add both latitude and longitude to the geospatial field wells.
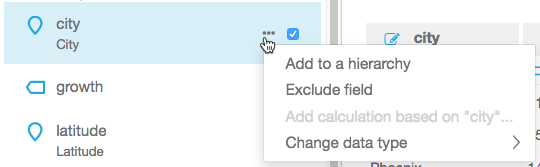
To create a hierarchy or grouping, first choose one of these fields in the Fields pane. Each field can only belong to one hierarchy. It doesn't matter which one you choose first, or what order you add the fields in.
Choose the ellipsis icon (…) next to the field name. Then choose Add to a hierarchy.
-
On the Add field to hierarchy screen, choose one of the following:
-
Choose Create a new geospatial hierarchy to create a new grouping.
-
Choose Add to existing geospatial hierarchy to add a field to a grouping that already exists. The existing hierarchies displayed include only those of matching geospatial types.
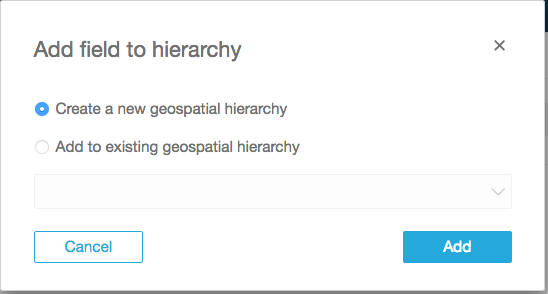
Choose Add to confirm your choice.
-
-
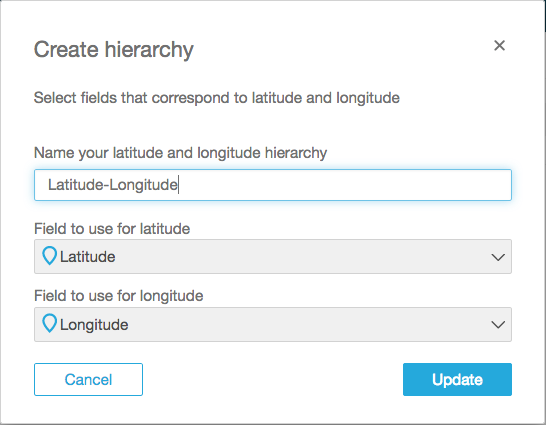
On the Create hierarchy screen, name your hierarchy.
If you are creating a latitude and longitude grouping, the Create hierarchy screen appears as follows. Depending on whether you chose latitude or longitude in the previous steps, either latitude or longitude displays on this screen. Make sure that your latitude field shows under Field to use for latitude. Also make sure that your longitude shows under Field to use for longitude.
For geographical components, the Create hierarchy screen has two choices:
-
Choose This hierarchy is for a single country if your data only contains one country. Choose the specific country from the list. Your data doesn't need to contain every level of the hierarchy. You can add fields to the hierarchy in any order.
-
Choose This hierarchy is for multiple countries if your data contains more than one country. Choose the field that contains the country names.
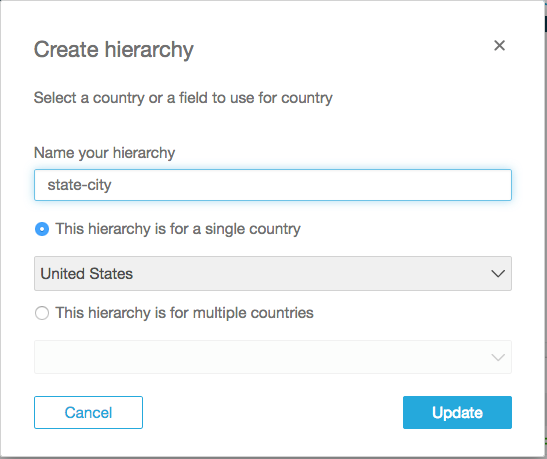
For either hierarchy type, choose Update to continue.
-
-
Continue by adding as many fields to the hierarchy as you need to.
Your geospatial groupings appear in the Fields pane.