Working with periods and schedules in AWS Managed Services Resource Scheduler
You can use AMS Resource Scheduler to add, update, or delete schedules or periods in AMS Accelerate accounts.
Adding or updating periods in AMS Resource Scheduler
Add or update a Resource Scheduler period in your AMS accounts.
Data you'll need:
Action: The type of operation to perform. Use "add" if you want to add a period or "update" if you want to update an existing period.
Name: The name of the period. You must specify a unique value if you are adding a new period.
AutomationAssumeRole: The ARN of the AWS Identity and Access Management (IAM) role that allows the runbook to add or update the period on your behalf. Specify the role as
ams_resource_scheduler_ssm_automation_role.Description (Optional): A meaningful description for the period.
BeginTime (Optional): The time in HH:MM format when you want to start the resources.
EndTime (Optional): The time in HH:MM format when you want to stop the resources.
Months (Optional): A comma-delimited list of months or a hyphenated range of months during which the resources should run.
MonthDays (Optional): A comma-delimited list of days of the month or a hyphenated range of days during which the resources should run.
WeekDays (Optional): A comma-delimited list of the days of the week or a range of days of the week during which the resources should run.
How to do it:
View the document at AWSManagedServices-AddOrUpdatePeriod
(you might have to choose your onboarded Region). Specify requirements in the Input parameters section, then choose Execute. After the operation completes, view results in the Output tab.
AWS CLI:
Run the following command to start an automation. Replace
placeholderswith your own information.aws ssm start-automation-execution --document-name "AWSManagedServices-AddOrUpdatePeriod" --document-version "\$DEFAULT" --parameters '{"Action":["add" or "update"], "Name":["NAME"], "Description":["DESCRIPTION"],"BeginTime":["TIME"], "EndTime":["TIME"], "Months":["MONTH"],"MonthDays":["DAY"], "WeekDays":["DAY"], "AutomationAssumeRole" : ["arn:aws:iam::ACCOUNTID:role/ams_resource_scheduler_ssm_automation_role"] }' --regionONBOARDED_REGION
Example:
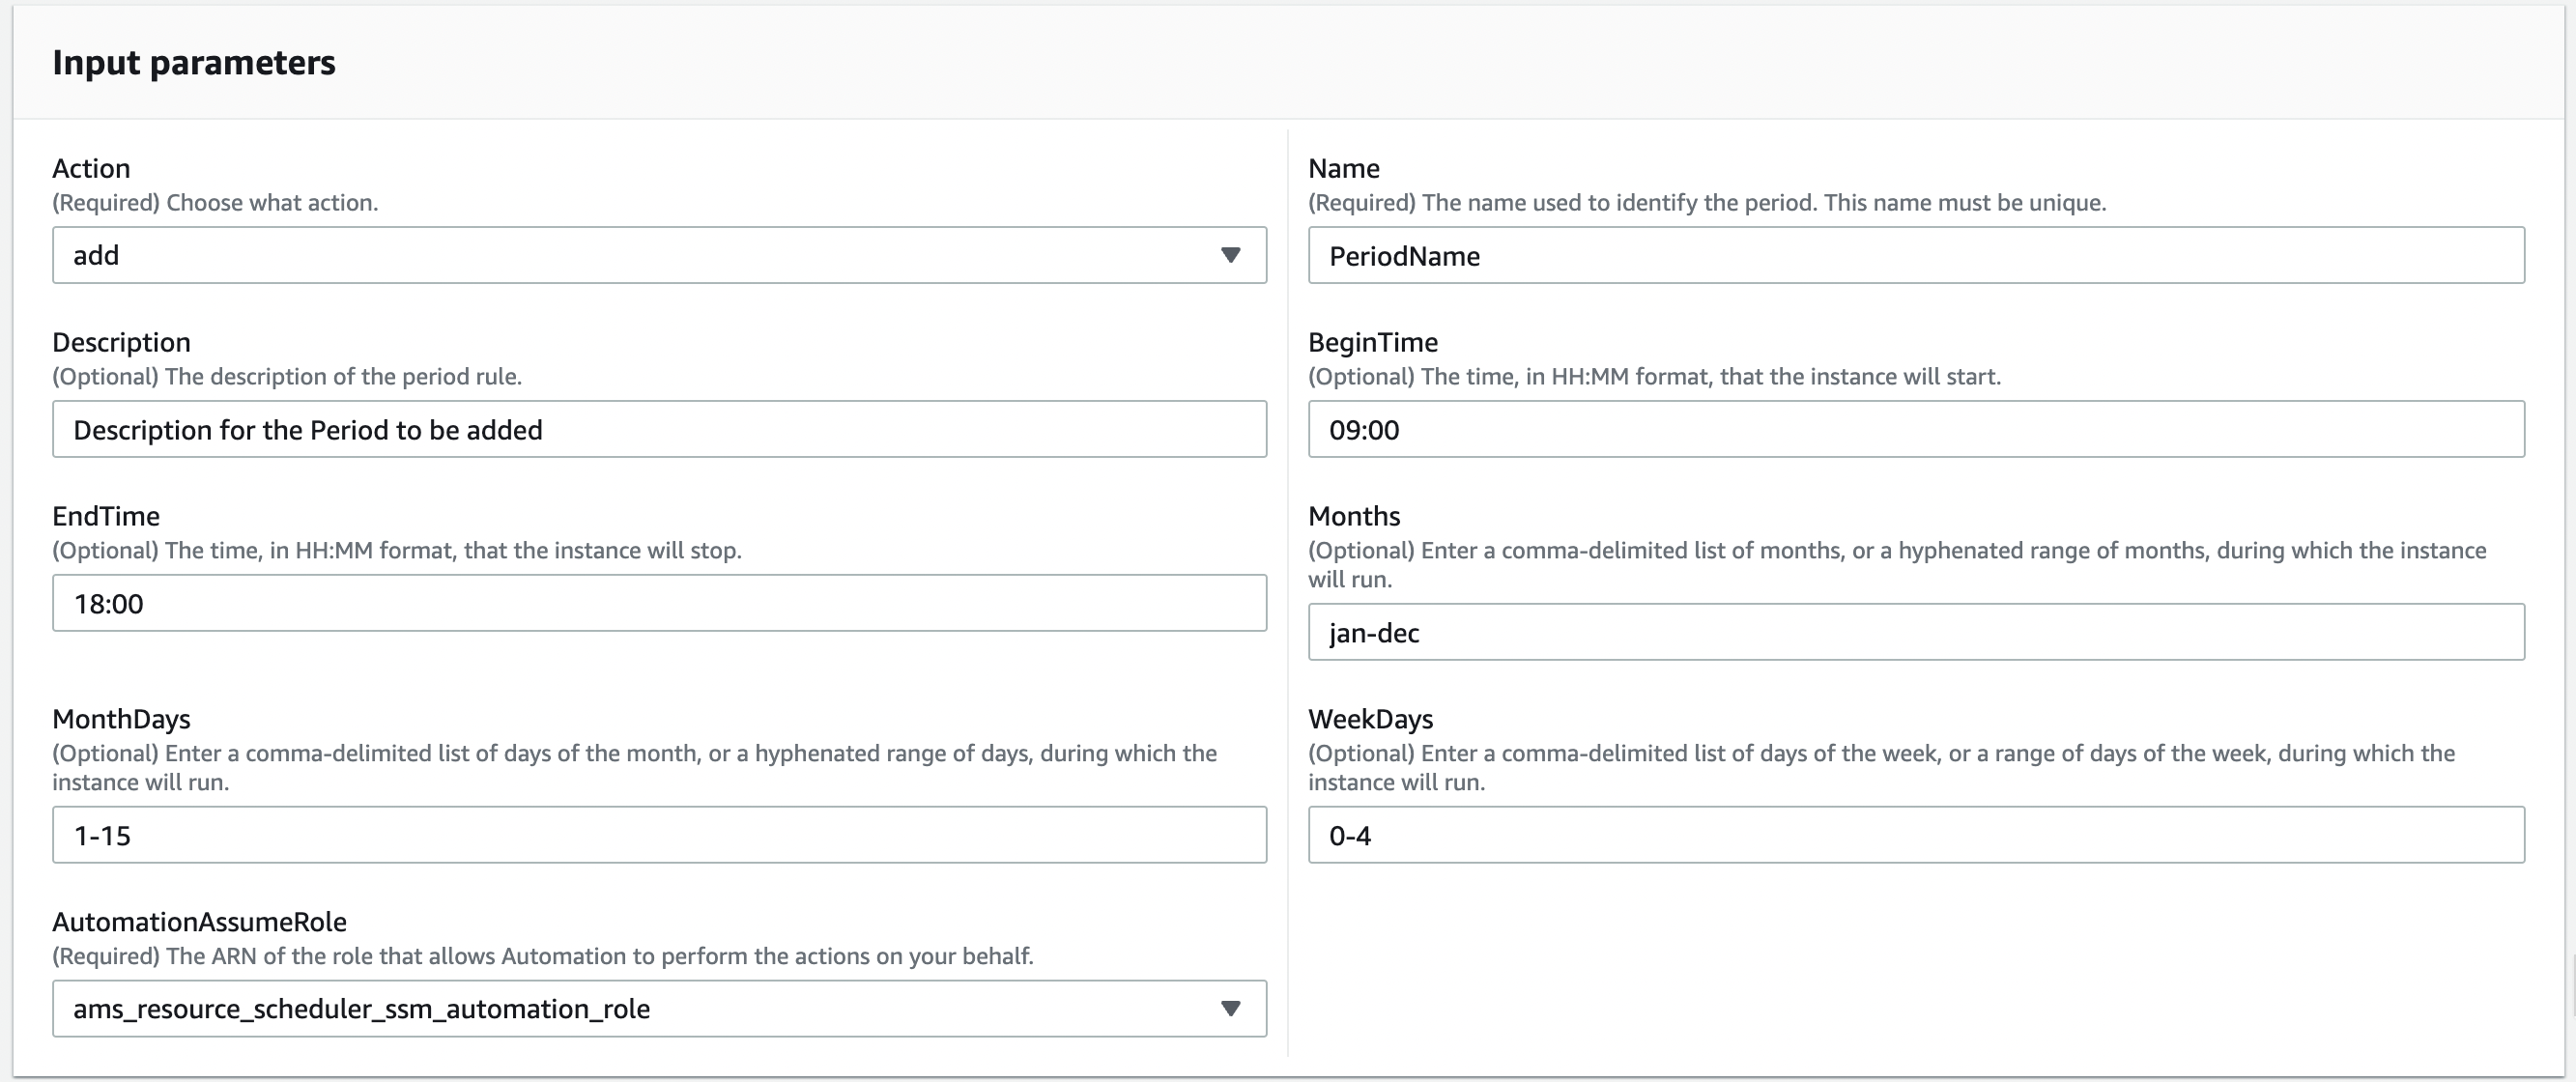
The following example shows how you can add a new period using the AWS Systems Manager console. We have named the period Period-Name and configured it to cover 9AM-6PM from Mon-Fri for first 15 days of every month.
View the AWS Systems Manager automation document at AWSManagedServices-AddOrUpdatePeriod
(you might have to choose your onboarded Region). 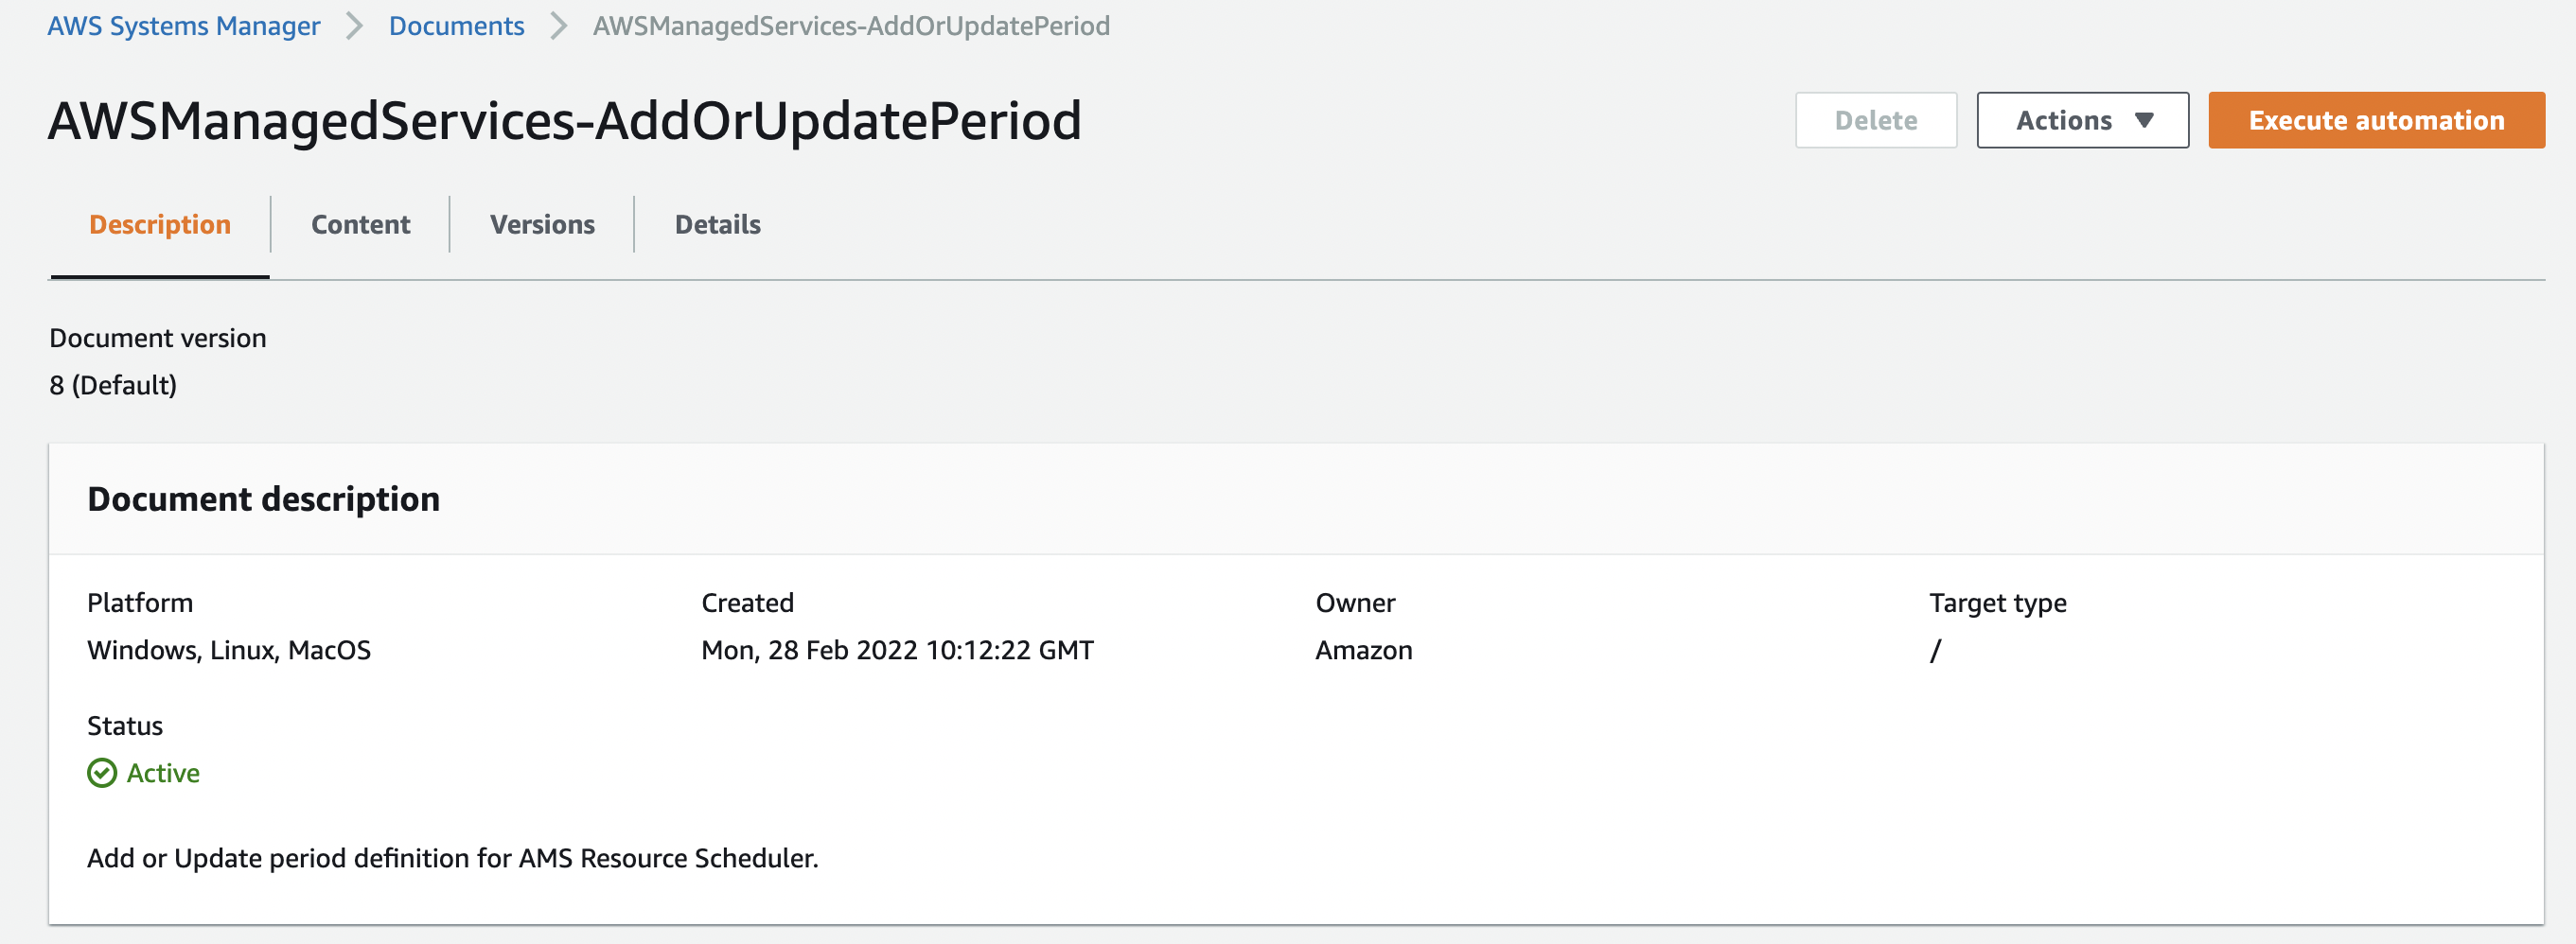
Provide values for the parameters.
Click Execute and wait for automation to complete.
Adding or updating schedules in AMS Resource Scheduler
Add or update a Resource Scheduler schedule in AMS Accelerate accounts.
Data you'll need:
Action: The type of operation to perform. Use "add" if you want to add a schedule or "update" if you want to update an existing schedule.
Name: The name of the schedule. You must specify a unique value if you are adding a new schedule.
AutomationAssumeRole: The ARN of the AWS Identity and Access Management (IAM) role that allows the runbook to add or update the schedule on your behalf. Specify the role
ams_resource_scheduler_ssm_automation_role.Description (Optional): A meaningful description for the schedule.
Schedules (Optional): Specify a comma-delimited list of periods that are to be used with this schedule. Each period must have already been created.
RetainRunning (Optional): Specify "true" to prevent Resource Scheduler from stopping a running resource at the end of a running period if the resource was manually started before the beginning of the running perod. By default, Resource Scheduler stops the resource.
StopNewInstances (Optional): Specify "false" to prevent Resource Scheduler from stopping a resource the first time it is tagged if it is running outside of the running period. By default, Resource Scheduler stops the resource.
SSMMaintenanceWindow (Optional): Specify a comma-delimited list of AWS Systems Manager (SSM) maintenance windows that you want to add as running periods for the schedule. You must also specify the "UseMaintenanceWindow" property to "true."
TimeZone (Optional): Specify the time zone that you want Resource Scheduler to use. By default, Resource Scheduler uses UTC.
UseMaintenanceWindow (Optional): Specify "true" if you want to Resource Scheduler to consider Amazon Relational Database Service (RDS) maintenance window as a running period to an Amazon RDS instance schedule, or to add AWS Systems Manager (SSM) maintenance windows as a running period to an Amazon EC2 instance schedule.
UseMetrics (Optional): Specify "true" to enable CloudWatch metrics at the schedule level and "false" to disable CloudWatch metrics. Specifying this property overrides the CloudWatch metrics setting set at the stack level.
How to do it:
View the document at AWSManagedServices-AddOrUpdateSchedule
(you might have to choose your onboarded Region). Specify requirements in the Input parameters section, and then choose Execute. After the operation completes, view results in the Output tab.
AWS CLI:
Run the following command to start an automation. Replace
placeholderswith your own information.aws ssm start-automation-execution --document-name "AWSManagedServices-AddOrUpdateSchedule" --document-version "\$DEFAULT" --parameters '{"Action":["add" or "update"], "Name":["NAME"], "Description":["DESCRIPTION"], "Hibernate":["trueorfalse"],"Enforced":["trueorfalse"], "OverrideStatus":["runningorstopped"],"Periods":["PERIOD-A,PERIOD-B"], "RetainRunning":["trueorfalse"],"StopNewInstances":["trueorfalse"], "SSMMaintenanceWindow":["WINDOW-NAME"],"TimeZone":["TIMEZONE"], "UseMaintenanceWindow":["trueorfalse"],"UseMetrics":["trueorfalse"], "AutomationAssumeRole" : ["arn:aws:iam::ACCOUNTID:role/ams_resource_scheduler_ssm_automation_role"] }' --regionONBOARDED_REGION
Example:
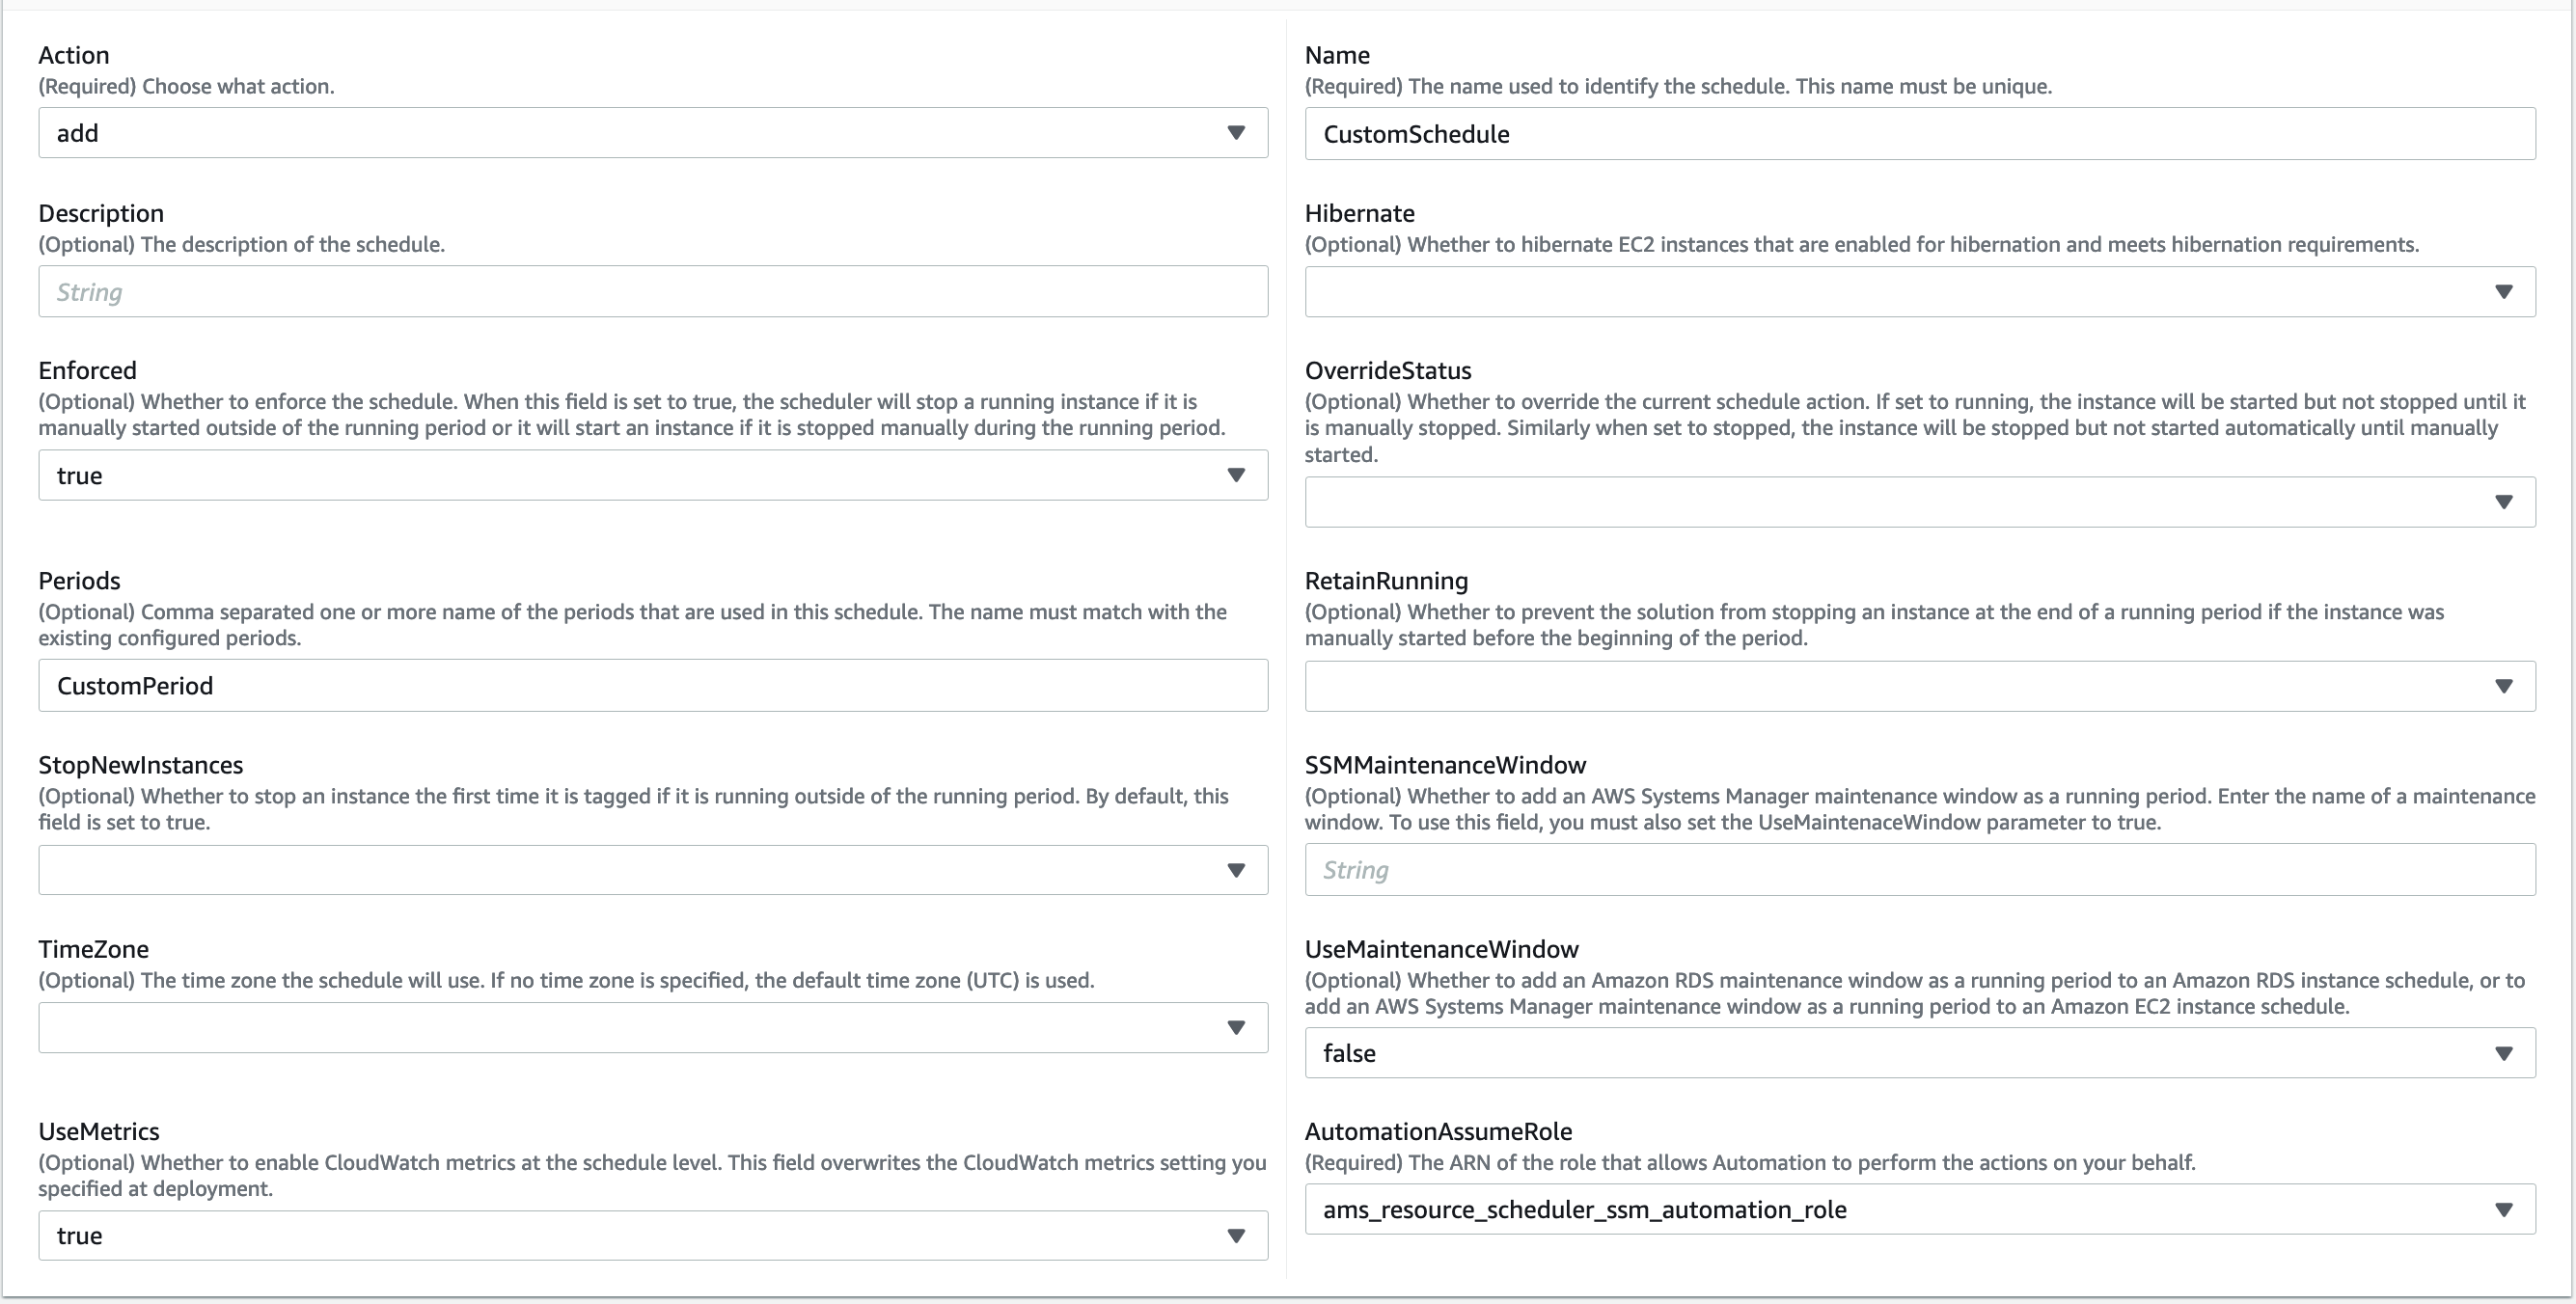
The following example shows how to add a schedule for AMS Resource Scheduler. In this example you add a schedule nameed CustomSchedule using CustomPeriod.
View the AWS Systems Manager automation document at AWSManagedServices-AddOrUpdateSchedule
(you might have to choose your onboarded Region). 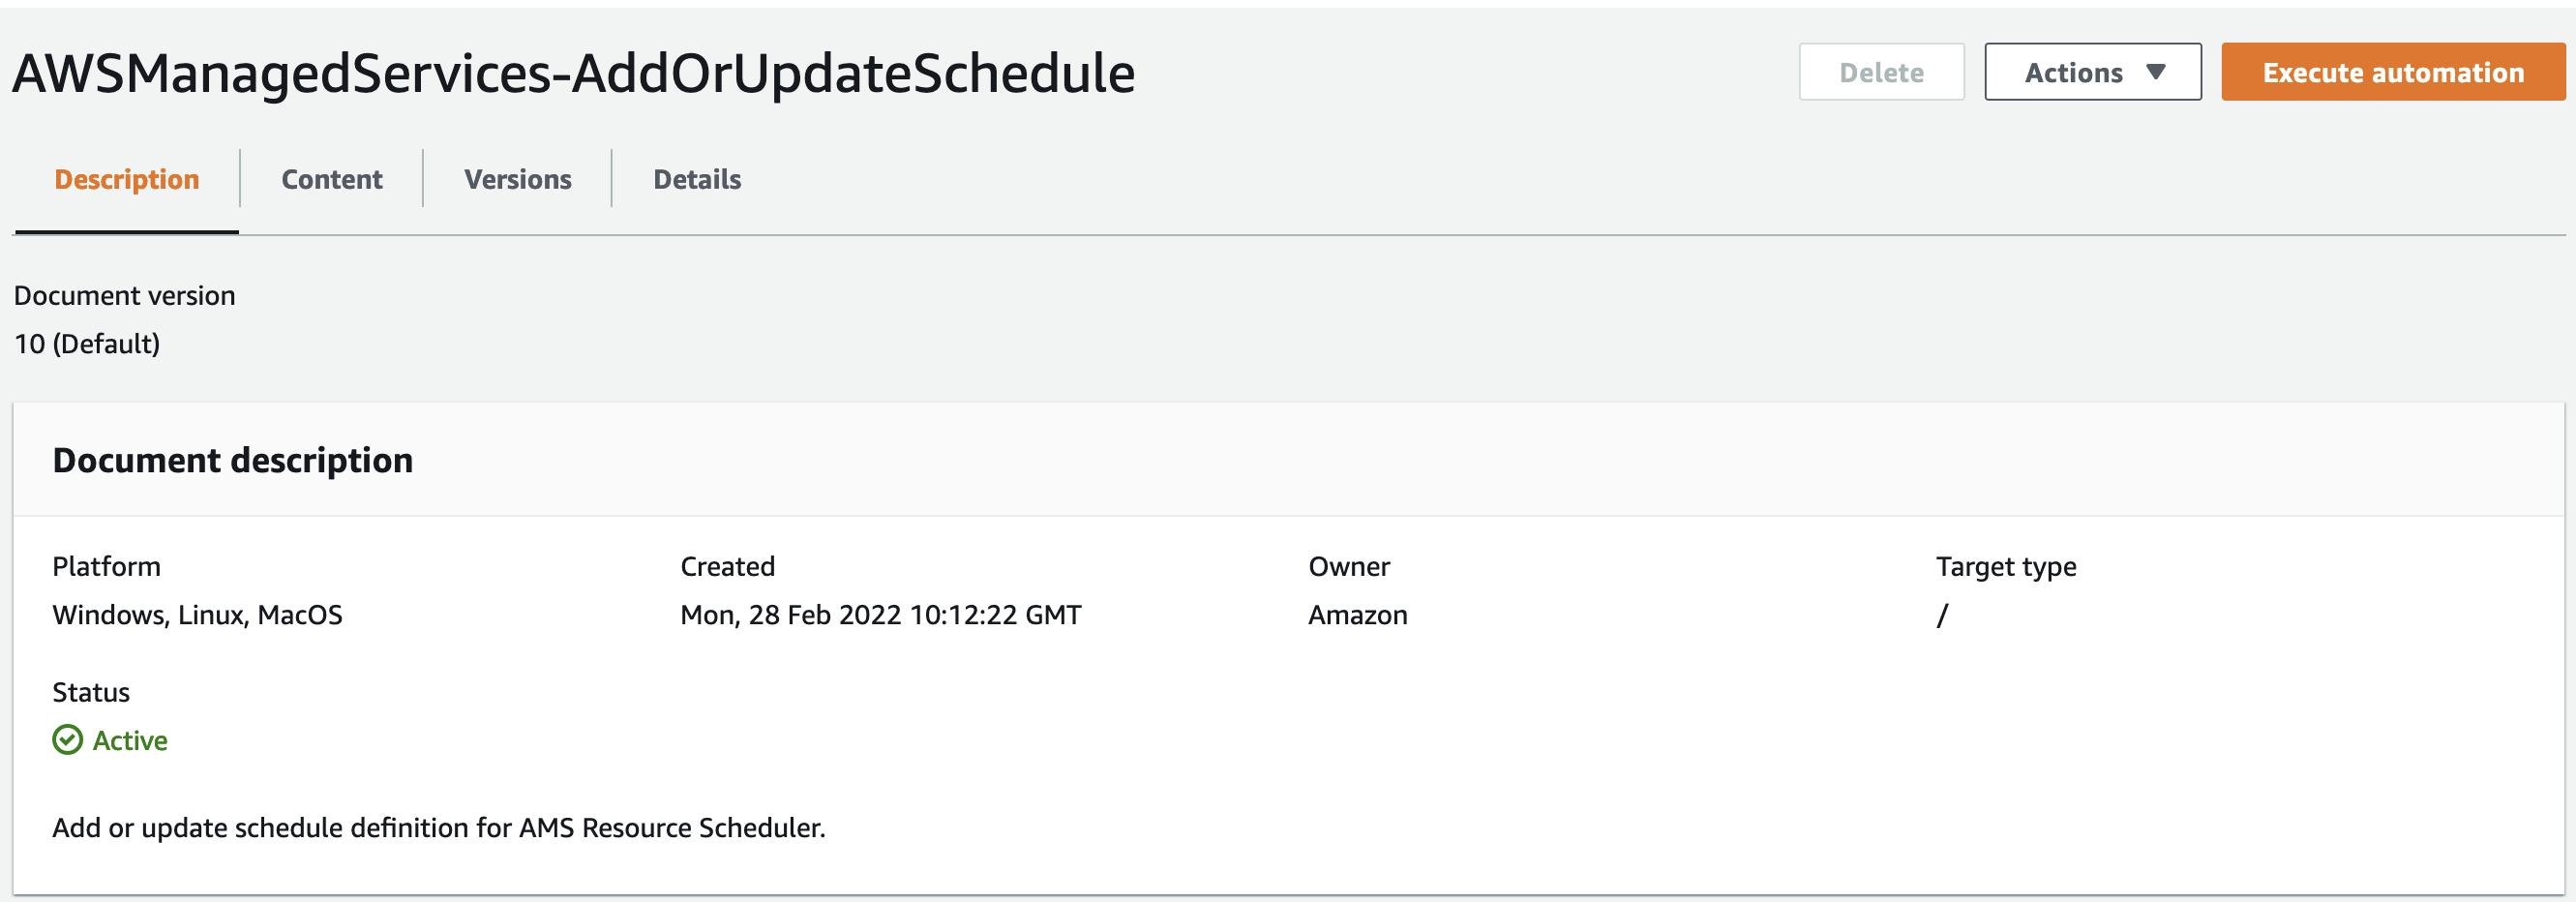
Provide values for the parameters.
Click Execute and wait for automation to complete.
Deleting periods or schedules in AMS Resource Scheduler
In order to delete Resource Scheduler periods or schedules in AMS Accelerate accounts, you need the following data:
ConfigurationType: The type of configuration you want to delete. Use "period" if you want to delete periods or "schedule" if you want to delete schedules.
Name: The name of the schedule or period that you want to delete.
AutomationAssumeRole: The ARN of the AWS Identity and Access Management (IAM) role that allows the runbook to delete schedules or periods on your behalf. Specify the role
ams_resource_scheduler_ssm_automation_role.
How to do it:
View the document at AWSManagedServices-DeleteScheduleOrPeriod
(you might3have to choose your onboarded Region). Specify requirements in the Input parameters section, then choose Execute. After the operation completes, view results in the Output tab.
AWS CLI:
Run the following command to start an automation. Replace
placeholderswith your own information.aws ssm start-automation-execution --document-name "AWSManagedServices-DeleteScheduleOrPeriod" --document-version "\$DEFAULT" --parameters '{"ConfigurationType":["period" or "schedule"],"Name":["NAME"], "AutomationAssumeRole":["arn:aws:iam::ACCOUNTID:role/ams_resource_scheduler_ssm_automation_role"]}' --regionONBOARDED_REGION
Example:
The following example shows how you can delete a period using the AWS Systems Manager console.
View the AWS Systems Manager automation document at AWSManagedServices-DeleteScheduleOrPeriod
(you might have to choose your onboarded Region). 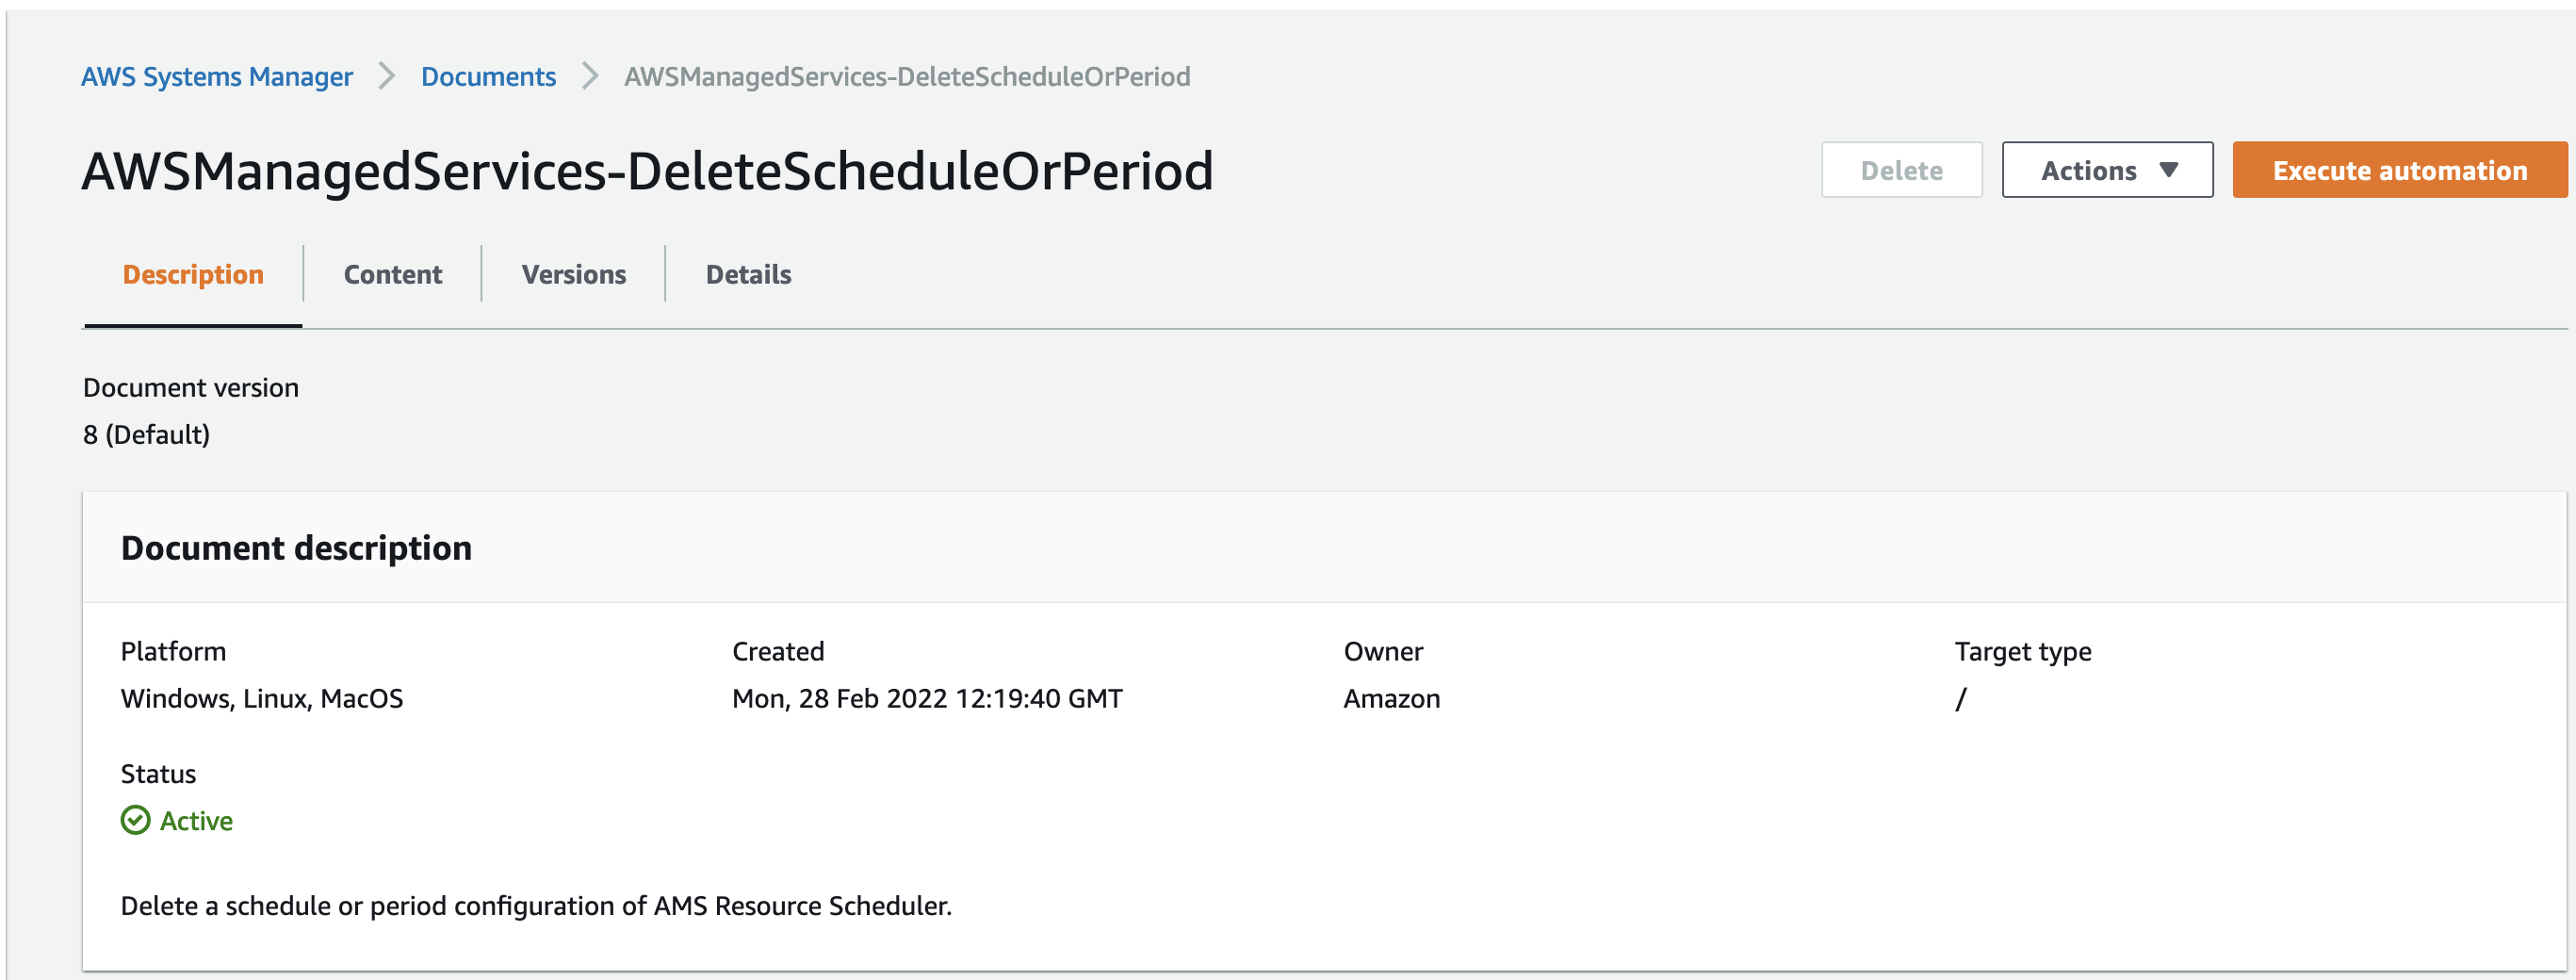
Provide values for the parameters.

Click Execute and wait for automation to complete.
Describing periods or schedules in AMS Resource Scheduler
In order to describe (view a details on) a Resource Scheduler period or schedule in AMS Accelerate accounts, you need the following data:
ConfigurationType: The type of configuration that you want to describe. Use "periods" if you want to describe all periods or "schedules" if you want to describe all schedules.
AutomationAssumeRole: The ARN of the AWS Identity and Access Management (IAM) role that allows the runbook to describe schedules or periods on your behalf. Specify the role
ams_resource_scheduler_ssm_automation_role.
How to do it:
View the document at AWSManagedServices-DescribeScheduleOrPeriods
(you might have to choose your onboarded Region): Specify requirements in the Input parameters section and then choose Execute.
After the operation completes, view results in the Output tab.
AWS CLI:
Run the following command to start an automation. Replace
placeholderswith your own information.aws ssm start-automation-execution --document-name "AWSManagedServices-DescribeScheduleOrPeriods" --document-version "\$DEFAULT" --parameters '{"ConfigurationType":["period" or "schedule"],"AutomationAssumeRole":["arn:aws:iam::ACCOUNTID:role/ams_resource_scheduler_ssm_automation_role"]}' --regionONBOARDED_REGION
Example:
The following example shows how you can describe a period using the AWS Systems Manager console.
View the AWS Systems Manager automation document at AWSManagedServices-DescribeScheduleOrPeriods
(you might have to choose your onboarded Region). 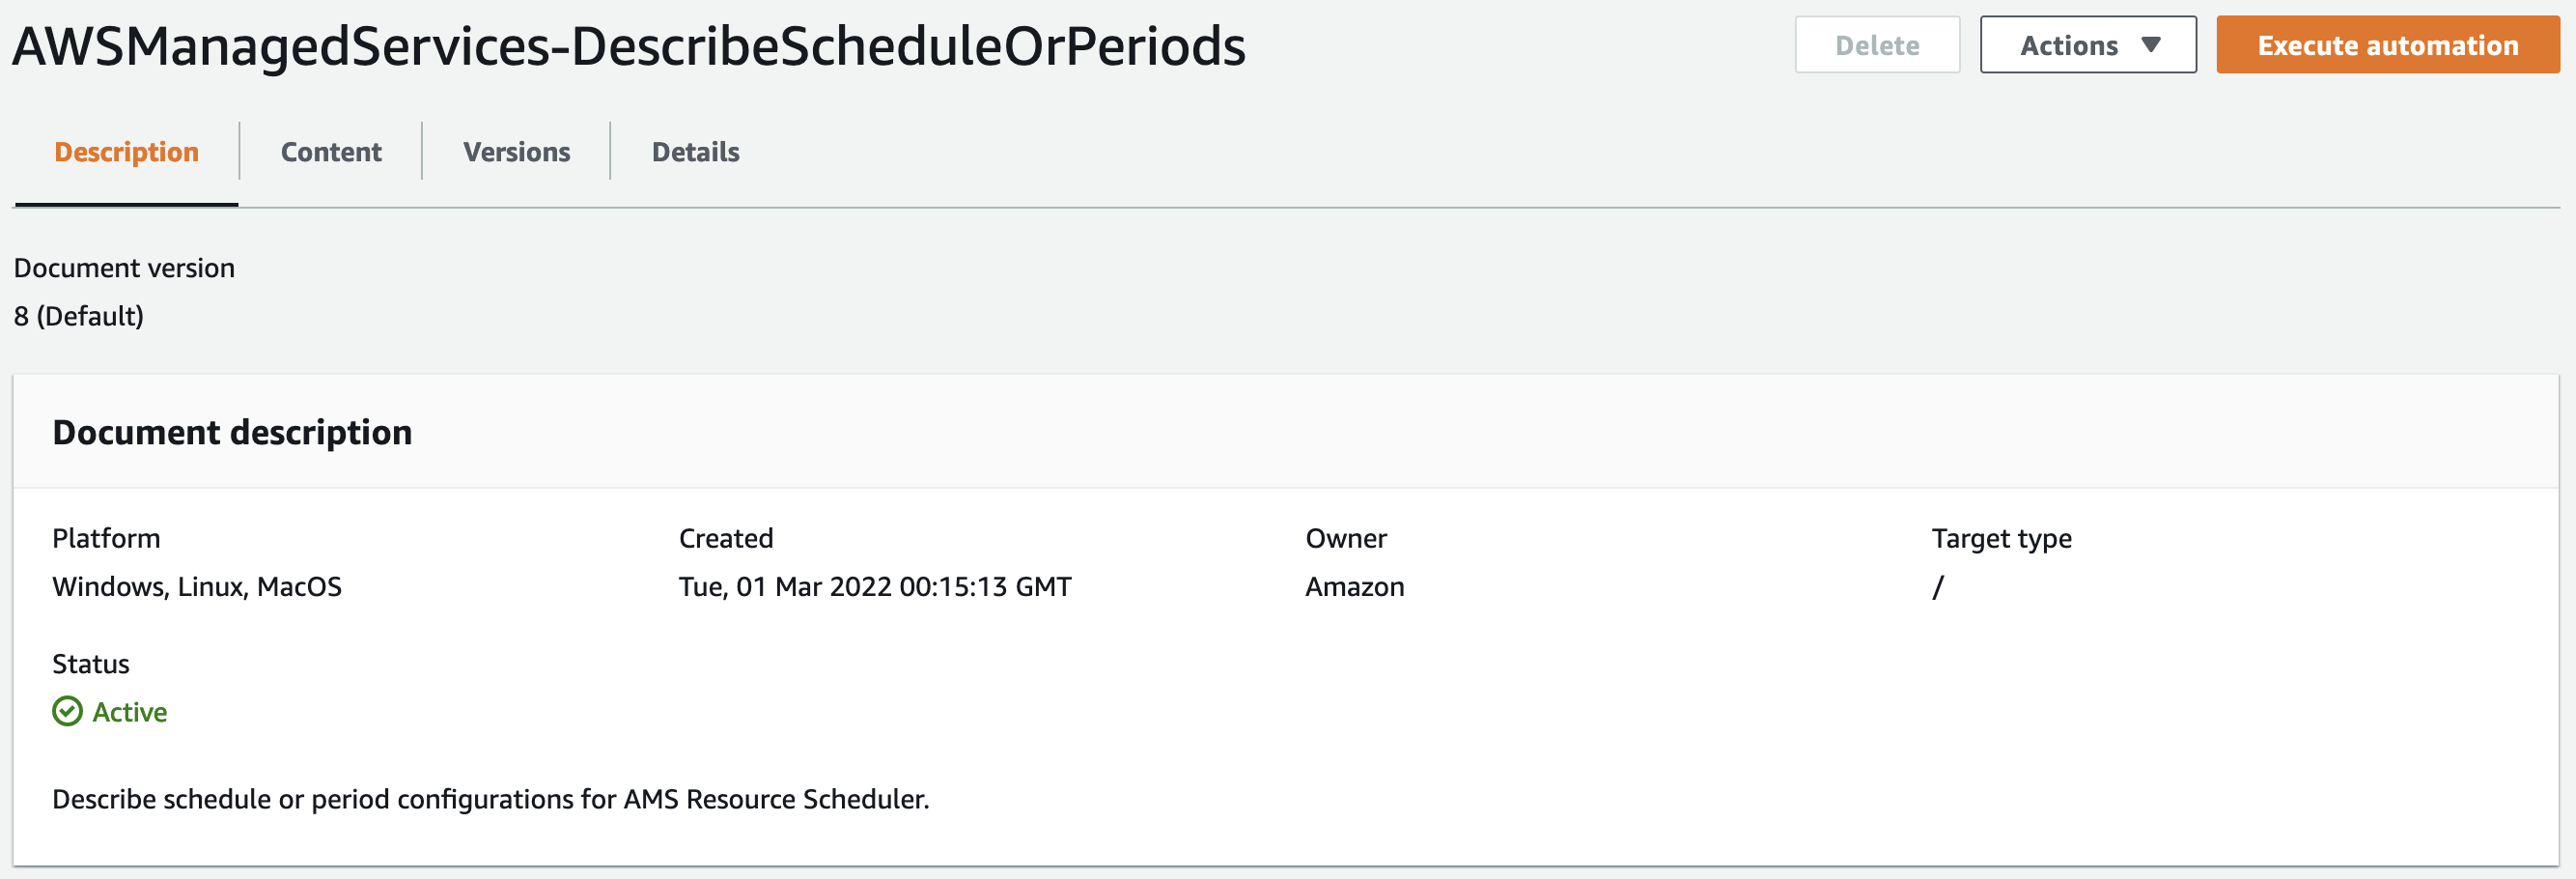
Provide values for the parameters.

Click Execute and wait for automation to complete.
