Creating connections for connectors
An AWS Glue connection is a Data Catalog object that stores connection information for a particular data store. Connections store login credentials, URI strings, virtual private cloud (VPC) information, and more. Creating connections in the Data Catalog saves the effort of having to specify all connection details every time you create a job.
To create a connection for a connector
-
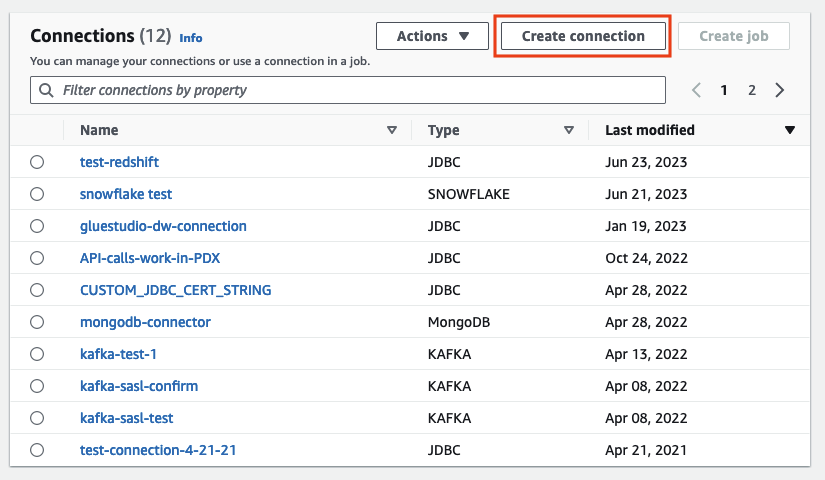
In the AWS Glue Studio console, choose Connectors in the console navigation pane. In the Connections section, choose Create connection.
-
Choose the data source you want to create a connection for in step 1 of the Create data connection wizard. There are several ways to view the available data sources, including:
-
Filter the available data sources by choosing a tab. By default, All connectors is selected.
-
Toggle List to view the data sources as a list or toggle back to Grid to view the available connectors in the grid layout.
-
Use the search bar to narrow the list of data sources. As you type, search matches are displayed and non-matching sources are removed from view.
Once you've chosen the data source, choose Next.
-
-
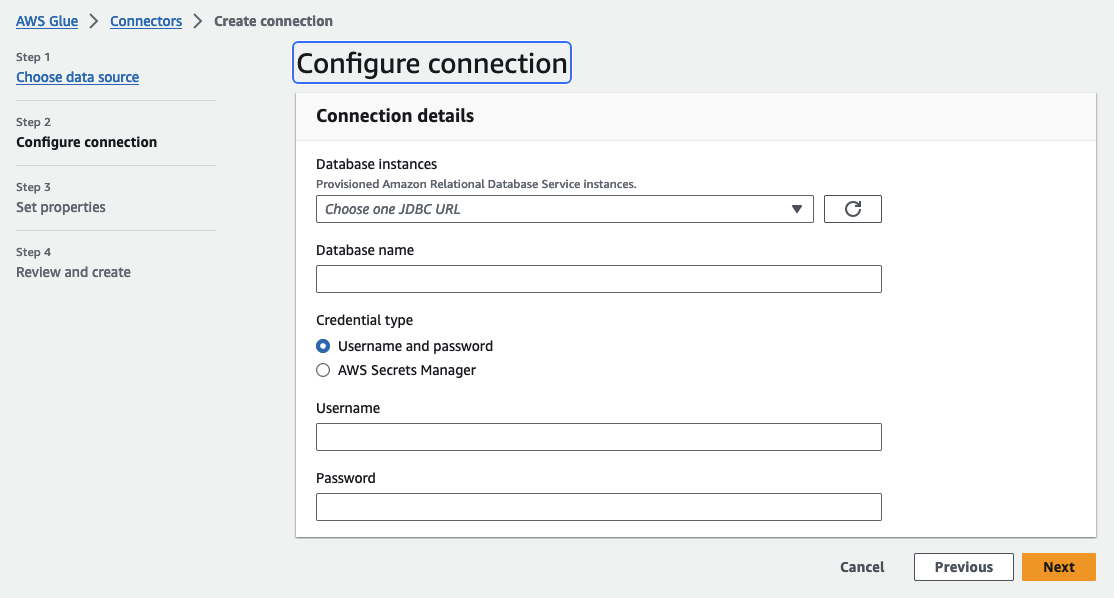
Configure the connection in Step 2 in the wizard.
Enter the connection details. Depending on the type of connector you selected, you're prompted to enter additional information:
-
Choose the data source you want to create a connection for in step 1 of the Create data connection wizard. There are several ways to view the available data sources. By default, you will see all available data sources in a grid layout. You can also:
-
Toggle List to view the data sources as a list or toggle back to Grid to view the available connectors in the grid layout.
-
Use the search bar to narrow the list of data sources. As you type, search matches are displayed and non-matching sources are removed from view.

Once you've chosen the data source, choose Next.
-
-
Configure the connection in Step 2 in the wizard.
Enter the connection details. Depending on the type of connector you selected, you may be required to enter additional connection information. This can include:
-
Connection details – these fields will change depending on the data source you are connecting to. For example, if you are connecting to Amazon DocumentDB databases, you will enter the Amazon DocumentDB URL. If you are connecting to Amazon Aurora, you will choose the database instance and enter the database name. The following is the Connection details required for Amazon Aurora:
-
Credential type – choose between Username and password or AWS Secrets Manager. Enter the requested authentication information.
-
For connectors that use JDBC, enter the information required to create the JDBC URL for the data store.
-
If you use a virtual private cloud (VPC), then enter the network information for your VPC.
-
-
Set the connection properties in step 3 of the wizard. You can add a description and tags as an optional part of this step. Name is required and is prepopulated with a default value. Choose Next.
-
Review the connection source, details, and properties. If you need to make any changes, choose Edit for the step in the wizard. When ready, choose, Create connection .
Choose Create connection.
You are returned to the Connectors page, and the informational banner indicates the connection that was created. You can now use the connection in your AWS Glue Studio jobs.
