Bar gauge
This documentation topic is designed for Grafana workspaces that support Grafana version 10.x.
For Grafana workspaces that support Grafana version 9.x, see Working in Grafana version 9.
For Grafana workspaces that support Grafana version 8.x, see Working in Grafana version 8.
Bar gauges simplify your data by reducing every field to a single value. You choose how Grafana calculates the reduction.
This panel can show one or more bar gauges depending on how many series, rows, or columns your query returns.
Value options
Use the following options to refine how your visualization displays the value:
Show
Choose how Grafana displays your data.
Calculate
Show a calculated value based on all rows.
-
Calculation – Select a reducer function that Grafana will use to reduce many fields to a single value. For a list of available calculations, refer to Calculation types.
-
Fields – Select the fields display in the panel.
All values
Show a separate stat for every row. If you select this option, then you can also limit the number of rows to display.
-
Limit – The maximum number of rows to display. Default is 5,000.
-
Fields – Select the fields display in the panel.
Bar gauge options
Adjust how the bar gauge is displayed.
Orientation
Choose a stacking direction.
-
Auto – Grafana selects what it thinks is the best orientation.
-
Horizontal – Bars stretch horizontally, left to right.
-
Vertical – Bars stretch vertically, bottom to top.
Display mode
Choose a display mode.
-
Gradient – Threshold levels define a gradient.
-
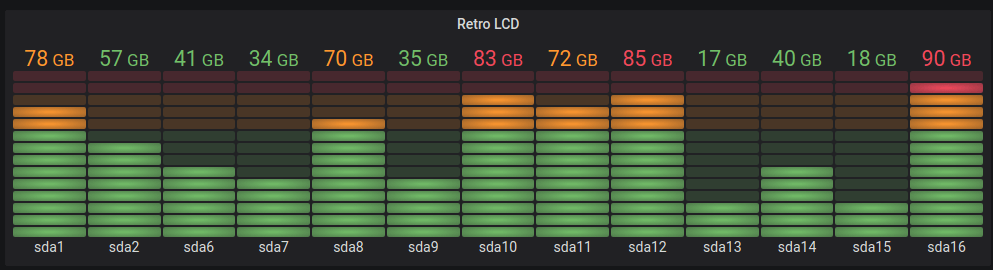
Retro LCD – The gauge is split into small cells that are lit or unlit.
-
Basic – Single color based on the matching threshold.
Value display
Choose a value display mode.
-
Value color – Value color is determined by value.
-
Text color – Value color is the default text color.
-
Hidden – Values are hidden.
Name placement
Choose a name placement mode.
Note
This option only applies when the orientation of the bar gauge is horizontal. When the bar gauge is in the vertical orientation, names are always placed at the bottom of each bar gauge.
-
Auto – Grafana determines the best placement.
-
Top – Names are placed on the top of each bar gauge.
-
Left – Names are placed to the left of each bar gauge.
Show unfilled area
Select this if you want to render the unfilled region of the bars as dark gray. Not applicable to Retro LCD display mode.
Bar size
Choose a bar size mode.
-
Auto – Grafana determines the best bar gauge size.
-
Manual – Manually configure the bar gauge size.
Min width
Limit the minimum width of the bar column when the gauge is oriented vertically.
Automatically show x-axis scrollbar when there is a large amount of data.
Note
This option only applies when bar size is set to manual.
Min height
Limit the minimum height of the bar row when the gauge is oriented horizontally.
Automatically show y-axis scrollbar when there is a large amount of data.
Note
This option only applies when bar size is set to manual.
Max height
Limit the maximum height of the bar row when the gauge is oriented horizontally.
Automatically show y-axis scrollbar when there is a large amount of data.
Note
This option only applies when bar size is set to manual.
