Task 1: Create a new Amplify Project
|
Time to complete |
5 minutes |
|
Requires |
|
|
Get help |
Overview
In this task, you will create a new web application using
React
What you will accomplish
-
Create a new web application
-
Set up Amplify on your project
Implementation
-
Check environment
In a new terminal window or command line, run the following commands to verify that you are running at least Node.js version 18.16.0 and npm version 6.14.4 or greater.
-
If you are not running these versions, visit the nodejs
and npm website for more information.
Note
Your output might differ based on the version installed.
node -v
npm -v
-
-
Create a new React application
In a new terminal or command line window, run the following command to use Vite to create a React application:
npm create vite@latest expensetracker -- --template react
cd expensetracker
npm install
npm run dev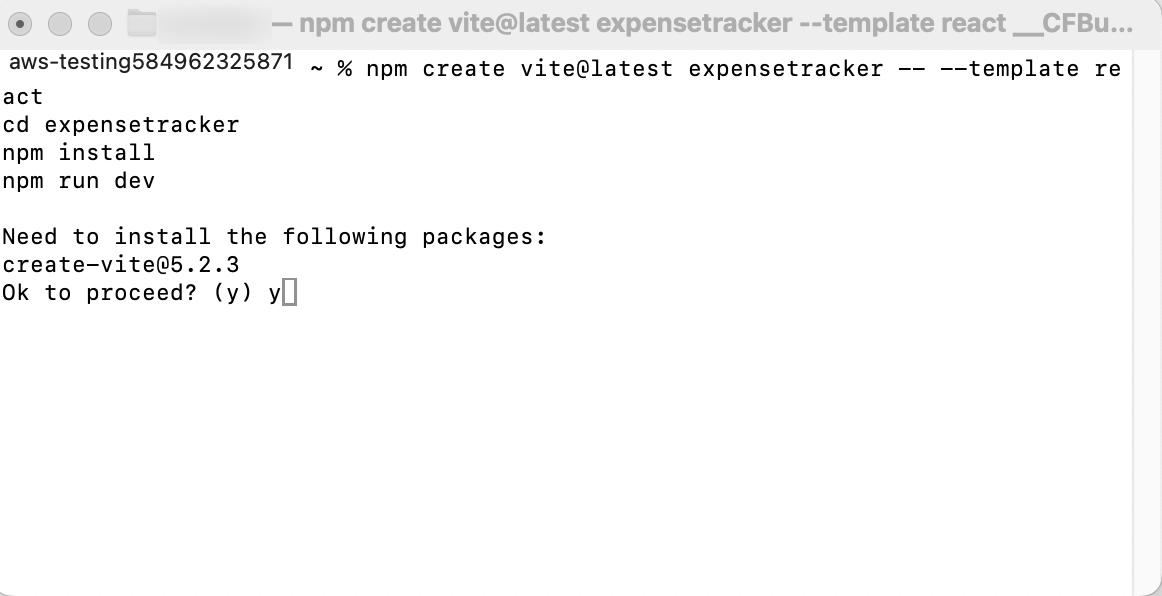
-
Open the local development server
In the terminal window, select and open the Local link to view the Vite + React application.

-
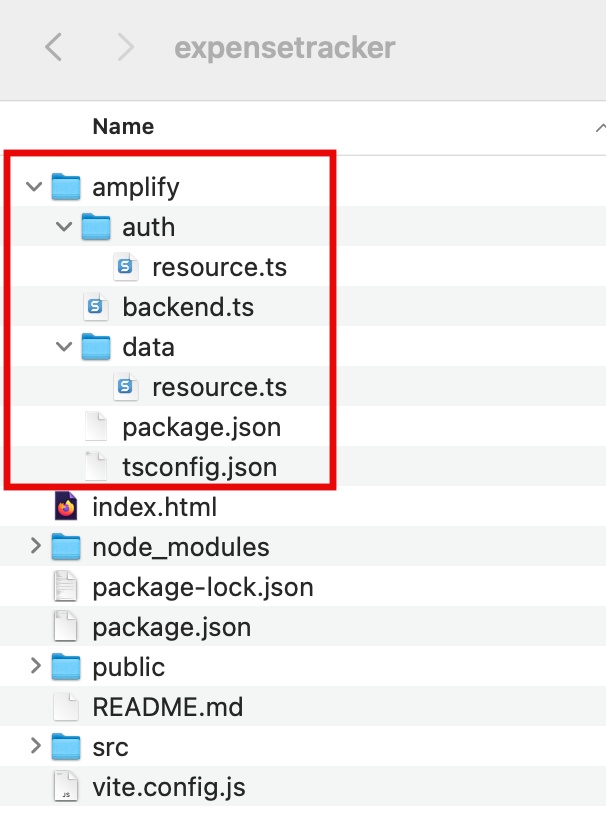
Install Amplify CLI
Open a new terminal window, navigate to your projects root folder (expensetracker), and run the following command:
npm create amplify@latest -y
Running the previous command will scaffold a lightweight Amplify project in the app’s directory where you installed the packages.
Conclusion
In this task, you learned how to create a React frontend application, and installed the amplify packages in preparation to configure a backend for the app.
