Task 2: Initialize the Amplify Backend
|
Time to complete |
10 minutes |
|
Requires |
|
|
Get help |
Overview
In this task you will use AWS Amplify to configure a cloud backend for the app. AWS Amplify Gen 2 uses a fullstack TypeScript developer experience (DX) for defining backends. Amplify offers a unified developer experience with hosting, backend, and UI-building capabilities and a code-first approach.
The app that you build in this tutorial is an expense tracker app that will allow users to create, delete, and list expenses. This example app is a starting point to learn how to build many popular types of CRUD+L (create, read, update, delete, and list) applications.
What you will accomplish
In this task, you will:
-
Set up Amplify Authentication
-
Set up Amplify Data
Implementation
The app uses email as the default login mechanism. When the users sign up, they receive a verification email. In this step, you will customize the verification email.
-
Update the resource file
On your local machine, navigate to the amplify/auth/resource.ts file, and use the following code to customize the verification email. Then, save the file.
import { defineAuth } from "@aws-amplify/backend";

export const auth = defineAuth({
  loginWith: {
    email: {
      verificationEmailStyle: "CODE",
      verificationEmailSubject: "Welcome to the ExpenseTracker!",
      verificationEmailBody: (createCode) =>
        `Use this code to confirm your account: ${createCode()}`,
    },
  },
});
-
View the customized email
This image shows an example of the customized verification email.

In this step, you will define the schema for the Expense data model, and use a per-owner authorization rule allow.owner() to restrict the expense record’s access to the owner of the record. Amplify will automatically add a owner: a.string() field to each expense which contains the expense owner's identity information upon record creation.
-
Update the resource file
On your local machine, navigate to the amplify/data/resource.ts file, and update the file with the following code to define the schema. Then, save the file.
import { type ClientSchema, a, defineData } from '@aws-amplify/backend';

const schema = a.schema({
  Expense: a
    .model({
      name: a.string(),
      amount: a.float(),
    })
    .authorization((allow) => [allow.owner()]),
});

export type Schema = ClientSchema
<typeof schema>
;

export const data = defineData({
  schema,
  authorizationModes: {
    defaultAuthorizationMode: 'userPool',
  },
});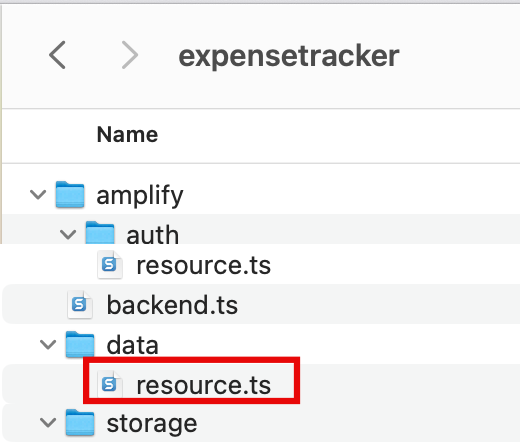
Note
The amplify/backend.ts file is already configured to import the auth and data backend definitions. You don’t need to change it.
-
Deploy sandbox
Open a new terminal window, navigate to your app's root folder (expensetracker), and run the following command to deploy cloud resources into an isolated development space so you can iterate fast.
npx ampx sandbox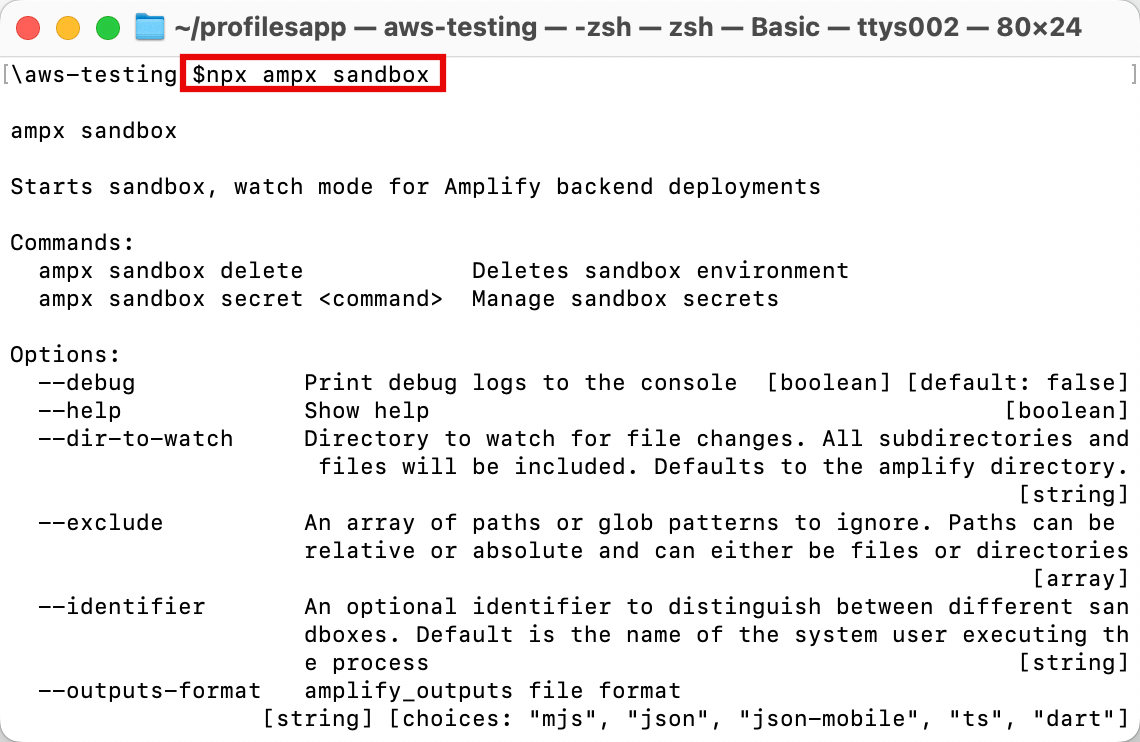
-
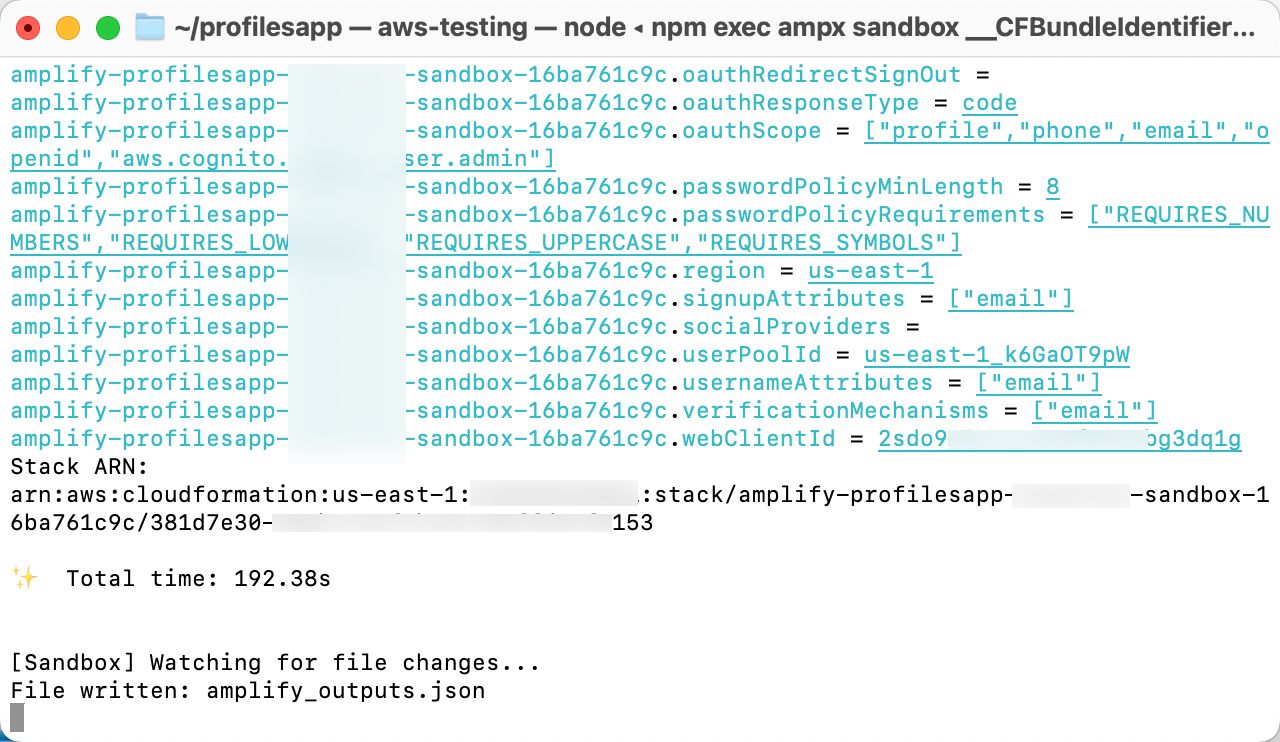
View confirmation message
After the cloud sandbox has been fully deployed, your terminal will display a confirmation message. This deployment will take several minutes to complete.
-
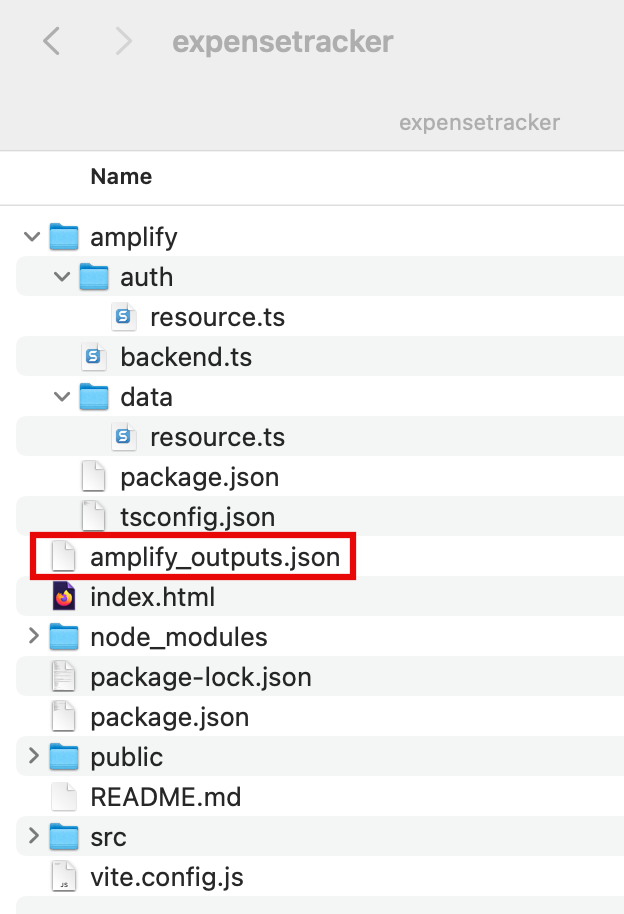
Verify output file
Verify that the amplify_outputs.json file was generated and added to your project.
Conclusion
In this task, you used Amplify to configure auth and data resources. You also started your own cloud sandbox environment. In the next module, you will connect your app's frontend to your backend and build app features.
