Add assets to projects
As a portal administrator, you decide how to assign your AWS IoT SiteWise assets to projects. You give access to users at the project level, so you should group related assets into projects that will have a common set of viewers.
Note
You can only add assets to a project if you're a portal administrator. Project owners and viewers can explore the assets in the projects to which they have access, but can't add assets to the project.
You can add assets to an existing project or you can create a project for the chosen assets.
Add assets to a new project
In the navigation bar, choose the Assets icon.

-
(Optional) Choose a project in the projects drop-down list to show only assets from a specific project.

-
Choose an asset in the Assets hierarchy, and then choose Add asset to project.

Note
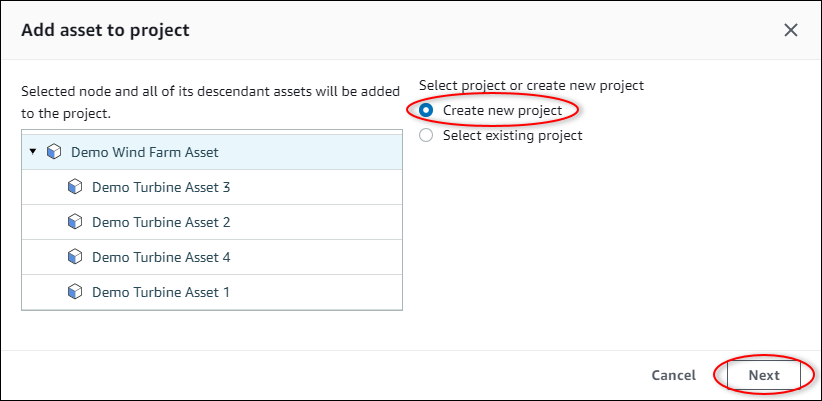
You can add only a single node hierarchy (an asset and all assets that are subordinate to that asset) to a project. To create a dashboard to compare two assets that are children of a common parent asset, add that common parent to the project.
-
In the Add assets to project dialog box, choose Create new project, then choose Next.
-
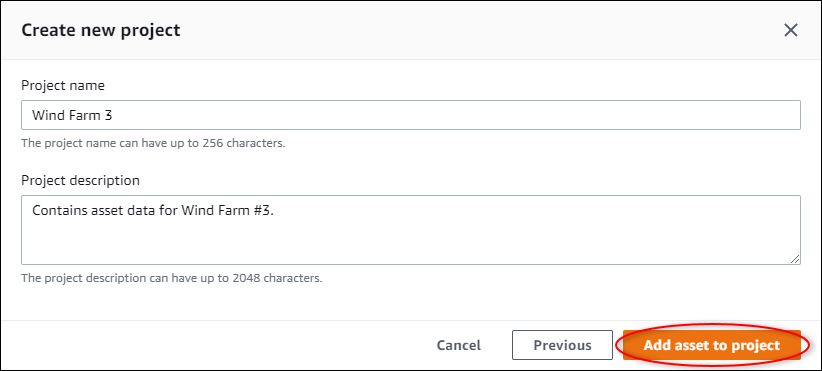
In Project name, enter a name for your project. If you plan to create multiple projects, each with a distinct set of assets, choose a descriptive name.
-
In Project description, enter a description of the project and its contents.
You can add project owners after you create the project.
-
Choose Add asset to project.
The Create new project dialog box closes, and the new project's page opens.
Add assets to an existing project
In the navigation bar, choose the Assets icon.
-
(Optional) Choose a project in the projects drop-down list to show only assets from a specific project.
-
Choose an asset in the Assets hierarchy, and then choose Add asset to project.
Note
You can add only a single node hierarchy (an asset and all assets that are subordinate to that asset) to a project. To create a dashboard to compare two assets that are children of a common parent asset, add that common parent to the project.
-
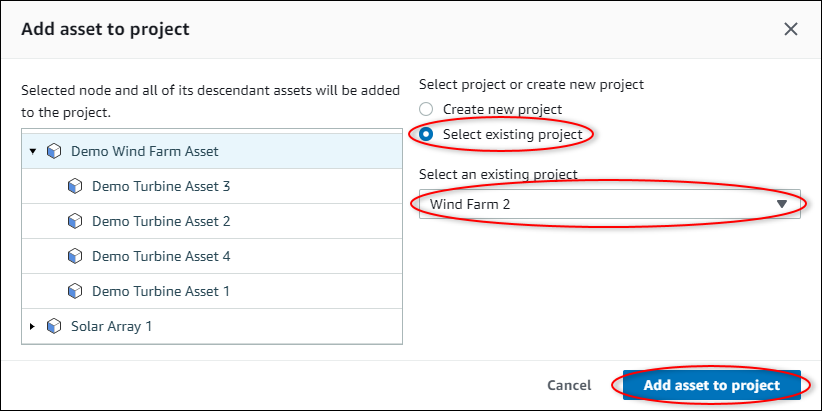
In the Add assets to project dialog box, choose Select existing project, and then choose the project to add the assets.
-
Choose Add asset to project.
The Create new project dialog box closes, and the new project's page opens.
Remove assets from a project
As a portal administrator, you can remove assets from projects if you no longer need them.
To remove assets from a project
In the navigation bar, choose the Projects icon.

-
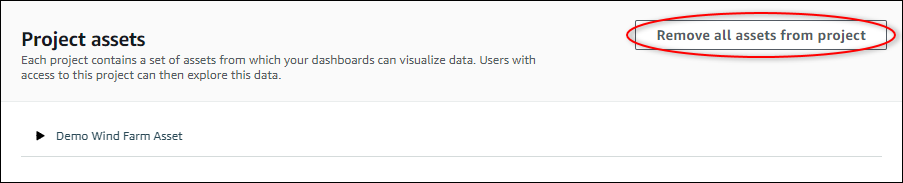
On the Projects page, choose the project to remove assets from.

-
Choose Remove all assets from project.
-
In the dialog box, confirm that you want to remove the assets.
