Getting started with Q CLI
Use Q CLI as follows. Make sure you are signed in with an ID that is configured for Q CLI access. For more information about signing up, see About signing up.
-
Log in to your AWS account and navigate to the access portal, such as with your SSO login.
Open the SageMaker Unified Studio through the access portal, and then navigate to your project.
-
Open a Jupyter notebook by choosing Build, and then choosing JupyterLab. Choose the icon for the python or console interface. A Jupyter notebook cell page opens.
-
Open a terminal window by choosing New, and then Terminal.
-
Type the following to open Q CLI.
q chat
You can get started using Q CLI with the following examples.
Example 1: Create a Glue table and create a python notebook for analysis
This example shows how Q CLI can perform complex command line procedures for you, such as creating and visualizing data for a sample python notebook for a data engineer analyzing a Glue table in your project Lakehouse sample data source.
-
Download the diabetic data sample data set from the sample data
site. -
Create a new Glue table named
diabetic_dataand add the sample data that you just downloaded as a data source. Choose Create table. A schema shows for the sample table.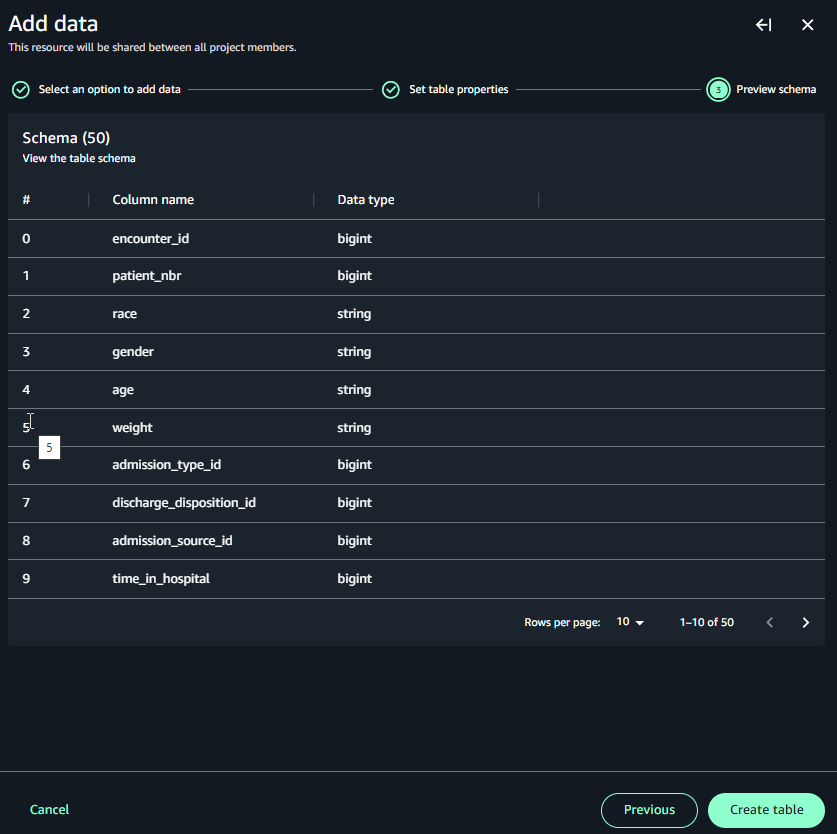
-
In the terminal for Q CLI, enter the following.
You are a machine learning engineer, and you are working with data from the data engineer. Your responsibility is to analyze the output data in your notebook. Can you help me to create a python notebook for the following.
		- Use the diabetic_data dataset in SageMaker Lakehouse.
		- Create a notebook to perform typical data engineering tasks for the machine learning experience in JupyterLab.
		- Make sure to handle missing values, perform descriptive analysis, feature analysis
              - Create a comprehensive README.md file
The following diagram shows the response where Q CLI asks questions and creates sample files.
-
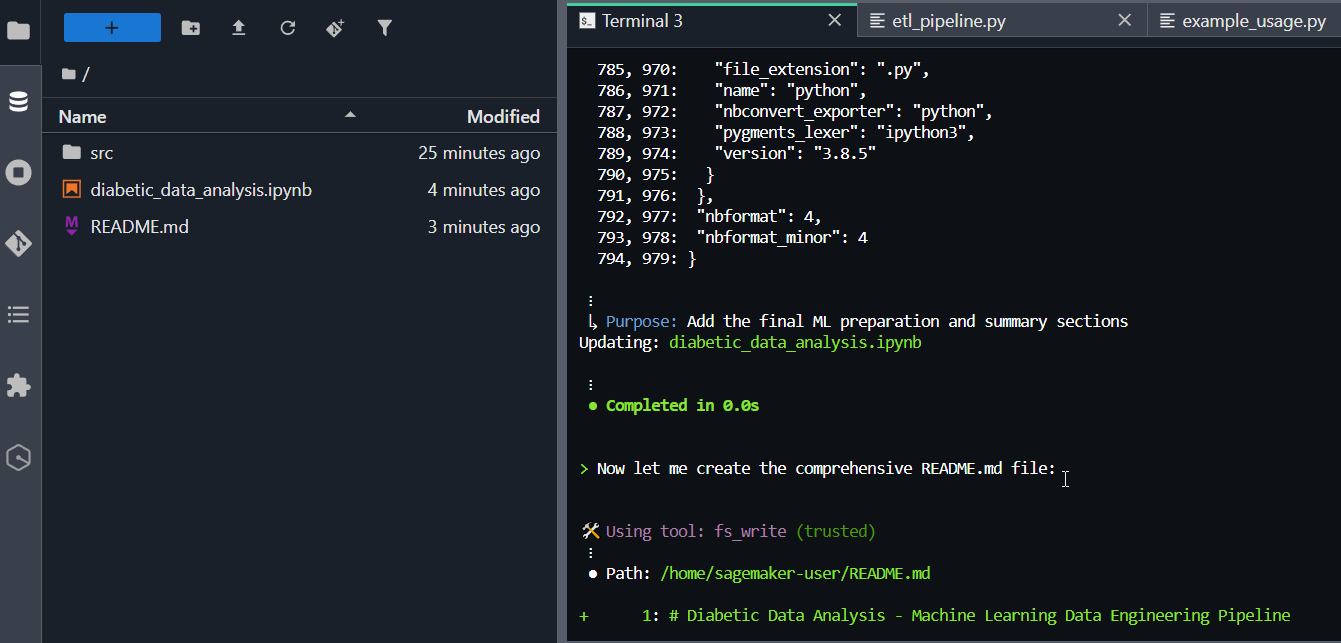
The following diagram shows the response where Q CLI interacts with you while creating the files.
-
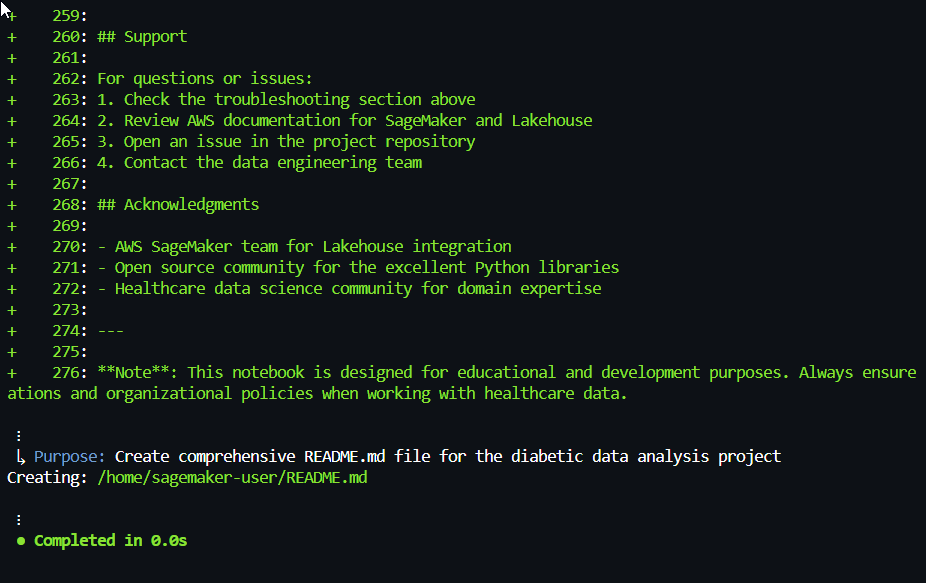
The following diagram shows the response where Q CLI provides the outline and description of what will be created.
-
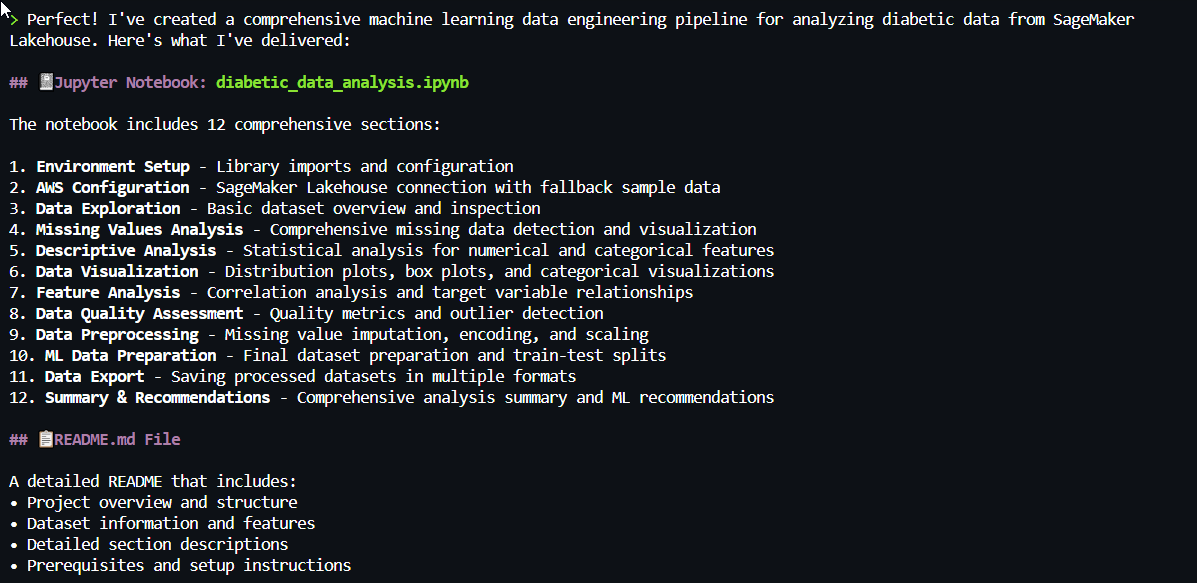
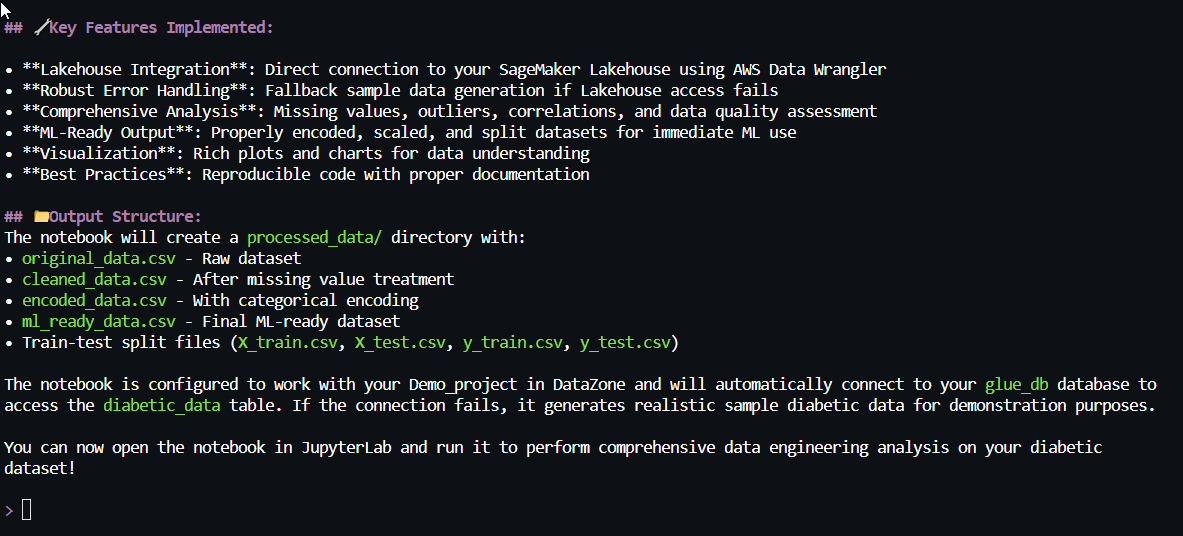
The following diagram shows the response where Q CLI summarizes the files and their purpose.
Example 2: Ask Q CLI to list project information
This example shows how Q CLI can provide context aware and complex command line help for your projects and data.
-
In the terminal, enter the following.
Can you tell me my project and domain information?The response provides you with project information.
