After careful consideration, we have decided to discontinue Amazon Kinesis Data Analytics for SQL applications:
1. From September 1, 2025, we won't provide any bug fixes for Amazon Kinesis Data Analytics for SQL applications because we will have limited support for it, given the upcoming discontinuation.
2. From October 15, 2025, you will not be able to create new Kinesis Data Analytics for SQL applications.
3. We will delete your applications starting January 27, 2026. You will not be able to start or operate your Amazon Kinesis Data Analytics for SQL applications. Support will no longer be available for Amazon Kinesis Data Analytics for SQL from that time. For more information, see Amazon Kinesis Data Analytics for SQL Applications discontinuation.
Step 3.2: Configure Input
Your application needs a streaming source. To help you get started, the
console can create a demo stream (called
kinesis-analytics-demo-stream). The console also runs a script that
populates records in the stream.
To add a streaming source to your application
On the application hub page in the console, choose Connect streaming data.
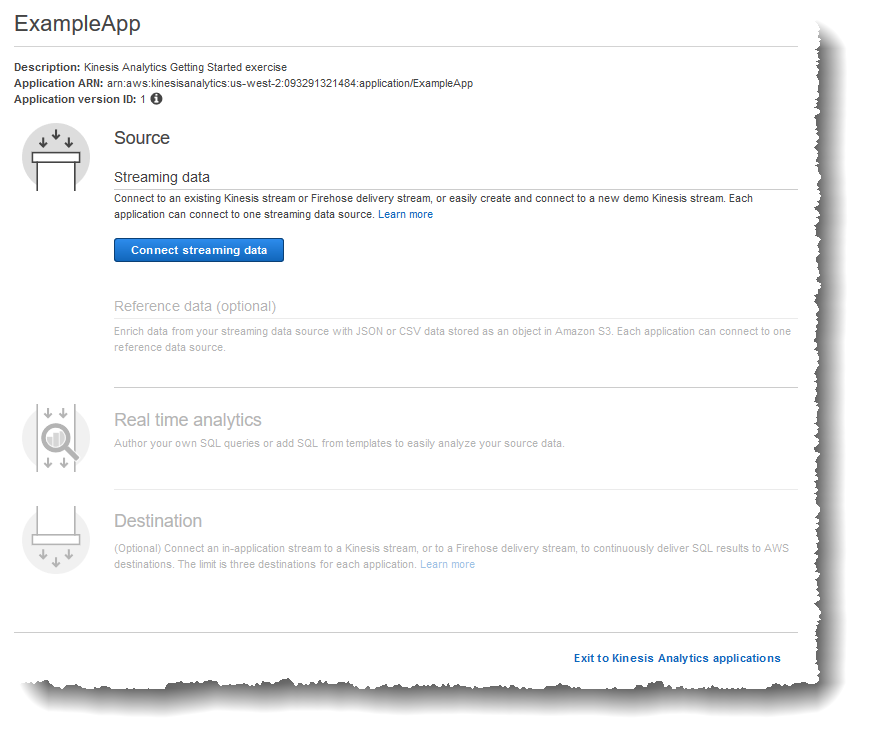
On the page that appears, review the following:
-
Source section, where you specify a streaming source for your application. You can select an existing stream source or create one. In this exercise, you create a new stream, the demo stream.
By default the console names the in-application input stream that is created as
INPUT_SQL_STREAM_001. For this exercise, keep this name as it appears.-
Stream reference name – This option shows the name of the in-application input stream that is created,
SOURCE_SQL_STREAM_001. You can change the name, but for this exercise, keep this name.In the input configuration, you map the demo stream to an in-application input stream that is created. When you start the application, Amazon Kinesis Data Analytics continuously reads the demo stream and insert rows in the in-application input stream. You query this in-application input stream in your application code.
Record pre-processing with AWS Lambda: This option is where you specify an AWS Lambda expression that modifies the records in the input stream before your application code executes. In this exercise, leave the Disabled option selected. For more information about Lambda preprocessing, see Preprocessing Data Using a Lambda Function.
-
After you provide all the information on this page, the console sends an update request (see UpdateApplication) to add the input configuration the application.
-
On the Source page, choose Configure a new stream.
Choose Create demo stream. The console configures the application input by doing the following:
-
The console creates a Kinesis data stream called
kinesis-analytics-demo-stream. -
The console populates the stream with sample stock ticker data.
-
Using the DiscoverInputSchema input action, the console infers a schema by reading sample records on the stream. The schema that is inferred is the schema for the in-application input stream that is created. For more information, see Configuring Application Input.
-
The console shows the inferred schema and the sample data it read from the streaming source to infer the schema.
The console displays the sample records on the streaming source.
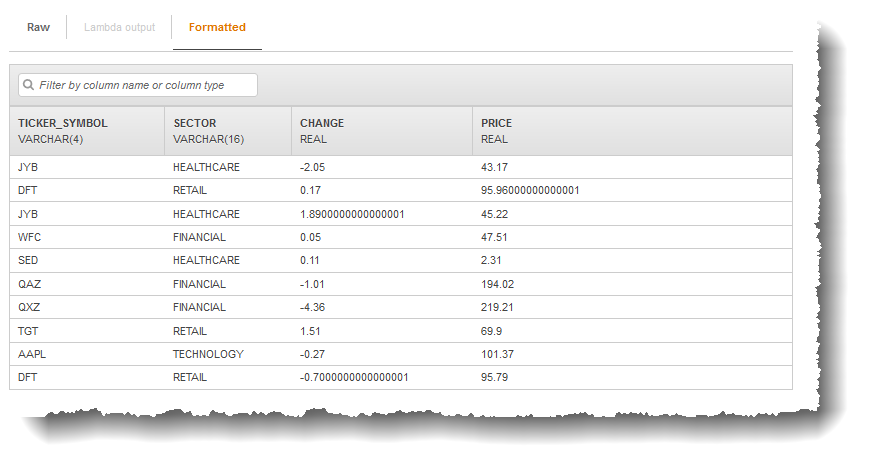
The following appear on the Stream sample console page:
-
The Raw stream sample tab shows the raw stream records sampled by the DiscoverInputSchema API action to infer the schema.
-
The Formatted stream sample tab shows the tabular version of the data in the Raw stream sample tab.
-
If you choose Edit schema, you can edit the inferred schema. For this exercise, don't change the inferred schema. For more information about editing a schema, see Working with the Schema Editor.
If you choose Rediscover schema, you can request the console to run DiscoverInputSchema again and infer the schema.
-
Choose Save and continue.
You now have an application with input configuration added to it. In the next step, you add SQL code to perform some analytics on the data in-application input stream.
Next Step
Step 3.3: Add Real-Time Analytics (Add Application Code)
