Enable IPv6 networking for Lightsail resources
Complete the following procedure to enable IPv6 for instances, CDN distributions, and load balancers.
-
Sign in to the Lightsail console
. -
Complete one of the following steps depending on the resource for which you want to enable IPv6:
-
To enable IPv6 for an instance, choose the Instances tab on the Lightsail home page, and then choose the name of the instance for which you want to enable IPv6.
-
To enable IPv6 for a CDN distribution or a load balancer, choose the Networking tab In the left navigation pane, and then choose the name of the CDN distribution or load balancer for which you want to enable IPv6.
-
-
Choose the Networking tab in the resource's management page.
-
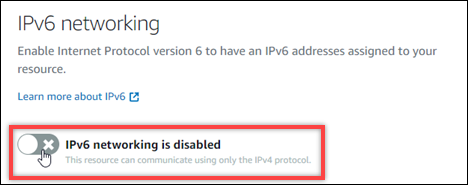
In the IPv6 Networking section of the page, choose the toggle to enable IPv6 for the resource.
Be aware of the following items after you enable IPv6 for a resource:
-
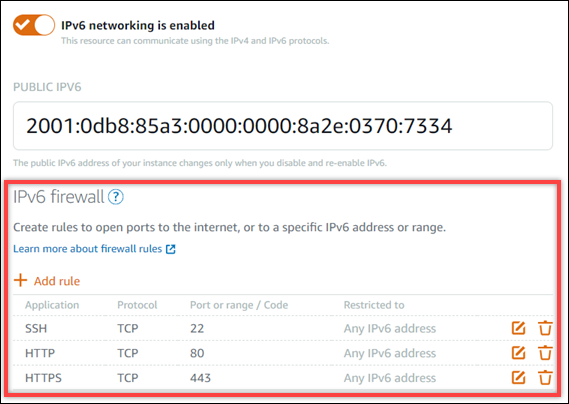
If you enable IPv6 for a CDN distribution or load balancer, then that resource begins accepting IPv6 traffic. If you enable IPv6 for an instance, then an IPv6 address is assigned to it, and the IPv6 firewall becomes available, as shown in the following example.
-
Instances that use the following blueprints require additional steps after enabling IPv6 to ensure the instance becomes aware of its new IPv6 address:
-
cPanel – For more information, see Configure IPv6 for cPanel instances.
-
GitLab – For more information, see Configure IPv6 for GitLab instances.
-
Nginx – For more information, see Configure IPv6 for Nginx instances.
-
Plesk – For more information, see Configure IPv6 for Plesk instances.
-
-
If you have a registered domain name directing traffic to you instance, container service, CDN distribution, or load balancer, then make sure to create an IPv6 address record (AAAA) in the DNS of your domain to route IPv6 traffic to your resource.
-
