Create and attach a static IP to your Lightsail instance
The default dynamic public IP address attached to your Amazon Lightsail instance changes every time you stop and restart the instance. Create a static IP address and attach it to your instance to keep the public IP address from changing. Later, when you point a registered domain name to your instance, you don’t have to update your domain’s DNS records every time you stop and restart your instance. You can attach one static IP to an instance. For more information, see Static IP addresses.
Prerequisites
You need at least one dual-stack instance running in Lightsail. To create one, see Create an instance.
Create and assign a Static IP address to an instance
Follow these steps to create a new static IP address and attach it to an instance in Lightsail.
-
Sign in to the Lightsail console at https://lightsail.aws.amazon.com/
. -
In the left navigation pane, choose Networking.
-
Choose Create static IP.
-
Select the AWS Region where you want to create your static IP.
Note
Static IP addresses can only be attached to instances in the same Region.
-
Choose the Lightsail resource to which you want to attach the static IP.
-
Enter a name for your static IP.
Resource names:
-
Must be unique within each AWS Region in your Lightsail account.
-
Must contain 2 to 255 characters.
-
Must start and end with an alphanumeric character or number.
-
Can include alphanumeric characters, numbers, periods, dashes, and underscores.
-
-
Choose Create.
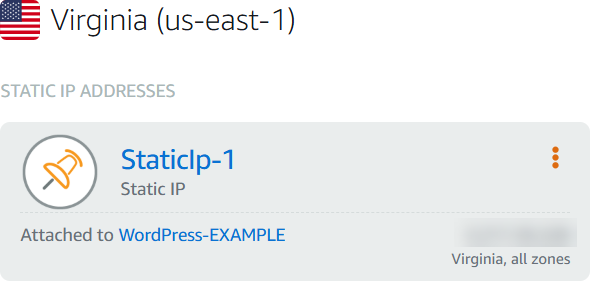
Now when you go to the home page, you see a static IP address that you can manage.

Also, on the Networking tab of your instance's management page, you will see a blue pushpin next to your public IP address. This indicates that the IP address is now static.

For more information, see Public and private IP addresses.