AWS Mainframe Modernization Service (Managed Runtime Environment experience) is no longer open to new customers. For capabilities similar to AWS Mainframe Modernization Service (Managed Runtime Environment experience) explore AWS Mainframe Modernization Service (Self-Managed Experience). Existing customers can continue to use the service as normal. For more information, see AWS Mainframe Modernization availability change.
Configure Gapwalk OAuth2 authentication with Keycloak
This topic describes how to configure OAuth2 authentication for Gapwalk applications using Keycloak as an identity provider (IdP). In this tutorial we use Keycloak 24.0.0.
Prerequisites
-
Gapwalk application
Keycloak setup
-
Go to your Keycloak dashboard in your web browser. The default credentials are admin/admin. Go to the top left navigation bar, and create a realm with the name
demo, as shown in the following image.
-
Create a client with the name
app-demo.
Replace
localhost:8080with the address of your Gapwalk application

-
To get your client secret, choose Clients, then app-demo, then Credentials.

-
Choose Clients, then Client scopes, then Add predefined mapper. Choose realm roles.

-
Edit your realm role with the configuration shown in the following image.

-
Remember the defined Token Claim Name. You’ll need this value in the Gapwalk settings definition for the
gapwalk-application.security.claimGroupNameproperty.
-
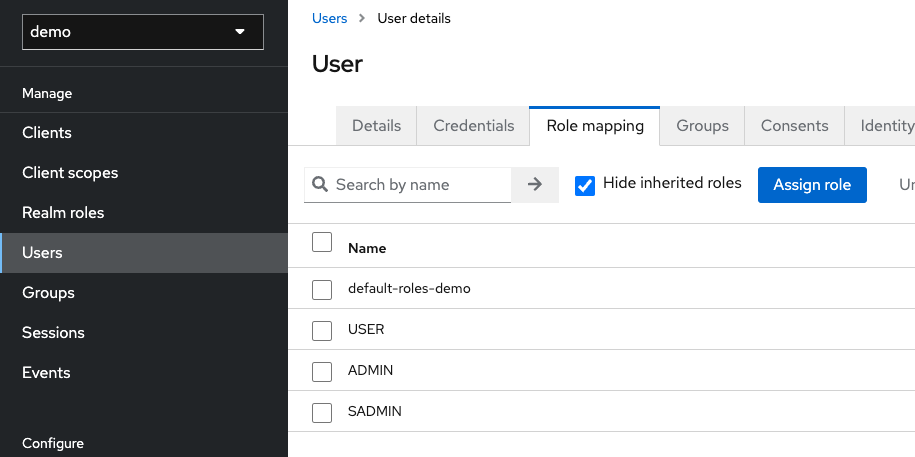
Choose Realms roles, and create 3 roles:
SUPER_ADMIN,ADMIN, andUSER. These roles are later mapped toROLE_SUPER_ADMIN,ROLE_ADMIN, andROLE_USERby the Gapwalk application to be able to access some restricted API REST calls.
Integrate Keycloak into the Gapwalk application
Edit your application-main.yml as follows:
gapwalk-application.security: enabled
gapwalk-application.security.identity: oauth
gapwalk-application.security.issuerUri: http://<KEYCLOAK_SERVER_HOSTNAME>/realms/<YOUR_REALM_NAME>
gapwalk-application.security.claimGroupName: "keycloak:groups"

gapwalk-application.security.userAttributeName: "preferred_username"
# Use "username" for cognito,
#     "preferred_username" for keycloak
#      or any other string
gapwalk-application.security.localhostWhitelistingEnabled: false

spring:
  security:
    oauth2:
      client:
        registration:
          demo:
            client-id: <YOUR_CLIENT_ID>
            client-name: Demo App
            client-secret: <YOUR_CLIENT_SECRET>
            provider: keycloak
            authorization-grant-type: authorization_code
            scope: openid
            redirect-uri: "{baseUrl}/login/oauth2/code/{registrationId}"
        provider:
          keycloak:
            issuer-uri: ${gapwalk-application.security.issuerUri}
            authorization-uri: ${gapwalk-application.security.issuerUri}/protocol/openid-connect/auth
            jwk-set-uri: ${gapwalk-application.security.issuerUri}/protocol/openid-connect/certs
            token-uri: ${gapwalk-application.security.issuerUri}/protocol/openid-connect/token
            user-name-attribute: ${gapwalk-application.security.userAttributeName}
      resourceserver:
        jwt:
          jwk-set-uri: ${gapwalk-application.security.issuerUri}/protocol/openid-connect/certs
Replace <KEYCLOAK_SERVER_HOSTNAME>,
<YOUR_REALM_NAME>,
<YOUR_CLIENT_ID>, and
<YOUR_CLIENT_SECRET> with your Keycloak server hostname,
your realm name, your client ID, and your client secret.