DNS | Add CNAME Record
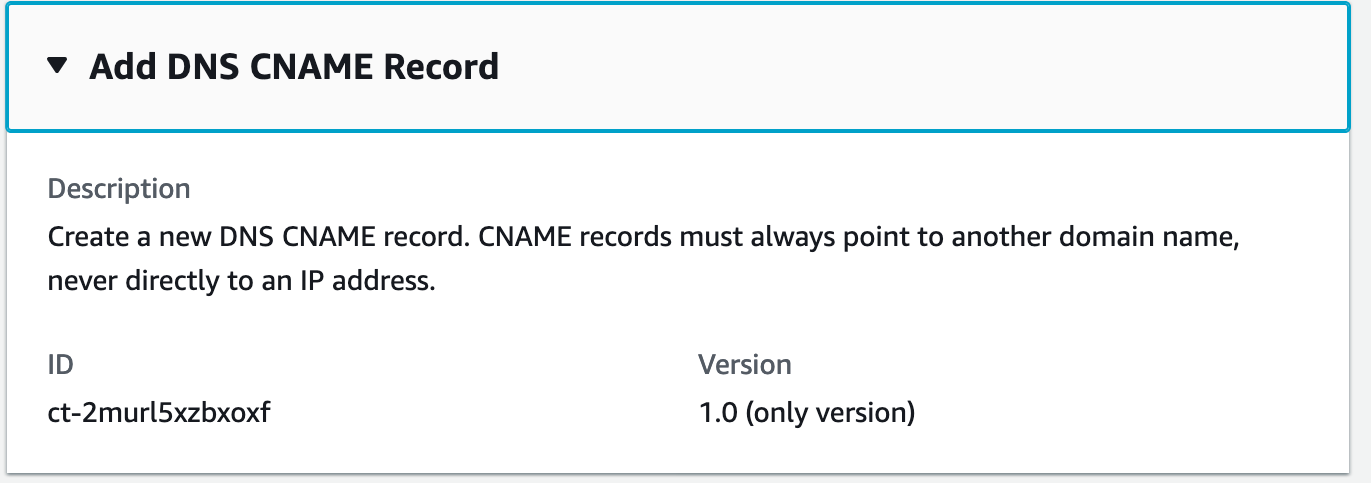
Create a new DNS CNAME record in AWS Managed Microsoft Active Directory (AD). CNAME records must always point to another domain name, never directly to an IP address. For multi-account landing zone (MALZ), use this change type in the shared services account.
Full classification: Management | Directory Service | DNS | Add CNAME record
Change Type Details
Change type ID |
ct-2murl5xzbxoxf |
Current version |
1.0 |
Expected execution duration |
60 minutes |
AWS approval |
Required |
Customer approval |
Not required |
Execution mode |
Automated |
Additional Information
Add DNS CNAME record in AMS
Note
To create a CNAME record in AWS, see
How do I create alias records for services hosted in AWS?
The following shows this change type in the AMS console.
How it works:
Navigate to the Create RFC page: In the left navigation pane of the AMS console click RFCs to open the RFCs list page, and then click Create RFC.
Choose a popular change type (CT) in the default Browse change types view, or select a CT in the Choose by category view.
Browse by change type: You can click on a popular CT in the Quick create area to immediately open the Run RFC page. Note that you cannot choose an older CT version with quick create.
To sort CTs, use the All change types area in either the Card or Table view. In either view, select a CT and then click Create RFC to open the Run RFC page. If applicable, a Create with older version option appears next to the Create RFC button.
Choose by category: Select a category, subcategory, item, and operation and the CT details box opens with an option to Create with older version if applicable. Click Create RFC to open the Run RFC page.
On the Run RFC page, open the CT name area to see the CT details box. A Subject is required (this is filled in for you if you choose your CT in the Browse change types view). Open the Additional configuration area to add information about the RFC.
In the Execution configuration area, use available drop-down lists or enter values for the required parameters. To configure optional execution parameters, open the Additional configuration area.
When finished, click Run. If there are no errors, the RFC successfully created page displays with the submitted RFC details, and the initial Run output.
Open the Run parameters area to see the configurations you submitted. Refresh the page to update the RFC execution status. Optionally, cancel the RFC or create a copy of it with the options at the top of the page.
How it works:
Use either the Inline Create (you issue a
create-rfccommand with all RFC and execution parameters included), or Template Create (you create two JSON files, one for the RFC parameters and one for the execution parameters) and issue thecreate-rfccommand with the two files as input. Both methods are described here.Submit the RFC:
aws amscm submit-rfc --rfc-idcommand with the returned RFC ID.IDMonitor the RFC:
aws amscm get-rfc --rfc-idcommand.ID
To check the change type version, use this command:
aws amscm list-change-type-version-summaries --filter Attribute=ChangeTypeId,Value=CT_ID
Note
You can use any CreateRfc parameters with any RFC whether or not they are part of the schema for the
change type. For example, to get notifications when the RFC status changes, add this line, --notification "{\"Email\": {\"EmailRecipients\" : [\"email@example.com\"]}}" to the
RFC parameters part of the request (not the execution parameters). For a list of all CreateRfc parameters, see the
AMS Change Management API Reference.
INLINE CREATE:
Issue the create RFC command with execution parameters provided inline (escape quotation marks when providing execution parameters inline), and then submit the returned RFC ID. For example, you can replace the contents with something like this:
aws amscm create-rfc --change-type-id "ct-2murl5xzbxoxf" --change-type-version "1.0" --title "Add DNS CNAME Record" --execution-parameters "{\"DocumentName\": \"AWSManagedServices-CreateDNSCnameRecord-Admin\",\"Region\": \"us-east-1\",\"Parameters\": {\"RecordName\": [\"host1.mycompany.com\"], \"RecordCname\": [\"web-server\"]}}"
TEMPLATE CREATE:
Output the execution parameters JSON schema for this change type to a file; this example names it CnameRecordAddParams.json:
aws amscm get-change-type-version --change-type-id "ct-2w3rbmnny1qpo" --query "ChangeTypeVersion.ExecutionInputSchema" --output text > CnameRecordAddParams.jsonModify and save the CnameRecordAddParams file. For example, you can replace the contents with something like this:
{
  "DocumentName": "AWSManagedServices-CreateDNSCnameRecord-Admin",
  "Region": "us-east-1",
  "Parameters": {
    "RecordName": [
      "host1.mycompany.com"
    ],
    "RecordCname": [
      "web-server"
    ]
  }
}
Output the RFC template to a file in your current folder; this example names it CnameRecordAddRfc.json:
aws amscm create-rfc --generate-cli-skeleton > CnameRecordAddRfc.jsonModify and save the CnameRecordAddRfc.json file. For example, you can replace the contents with something like this:
{
"ChangeTypeId":         "ct-2murl5xzbxoxf",
"ChangeTypeVersion":    "1.0",
"Title":                "AWS Directory Service add DNS CNAME record"
}
Create the RFC, specifying the CnameRecordAddRfc file and the CnameRecordAddParams file:
aws amscm create-rfc --cli-input-json file://CnameRecordAddRfc.json --execution-parameters file://CnameRecordAddParams.jsonYou receive the ID of the new RFC in the response and can use it to submit and monitor the RFC. Until you submit it, the RFC remains in the editing state and does not start.
For multi-account landing zone (MALZ), use this change type in the Shared Services account.
For information about Directory Service, see the Directory Service Admin Guide. To learn about CNAME records, see CNAME record type.
Execution Input Parameters
For detailed information about the execution input parameters, see Schema for Change Type ct-2murl5xzbxoxf.
Example: Required Parameters
{
  "DocumentName": "AWSManagedServices-CreateDNSCnameRecord-Admin",
  "Region": "us-east-1",
  "Parameters": {
    "RecordName": ["hostname123.example.com"],
    "RecordCname": ["webserver"]
  }
}
Example: All Parameters
{
  "DocumentName": "AWSManagedServices-CreateDNSCnameRecord-Admin",
  "Region": "us-east-1",
  "Parameters": {
    "RecordName": ["hostname123.example.com"],
    "RecordCname": ["webserver"]
  }
}
