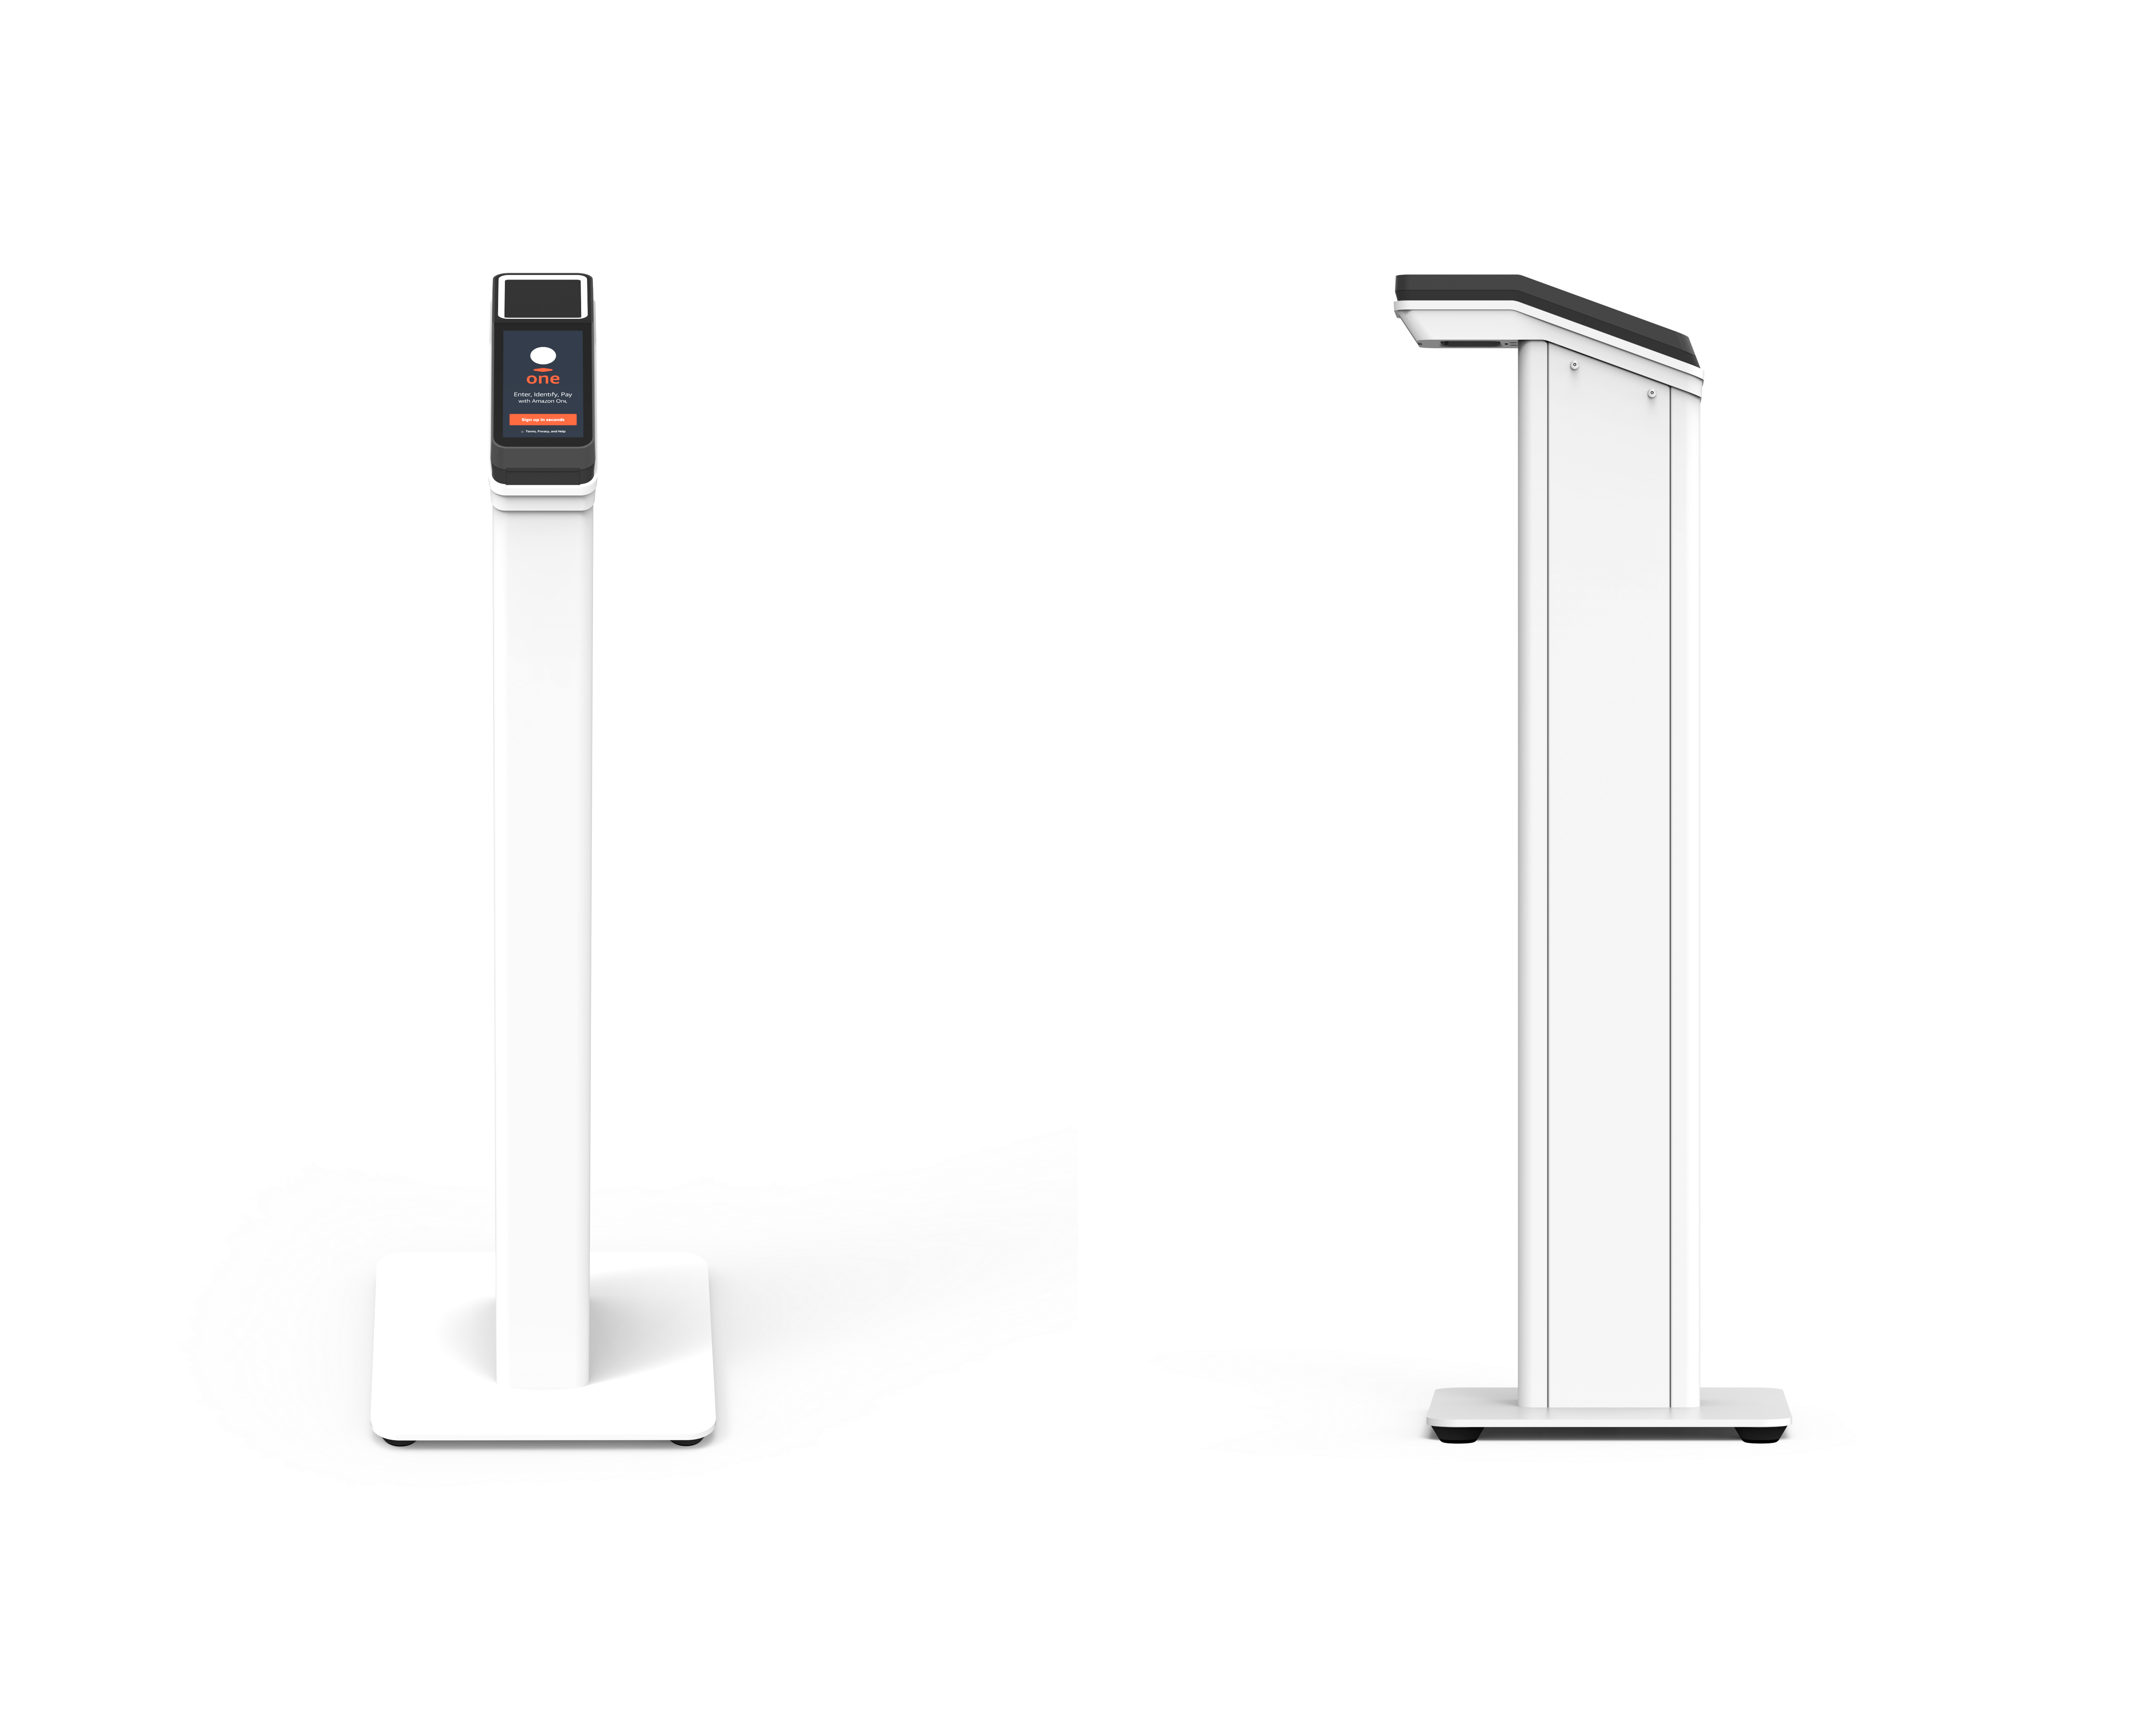
Installing Amazon One Enterprise pedestal
This section outlines the location requirements and steps needed to install an Amazon One Enterprise pedestal.
Before starting the installation, ensure that the following prerequisites are met:
-
If using POE+ to power the device, ensure Cat6 cabling is laid out and a POE+ injector or switch is available for use.
-
If AC Power (120V) source is being used, AC outlet should be available within 20ft of the AOE pedestal.
-
Floor must be level and clean.
-
Pedestal must not block the door or lane.
-
All excess cable shall be kept inside the pedestal and secured.
To install Amazon One device pedestal
Remove the Amazon One Enterprise pedestal from the packaging.
Remove the door by unscrewing both M4 tamper resistant screws.
Plug in the power cable. Route the cable through the hole in the pedestal base plate.
Coil any excess power cable inside the pedestal.
Route the Ethernet cable (Cat5E or better) through the bottom plate of the pedestal and plug into the Ethernet port.
Route the Ethernet cable (Cat5E or better) through the bottom plate of the pedestal and plug into the Ethernet port.
Install a ferrite loop on the Ethernet cable 2 inches above the base of the pedestal.
Feed RS485 serial cable from the access control panel (or the badge reader) to the pedestal, with 1 ft excess in length.
Install a ferrite loop on the RS485 cable 2 inches above the base of the pedestal.
Plug in power to the outlet and confirm that the Amazon One device turns on.
Reattach the door to the pedestal and re-screw the two M4 tamper resistance screws to secure.
