Creating filled maps
You can create filled maps in Amazon QuickSight to show the difference between data values for each location by varying shades of color.
Use the following procedure to create a filled map in QuickSight.
To create filled maps in QuickSight, make sure that you have the following:
-
One geospatial field (such as country, state or region, county or district, or ZIP code or postal code).
-
(Optional) A numeric field (measure) for color.
Creating filled maps
To create a filled map
-
Add a new visual to your analysis. For more information about starting analyses, see Starting an analysis in Amazon QuickSight. For more information about adding visuals to analyses, see Adding a visual.
-
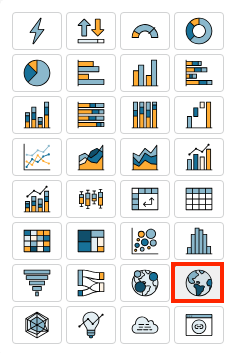
For Visual type, choose the Filled map icon.

-
Drag a geographic field from the Fields list pane to the Location field well, for example
Country.A filled map appears with each location in your data filled in by the number of times they appear in your dataset (the count).
If the field is part of a geographic hierarchy, the hierarchy displays in the field well.
-
(Optional) Drag a measure from the Fields list pane to the Color field well, for example
Sales.Each location updates to show the sum of sales.