Table and pivot table formatting options in QuickSight - Amazon QuickSight

Table and pivot table formatting options in QuickSight

You can customize tables and pivot tables in Amazon QuickSight to meet your business needs. You can customize table headers, cells, and totals by specifying the color, size, wrap, and alignment of text in each. You can also specify the height of rows in a table, add borders and grid lines, and add custom background colors. In addition, you can customize how to display totals and subtotals.

If you have applied conditional formatting to a table or pivot table, it takes precedence over any other styling you configure.

When you export table or pivot table visuals to Microsoft Excel, the formatting customizations that you applied to the visual aren't reflected in the downloaded Excel file.

To format a table or pivot table
  • In your analysis, choose the table or pivot table that you want to customize, and then choose the Format visual icon.
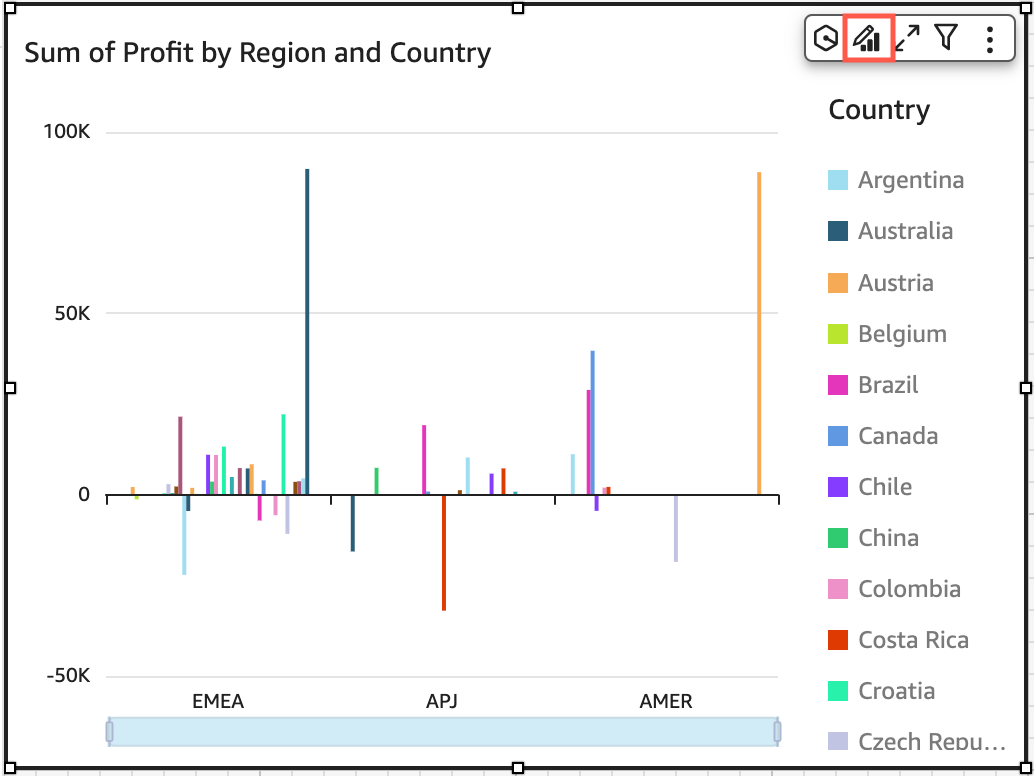
    
							Image of the Format visual icon.

    The Format visual pane opens at left.

Following, you can find descriptions for options for customizing each area of your table or pivot table in the Format visual pane.

Headers


						Animated image of formatting table headers.

Header height

You can customize table header height.

To customize the height of headers in a table
  1. In the Format visual pane, choose Headers.

  2. For Row height, enter a number in pixels. You can enter a whole number from 8 through 500.

To customize the height of headers in a pivot table
  1. In the Format visual pane, choose Headers.

  2. In the Columns section, for Row height, enter a number in pixels. You can enter a whole number from 8 through 500.

Header text

You can customize table header text.

To customize header text in a table
  1. In the Format visual pane, choose Headers.

  2. In the Headers section, do one or more of the following:

    • To wrap text in headers that are too long to fit, select Wrap text. Wrapping text in a header doesn't automatically increase the height of the header. Follow the previous procedure for increasing header height.

    • To customize the size of the text, choose a text size. You can choose between extra small and extra large text.

    • To change the font color, choose the Abc color icon, and then choose a color. You can choose one of the provided colors, reset the header text color to the default color, or create a custom color.

    • To change the horizontal alignment of text in the header, choose a horizontal alignment icon. You can choose left alignment, center alignment, right alignment, or automatic alignment.

    • To change the vertical alignment of text in the header, choose a vertical alignment icon. You can choose top alignment, middle alignment, or bottom alignment.

To customize header text in a pivot table
  1. In the Format visual pane, choose Headers.

    The Headers section expands to show options for customizing column and row headers.

  2. In the Headers section, do one or more of the following:

    • To apply row styling to field names, choose Style field names under Rows.

      
											Image of the style field names option in the Format visual pane.
    • To customize the header text size, choose a text size for Text. You can customize the text size for column headers in the Columns section, and row headers in the Rows section.

    • To change the header font color, choose the Abc color icon, and then choose a color. You can choose a font color for column headers in the Columns section, and for row headers in the Rows section. You can choose one of the provided colors, reset the header text color to the default color, or create a custom color.

    • To change the horizontal alignment of text in the header, choose an alignment icon. You can choose left alignment, center alignment, right alignment, or automatic alignment. You can choose a horizontal alignment for column headers in the Columns section, and for row headers in the Rows section.

    • To change the vertical alignment of text in the header, choose an alignment icon. You can choose top alignment, middle alignment, or bottom alignment. You can choose a vertical alignment for column headers in the Columns section, and row headers in the Rows section.

    • To hide column field names, choose Hide column field names.

      
											Image of the hide column field names option in the Format visual pane.

Header background color

You can customize table headers' background color.

To customize the background color of table headers
  1. In the Format visual pane, choose Headers.

  2. For Background, choose the background color icon, and then choose a color. You can choose one of the provided colors, reset the header text color to the default color, or create a custom color.

To customize the background color of pivot table headers
  1. In the Format visual pane, choose Headers.

    The Headers section expands to show options for customizing column and row headers.

  2. In the Columns section, choose the background color icon, and then choose a color.

  3. In the Rows section, choose the background color icon, and then choose a color.

Header borders

You can customize header borders' color.

To customize header borders in a table
  1. In the Format visual pane, choose Headers.

  2. For Borders, do one or more of the following:

    • To customize the type of border that you want, choose a border type icon. You can choose no borders, horizontal borders only, vertical borders only, or all borders.

    • To customize the border thickness, choose a border thickness.

    • To customize the border color, choose the border color icon, and then choose a color. You can choose one of the provided colors, reset the border color to the default color, or create a custom color.

To customize header borders in a pivot table
  1. In the Format visual pane, choose Headers.

    The Headers section expands to show options for customizing column and row headers.

  2. In the Columns and Rows sections, for Borders, do one or more of the following:

    • To customize the type of border that you want, choose a border type icon. You can choose no borders, horizontal borders only, vertical borders only, or all borders.

    • To customize the border thickness, choose a border thickness.

    • To customize the border color, choose the border color icon, and then choose a color. You can choose one of the provided colors, reset the border color to the default color, or create a custom color.

Cell formatting


						Animated image of formatting table cells.

Row height

You can customize table row height.

To customize the height of rows in a table or pivot table
  1. In the Format visual pane, choose Cells.

    The Cells section expands to show options for customizing cells.

  2. For Row height, enter a number in pixels. You can enter a whole number from 8 through 500.

Cell text

You can customize the formatting for cell text within a table.

To format the cell text in a table or pivot table
  1. In the Format visual pane, choose Cells.

    The Cells section expands to show options for customizing cells.

  2. For Text, do one or more of the following:

    • To wrap text in headers that are too long to fit, select Wrap text. Wrapping text in cells doesn't automatically increase the row height. Follow the previous procedure for increasing row height.

    • To customize the size of the text, choose a text size. You can choose between extra small and extra large text.

    • To change the font color, choose the Abc color icon, and then choose a color. You can choose one of the provided colors, reset the cell text color to the default color, or create a custom color.

    • To change the horizontal alignment of text in cells, choose a horizontal alignment icon. You can choose left alignment, center alignment, right alignment, or automatic alignment.

    • To change the vertical alignment of text in cells, choose a vertical alignment icon. You can choose top alignment, middle alignment, or bottom alignment.

Cell background color

You can customize table cells' background color.

To customize the background color of cells in a table or pivot table
  1. In the Format visual pane, choose Cells.

    The Cells section expands to show options for customizing cells.

  2. For Background, do one or more of the following:

    • To alternate background colors between rows, select Alternate row colors. Clearing this option means that all cells have the same background color.

    • If you choose to alternate background colors between rows, choose a color for Odd rows and a color for Even rows by choosing the background color icon for each and selecting a color. You can choose one of the provided colors, reset the background color to the default color, or create a custom color.

    • If you choose not to alternate background colors between rows, choose the background color icon and select a color for all cells. You can choose one of the provided colors, reset the background color to the default color, or create a custom color.

Cell borders

You can customize table cells' borders.

To customize the borders for cells in a table or pivot table
  1. In the Format visual pane, choose Cells.

    The Cells section expands to show options for customizing cells.

  2. For Borders, do one or more of the following:

    • To customize the type of border that you want, choose a border type icon. You can choose no borders, horizontal borders only, vertical borders only, or all borders.

    • To customize the border thickness, choose a border thickness.

    • To customize the border color, choose the border color icon, and then choose a color. You can choose one of the provided colors, reset the border color to the default color, or create a custom color.

Totals and subtotals


						Animated image of formatting table totals.

You can format totals and subtotals separately from other cells in a table or pivot table. Use the following procedures to learn how.

Position of totals in tables and pivot tables in QuickSight

To pin totals in view in a table or pivot table
  1. In the Format visual pane, choose Total.

  2. Choose Pin totals.

To position totals at the top or bottom of a table
  1. In the Format visual pane, choose Total.

  2. Select Top to position totals at the top of the table, or Bottom to position totals at the bottom of the table.

Totals and subtotals text

To add a label for totals and subtotals
  1. In the Format visual pane, choose Total or Subtotal.

  2. For Label, enter a word or short phrase.

    In pivot tables, you can also add labels to column totals and subtotals. To do so, enter a word or short phrase for Label in the Columns section.

To format totals and subtotals text
  1. In the Format visual pane, choose Total or Subtotal.

  2. For Text, do one or more of the following.

    • To customize the size of the text, choose a text size. You can choose between extra small and extra large text.

    • To change the font color, choose the Abc color icon, and then choose a color. You can choose one of the provided colors, reset the cell text color to the default color, or create a custom color.

    In pivot tables, you can also add format text for column totals and subtotals. To do so, repeat the above steps in the Columns section.

Totals and subtotals background color

To customize the background color for totals and subtotals
  1. In the Format visual pane, choose Total or Subtotal.

  2. For Background, choose the background color icon, and then choose a color. You can choose one of the provided colors, reset the background color to the default color, or create a custom color.

    In pivot tables, you can also add background colors for column totals and subtotals. To do so, choose a the background color icon for Background in the Columns section.

Totals and subtotals borders

To customize the borders for totals and subtotals
  1. In the Format visual pane, choose Total or Subtotal.

  2. For Borders, do one or more of the following:

    • To customize the type of border that you want, choose a border type icon. You can choose no borders, horizontal borders only, vertical borders only, or all borders.

    • To customize the border thickness, choose a border thickness.

    • To customize the border color, choose the border color icon, and then choose a color. You can choose one of the provided colors, reset the border color to the default color, or create a custom color.

    In pivot tables, you can also add borders for column totals and subtotals. To do so, repeat the above steps in the Columns section.

Applying totals and subtotals styling to cells

In pivot tables, you can apply any text, background color, and border styling you apply to totals to cells in that same column or row.

To apply totals and subtotals styling to cells
  1. In the Format visual pane, choose Total or Subtotal.

  2. Choose Apply styling to cells.

    
									Image of the apply styling to cells option in the Format visual pane.

Row and column size in tables and pivot tables in QuickSight

Authors and readers can resize rows and columns in a table or pivot table visual. They can adjust both row height and column width.

To resize a row in a table or pivot table
  • In the table or pivot table visual, hover your cursor over the line that you want to resize until you see the horizontal cursor appear. When it appears, select the line and drag it to a new height.

    You can adjust the row height by selecting the horizontal lines on cells and row headers.

    
								Resize a row in a table or pivot table.
To resize a column width in a table or pivot table
  • In the table or pivot table visual, hover your cursor over the line that you want to resize until you see the vertical cursor appear. When it appears, select the line and drag it to a new width.

    You can adjust the column width by selecting the vertical lines on cells, column headers, and row headers.

    
								Resize a column in a table or pivot table.

Pivot table layout options

You can customize how QuickSight readers view pivot tables so that they are easier to read and understand at a glance. You can choose to hide a pivot table's plus and minus icons, hide columns that only have a single-metric value, and hide collapsed columns from view. These options can help QuickSight authors remove clutter from their pivot tables and provide an easier reader experience for QuickSight users.

To make changes to a pivot table's layout
  1. In the Format visual pane, choose Pivot options.

  2. In the Pivot options menu, select the following options to customize the view:

    • Hide +/– buttons – Hide the plus and minus icons from your pivot table.

    • Hide single metric – Hide columns that only have a single metric value.

    • Hide collapsed columns – Automatically hide all collapsed columns in a pivot table.

    
								The pivot options menu.