Upload a document
This section provides step-by-step instructions for uploading a document to the solution UI.
-
Sign in to the UI.
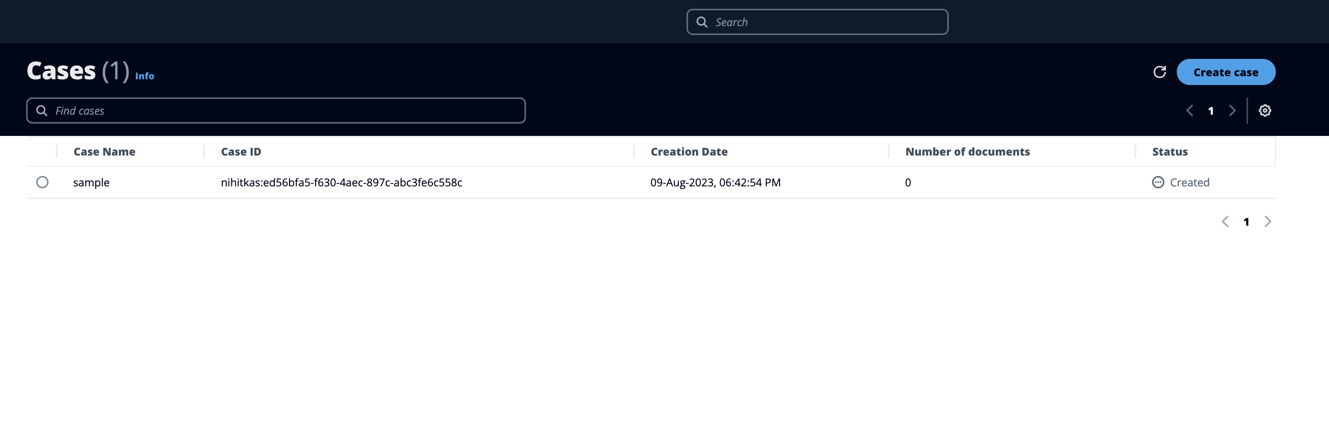
The UI provides a list of cases (if there are existing cases).

-
Choose Create case.
-
Enter a case name and choose Create case.
-
You have the choice to enable the document upload through the UI or through the backend upload:
-
If you choose to enable the Backend upload, proceed to Step 5.
-
Otherwise, skip to Step 6.
-
-
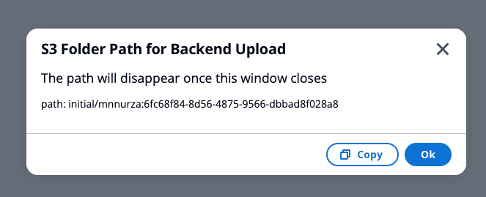
A window appears at the bottom of the page to allow document uploads.
-
Copy the path using the copy button, (Note: If you close out of this window it will disappear from the UI and cannot be recovered from the UI)
-
-
Using a program, script or AWS CLI upload to AWS s3 using that path and these required tags:
-
userId -
fileNameBase64EncodedTag-
The file name will need to be encoded to base64 for this to work.
-
For more information see tag restrictions.
-
-
documentType
-
-
The created case appears in the list. The Number of documents column shows
0documents.
-
Select the case.
-
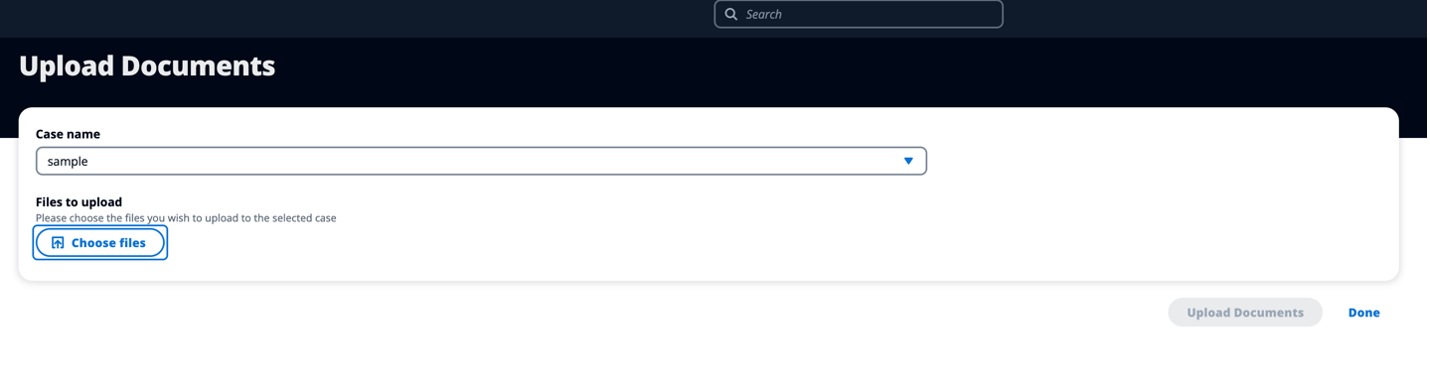
A window appears at the bottom of the page to allow document uploads.
-
-
Choose Upload Documents, then choose Done.
-
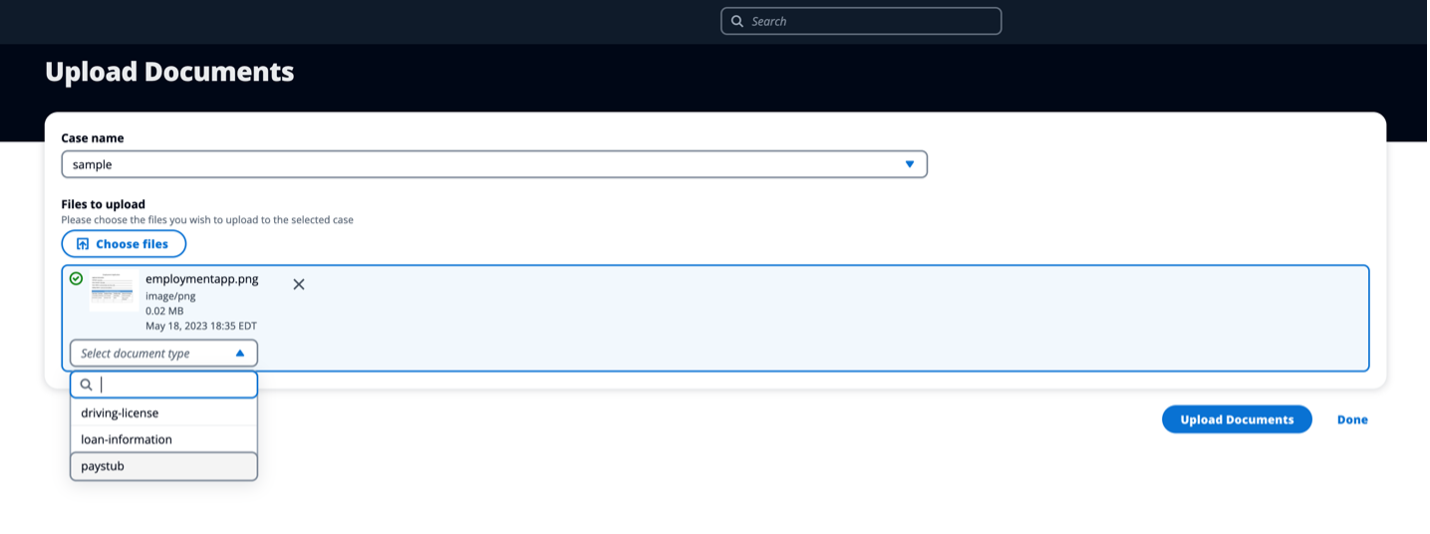
Select the files that you want to upload.
-
Choose Select the document type and select the type that best applies to the file.
Note
The list of document types to select is based on the configuration selected when deploying the solution as a CloudFormation stack. . See How the solution works for details.
-
Choose Upload Documents, then choose Done.
After you upload the required number of documents, the processing workflows start.
Note
The list of document types to select is based on the configuration selected when deploying the solution as a CloudFormation stack. . See How the solution works for details.
