Amazon Monitron is no longer open to new customers. Existing customers can
continue to use the service as normal. For capabilities similar to Amazon
Monitron, see our blog post
Exporting your data with AWS CloudFormation (recommended option)
Topics
Step 1: Create your Amazon S3 bucket, IAM role, and IAM policies.
-
Sign in to your AWS account.
-
Open a new browser tab with the following URL.
https://console.aws.amazon.com/cloudformation/home?region=us-east-1#/stacks/create/review?templateURL=https://s3.us-east-1.amazonaws.com/monitron-cloudformation-templates-us-east-1/monitron_manual_download.yaml&stackName=monitronexport -
On the AWS CloudFormation page that opens, in the upper right corner, select the region in which you are using Amazon Monitron.
-
Choose Create stack.

-
On the next page, choose the refresh icon as often as you like until the status of the stack (monitronexport) is CREATE_COMPLETE.

Step 2: Note your resources
-
Choose the Outputs tab.
-
Note the value of the key
MonRoleArn. -
Note the value of the key
S3BucketArn. -
Note your account ID from the upper right corner of the page).
-
Note the region you chose in Step 1. It also now appears at the top of the page, to the left of your account ID.

Step 3: Create the support case
-
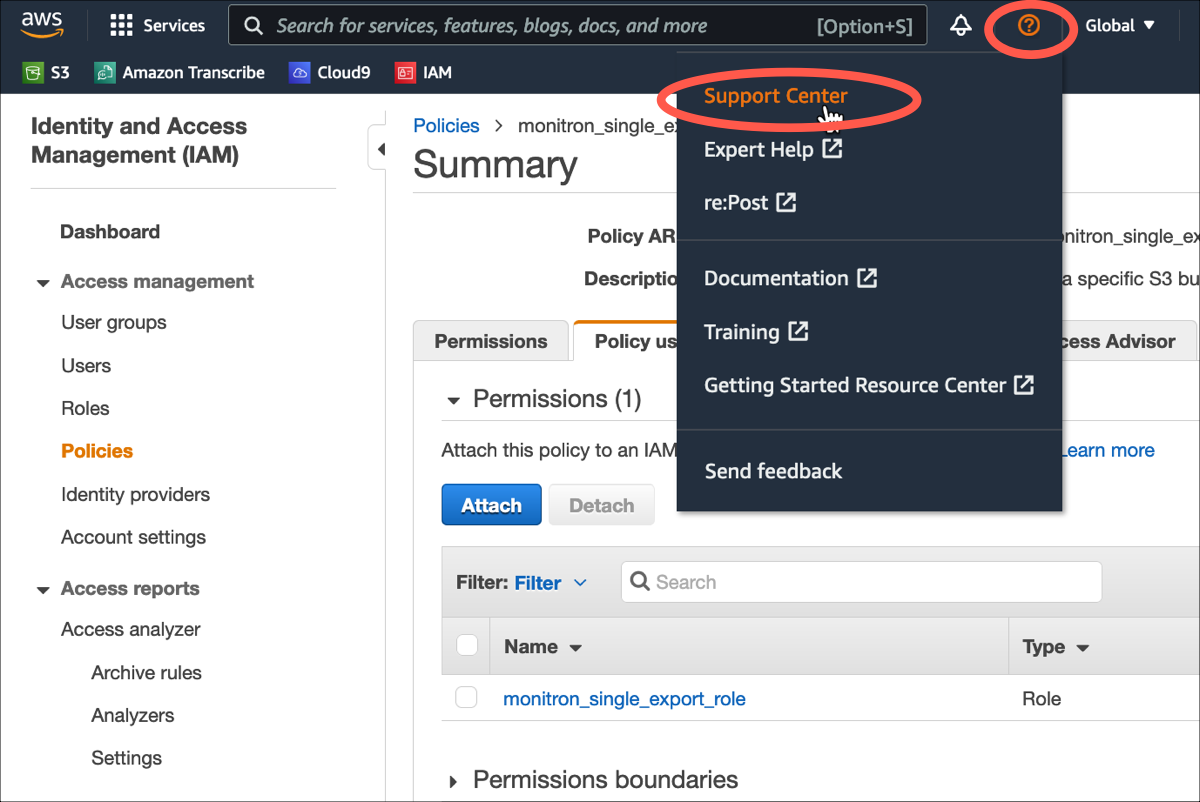
From your AWS console, choose the question mark icon near the upper right corner of any page, then choose Support Center.

-
On the next page, choose Create case.

-
On the How can we help? page, do the following:
-
Choose Account and billing support.
-
Under Service, choose Account.
-
Under Category, choose Compliance & Accreditations.
-
Choose Severity, if that option is available to you based on your support subscription.
-
Choose Next step: Additional information.

-
-
In Additional information do the following:
-
Under Subject, enter Amazon Monitron data export request.
-
In the Description field, enter:
-
your account ID
-
the region of the bucket you created
-
the ARN of the bucket you created (for example: "arn:aws:s3:::bucketname")
-
the ARN of the role you created (for example: "arn:aws:iam::273771705212:role/role-for-monitron")

-
-
Choose Next step: Solve now or contact us.
-
-
In Solve now or contact us do the following:
-
In Solve now, select Next.

-
In Contact us, choose your Preferred contact language and preferred method of contact.
-
Choose Submit. A confirmation screen with your case ID and details will be displayed.

-
An AWS customer support specialist will get back to you as soon as possible. If there are any issues with the steps listed, the specialist may ask you for more information. If all the necessary information has been provided, the specialist will let you know as soon as your data has been copied to the Amazon S3 bucket that you created above.