Building a Docker container inside CloudShell and pushing it to an Amazon ECR repository
This tutorial shows you how to define and build a Docker container in AWS CloudShell and push it to an Amazon ECR repository.
Prerequisites
You must have the necessary permissions to create and push to an Amazon ECR repository. For more information about repositories with Amazon ECR, see Amazon ECR private repositories in the Amazon ECR User Guide. For more information about the permissions required for pushing images with Amazon ECR, see Required IAM permissions for pushing an image in the Amazon ECR User Guide.
Tutorial procedure
The following tutorial outlines how to use the CloudShell interface to build a Docker container and push it to an Amazon ECR repository.
Create a new folder in your home directory.
mkdir ~/docker-cli-tutorialNavigate to the folder you created.
cd ~/docker-cli-tutorialCreate an empty Dockerfile.
touch DockerfileUsing a text editor, for example
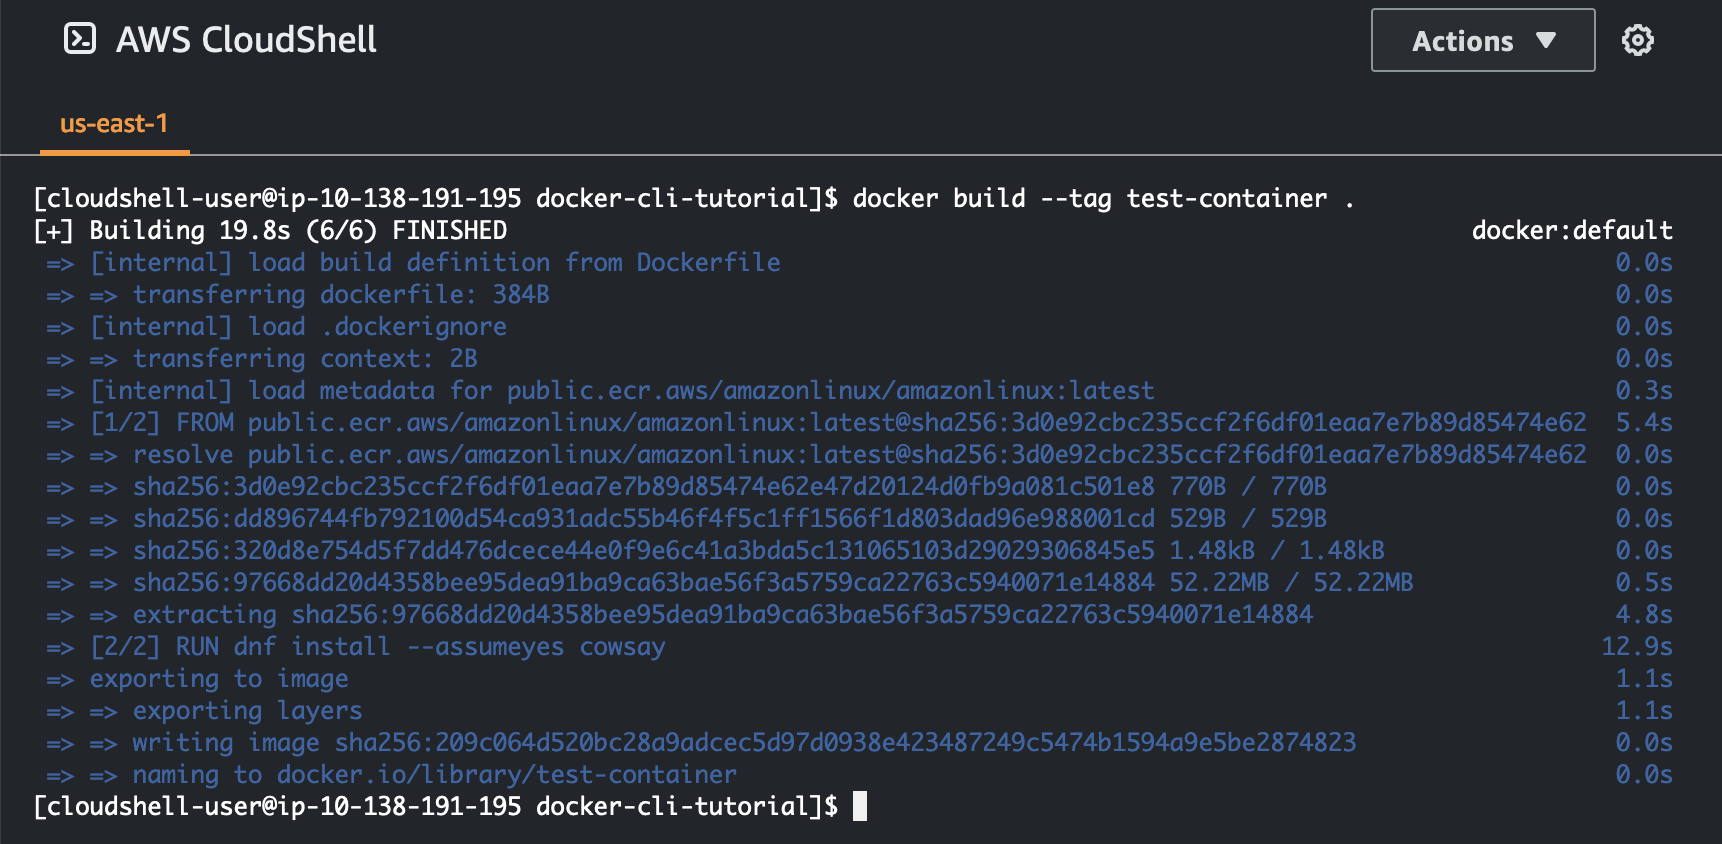
nano Dockerfile, open the file and paste the following content into it.# Dockerfile # Base this container on the latest Amazon Linux version FROM public.ecr.aws/amazonlinux/amazonlinux:latest # Install the cowsay binary RUN dnf install --assumeyes cowsay # Default entrypoint binary ENTRYPOINT [ "cowsay" ] # Default argument for the cowsay entrypoint CMD [ "Hello, World!" ]The Dockerfile is now ready to be built. Build the container by running
docker
                        build
. Tag the container with an easy-to-type name for use in future commands.docker build --tag test-container .Make sure to include the trailing period (
.).
You can now test the container to check that it is running correctly in AWS CloudShell.
docker container run test-container
Now that you have a functioning Docker container, you need to push it to an Amazon ECR repository. If you have an existing Amazon ECR repository, you can skip this step.
Run the following command to create an Amazon ECR repository for this tutorial.
ECR_REPO_NAME=docker-tutorial-repo aws ecr create-repository --repository-name ${ECR_REPO_NAME}.png)
After you create the Amazon ECR repository, you can push the Docker container to it.
Run the following command to get the Amazon ECR sign-in credentials for Docker.
AWS_ACCOUNT_ID=$(aws sts get-caller-identity --query "Account" --output text)
ECR_URL=${AWS_ACCOUNT_ID}.dkr.ecr.${AWS_REGION}.amazonaws.com
aws ecr get-login-password | docker login --username AWS --password-stdin ${ECR_URL}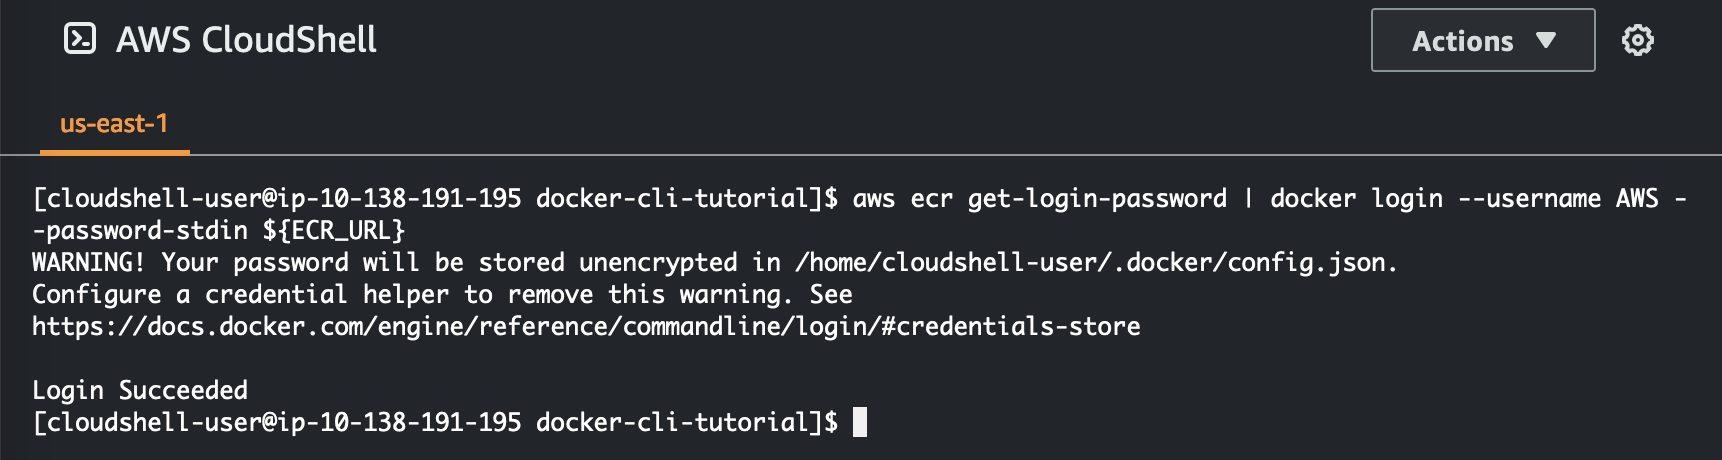
Note
If the AWS_REGION environment variable is not set in your CloudShell or you want to interact with resources in other AWS Regions, run the following command:
AWS_REGION=<your-desired-region>Tag the image with the target Amazon ECR repository and then push it to that repository.
docker tag test-container ${ECR_URL}/${ECR_REPO_NAME} docker push ${ECR_URL}/${ECR_REPO_NAME}.png)
If you encounter errors or run into issues when trying to complete this tutorial, see the Troubleshooting section of this guide for help.
Clean up
You have now successfully deployed your Docker container to your Amazon ECR repository. To remove the files you created in this tutorial from your AWS CloudShell environment, run the following command.
cd ~
rm -rf ~/docker-cli-tutorial
Delete the Amazon ECR repository.
aws ecr delete-repository --force --repository-name ${ECR_REPO_NAME}
