Enable attachments in your CCP so customers and agents can share and upload files
You can allow customers and agents to share files using chat and email, and allow agents to upload files to cases. After you complete the steps in this topic, an attachment icon automatically appears in your agent's Contact Control Panel so they can share attachments on chats and emails.
Important
You must complete steps 1 and 2 in this topic (create an Amazon S3 bucket and configure a CORS policy) for email attachments. If you don't do this, yet have selected Enable Attachments sharing for your instance, the email channel will not work for your instance.
For a list of supported file types, see Amazon Connect feature specifications.
If you are not using the hosted communications widget, you need to update your customer-facing chat interfaces to support attachment sharing.
Using a custom chat application? Check out the APIs we've added to support attachment sharing: StartAttachmentUpload, CompleteAttachmentUpload, and GetAttachment.
Using a custom agent application? Check out the attached file APIs: StartAttachedFileUpload, CompleteAttachedFileUpload, and GetAttachedFile, BatchGetAttachedFileMetadata, and DeleteAttachedFile.
Step 1: Enable attachments
-
Open the Amazon Connect console at https://console.aws.amazon.com/connect/
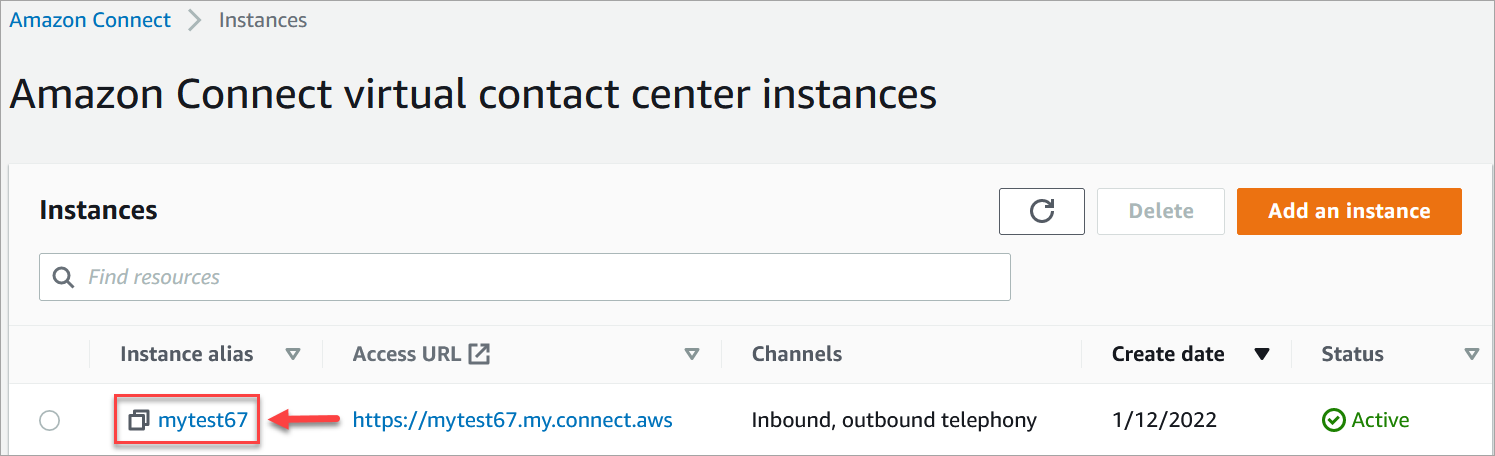
. On the instances page, choose the instance alias. The instance alias is also your instance name, which appears in your Amazon Connect URL. The following image shows the Amazon Connect virtual contact center instances page, with a box around the instance alias.
-
On the Data storage page, under the Attachments, choose Edit, select Enable Attachments sharing, and then choose Save.
Storage options appear, similar to the following image.

-
You can change the Amazon S3 bucket location where attachments are stored. By default, your existing Amazon Connect bucket is used, with a new prefix for attachments.
Note
Currently, Amazon Connect doesn’t support S3 buckets with Object Lock enabled.
The attachments feature leverages two Amazon S3 locations: a staging location and a final location.
Note the following about the staging location:
-
The staging location is used as part of a business validation flow. Amazon Connect uses it to validate the file size and type before it is available for download by using the
GetAttachedFileorGetAttachmentAPIs. -
The staging prefix is created by Amazon Connect based on the bucket path you have selected. Specifically, it includes the S3 prefix for where you are saving files, with staging appended to it.
-
We recommend that you change the data retention policy for the staging prefix to one day. This way you won't be charged for storing the staging files. For instructions, see How do I create a lifecycle rule for an S3 bucket? in the Amazon S3 User Guide.
Warning
-
Only change the lifecycle for the file staging location. If you accidentally change the lifecycle for the entire Amazon S3 bucket, all transcripts and attachments will be deleted.
-
S3 objects are permanently deleted if S3 bucket versioning is not enabled.
-
-
Step 2: Configure a CORS policy on your attachments bucket
To allow customers and agents to upload and download files, update your cross-origin resource sharing (CORS) policy to allow PUT and GET requests for the Amazon S3 bucket you are using for attachments. This is more secure than enabling public read/write on your Amazon S3 bucket, which we don't recommend.
To configure CORS on the attachments bucket
-
Find the name of the Amazon S3 bucket for storing attachments:
Open the Amazon Connect console at https://console.aws.amazon.com/connect/
. -
In the Amazon Connect console, choose Data storage, and locate the Amazon S3 bucket name.
-
Open the Amazon S3 console at https://console.aws.amazon.com/s3/
. -
In the Amazon S3 console, select your Amazon S3 bucket.
-
Choose the Permissions tab, and then scroll down to the Cross-origin resource sharing (CORS) section.
-
Add a CORS policy that has one of the following rules on your attachments bucket. For example CORS policies, see Cross-origin resource sharing: Use-case scenarios in the Amazon S3 Developer Guide.
-
Option 1: List the endpoints from where attachments will be sent and received, such as the name of your business web site. This rule allows cross-origin PUT and GET requests from your website (for example, http://www.example1.com).
Your CORS policy may look similar to the following example:
[ { "AllowedMethods": [ "PUT", "GET" ], "AllowedOrigins": [ "http://www.example1.com", "http://www.example2.com" ], "AllowedHeaders": [ "*" ] } ] -
Option 2: Add the
*wildcard toAllowedOrigin. This rule allows cross-origin PUT and GET requests from all origins, so you don't have to list your endpoints.Your CORS policy may look similar to the following example:
[
    {
        "AllowedMethods": [
            "PUT",
            "GET"
        ],
        "AllowedOrigins": [
            "*"
            ],
       "AllowedHeaders": [
            "*"
            ]
    }
]
-
Step 3 (Optional): Integrate with the APIs to enhance your custom UIs
If you are skipping the out-of-the-box Chat UI or Agent workspace, you can use the Amazon Connect Participant attachments APIs, or Amazon Connect attached files APIs to build your own UIs and provide attachments support for Cases and Chats. For the general steps in working with both sets of APIs, see Working with attachments.
Next step
We recommend enabling attachment scanning to meet compliance requirements or security policies that your organization may have in place for file sharing. For more information, see Set up attachment scanning in Amazon Connect.
Attachments not appearing?
If your agents report problems receiving and sending attachments in chat messages, see Internal firewall or missing CORS policy prevents access to chat, email, or case attachments.
