Set up SSH keys for Lightsail
Secure SHell (SSH) is a protocol for securely connecting to a virtual private server (or Lightsail instance). SSH works by creating a public key and a private key that match the remote server to an authorized user. Using that key pair, you can connect to your Lightsail instance using a browser-based SSH terminal.
For more information about SSH, see Understanding SSH.
When you create your Lightsail instance, the default option is to let Lightsail manage your SSH keys for you. Lightsail provides a browser-based SSH client for securely connecting to your Linux-based instance. It's a fully functional terminal, where you can enter commands and make changes to your instance.
Windows-based instances use remote desktop (RDP) protocol instead of SSH. For more information about Windows-based instances in Lightsail, see Get started with Windows-based instances in Lightsail.
Important
SSH key management is regional. When you create an instance in a new AWS Region, you will be given the option to use the default key pair for that region. You can also use a custom key in that region. Keep in mind that if you upload your own key, you will have to do that for each region where you have a Lightsail instance.
If you use the default key, you can still download the private key for safekeeping. This can be done either at the time you create your instance or later. If you choose to download the key after you created your instance, you can do so under SSH keys on the Account page.
Create a new key
If you don't choose to use the default key, you can create a new key pair at the time you create your Lightsail instance.
-
If you haven't done it yet, choose Create instance.
-
On the Create an instance page, choose Create custom key.
-
Lightsail displays the Region where we're creating the new key.
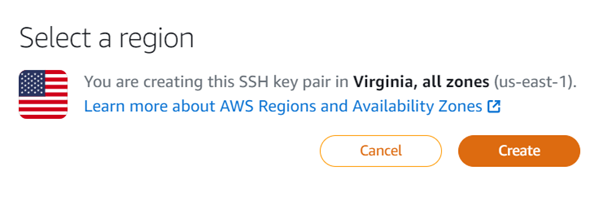
Choose Create.
-
Enter a name for your key pair.
Resource names:
-
Must be unique within each AWS Region in your Lightsail account.
-
Must contain 2 to 255 characters.
-
Must start and end with an alphanumeric character or number.
-
Can include alphanumeric characters, numbers, periods, dashes, and underscores.
-
-
Choose Generate key pair.
Important
Save your key somewhere you can easily find it. Also, it's a good idea to make sure permissions are set so that no one else can read it.
-
Continue creating your instance.
Upload an existing key
You can also choose to upload an existing key at the time you create your Lightsail instance.
-
If you haven't done it yet, choose Create instance.
-
On the Create an instance page, choose Upload key.
-
Choose Upload.
-
Lightsail displays the Region where you're uploading the new key.
-
Choose Choose File to find the key on your local machine.
Be sure to upload a public key (not a private key). For example,
github_rsa.pub. -
Choose Upload key.
-
Continue creating your instance.
Manage your keys
You can manage your keys on the SSH keys tab of the Account page. You will see each key pair in use in each region.
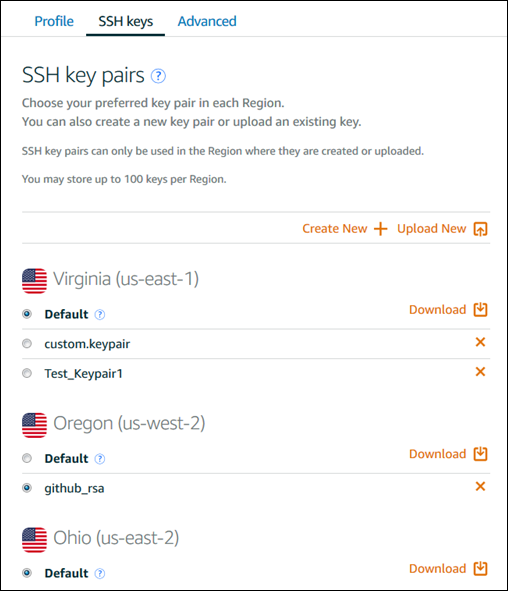
On this page, you can create a new key, delete an existing key, upload an existing key, or download a private key. You may want to use an SSH client like PuTTY to connect, which will require you to have the private half of the key. You can download the key on the Account page. Learn more about setting up PuTTY to connect to a Lightsail instance.
