Host a Static Website
|
AWS experience |
Beginner |
|
Time to complete |
10 minutes |
|
Cost to complete |
Total cost of hosting your static website on AWS is dependent on your usage
To see a breakdown of the services used and their associated costs, see pricing
for AWS Amplify |
|
Get help |
|
|
Last updated |
July 16, 2024 |
Overview
In this tutorial, you will learn how to deploy a static website with AWS Amplify. Amplify offers a Git-based CI/CD workflow for building, deploying, and hosting websites. Static websites deliver HTML, JavaScript, images, video and other files to your website visitors. Static websites are very low cost, provide high-levels of reliability, require almost no IT administration, and scale to handle enterprise-level traffic with no additional work.
For more information, see the FAQs.
What you will accomplish
In this tutorial, you will:
-
Host a static website using AWS Amplify
in the AWS Management Console. AWS Amplify provides fully managed hosting for static websites and web apps. Amplify’s hosting solution leverages Amazon CloudFront and Amazon S3 to deliver your site assets via the AWS content delivery network (CDN). -
Set up continuous deployment: Amplify offers a Git-based workflow with continuous deployment, allowing you to automatically deploy updates to your site on every code commit.
Prerequisites
Before starting this tutorial, you will need:
-
An AWS account: if you don't already have one follow the Setup Your Environment tutorial.
-
Your AWS profile configured
for local development. -
Familiarity with git and a Github
account.
Implementation
Already have a repository to connect? Skip to Initialize GitHub Repository
Want to deploy without connecting to a Git provider? Follow these instructions
-
Create the application
In a new terminal window or command line, run the following command to use Vite to create a React application:
npm create vite@latest staticwebsite -- --template react
cd staticwebsite
npm install
npm run dev
-
View the application
In the terminal window, select and open the Local link to view the Vite + React application.
npm create vite@latest staticwebsite -- --template react
cd staticwebsite
npm install
npm run dev
In this step, you will create a GitHub repository and commit your
code to the repository. You will need a GitHub account to complete
this step, if you do not have an account,
sign up here
Note
If you have never used
GitHub on your computer, follow
the
steps
-
Open GitHub
Sign in to GitHub at https://github.com/
. 
-
Create a repository
In the Start a new repository section, make the following selections:
-
For Repository name, enter staticwebsite, and choose the Public radio button.
-
Then select, Create a new repository.

-
-
Push the application to GitHub
Open a new terminal window, navigate to your projects root folder (staticwebsite), and run the following commands to initialize a git and push the application to the new GitHub repo:
Note
Replace the SSH GitHub URL in the command with your SSH GitHub URL.
git init
git add .
git commit -m "first commit"
git remote add origin git@github.com:<your-username>/staticwebsite.git
git branch -M main
git push -u origin main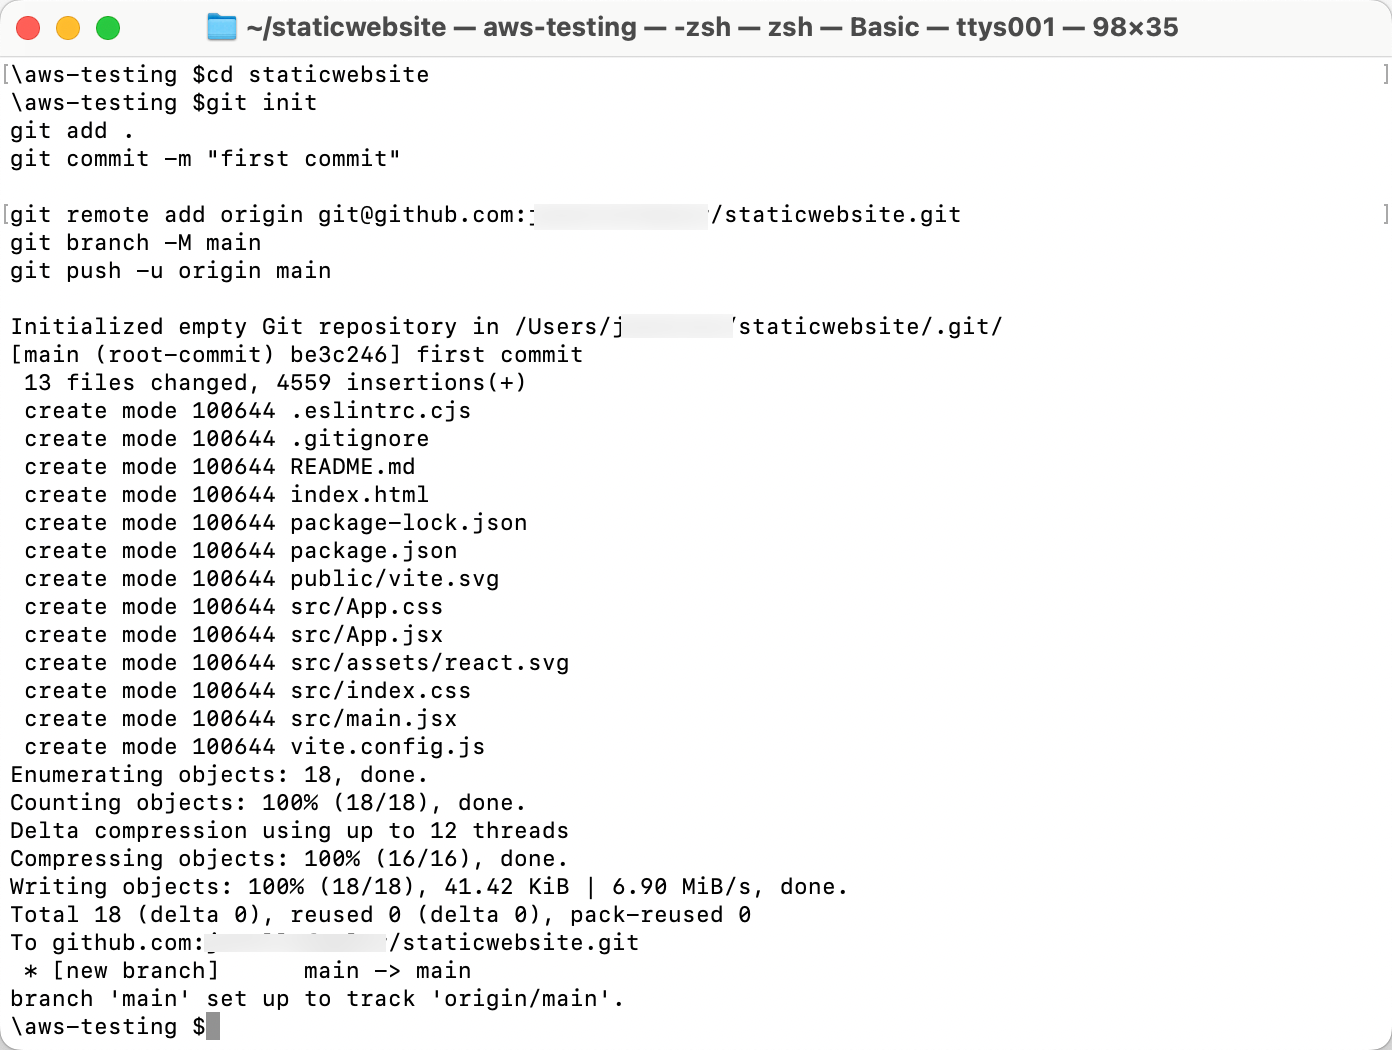
In this step, you will connect the GitHub repository you just created to AWS Amplify. This will enable you to build, deploy, and host your app on AWS.
-
Create an Amplify app
Sign in to the AWS Management Console in a new browser window, and open the AWS Amplify console at https://console.aws.amazon.com/amplify/apps
. Choose Create new app.

-
Choose the GitHub repository
On the Start building with Amplify page, for Deploy your app, select GitHub, and select Next.
Notes
-
If you are using an existing repository, connect your GitHub, Bitbucket, GitLab, or AWS CodeCommit repositories.
-
You also have the option of manually uploading your build artifacts without connecting a Git repository (see Manual Deploys).
-
After you authorize the Amplify console, Amplify fetches an access token from the repository provider, but it doesn’t store the token on the AWS servers. Amplify accesses your repository using deploy keys installed in a specific repository only.

-
-
Select repository branch
When prompted, authenticate with GitHub. You will be automatically redirected back to the Amplify console. Choose the repository and main branch you created earlier. Then select Next.

-
Review build settings
Leave the default build settings and select Next.
-
Amplify inspects your repository to automatically detect the sequence of build commands to be invoked.

-
-
Deploy the app
Review the inputs selected, and choose Save and deploy to deploy your web app to a global content delivery network (CDN).

-
View your deployed app
AWS Amplify will now build your source code and deploy your app at https://...amplifyapp.com, and on every git push your deployment instance will update. It may take 2-5 minutes to deploy your app based on the size.
Once the build completes, select the Visit deployed URL button to see your web app up and running live.

It is recommended that you delete the app and the backend resources that you created during this tutorial to prevent unexpected costs.
-
Delete the app
In the Amplify console, in the left-hand navigation for the staticwebsite app, choose App settings, and select General settings.
In the General settings section, choose Delete app.

Congratulations
You have finished the Host a Static Website on AWS tutorial!
