Redshift connections
You can use AWS Glue for Spark to read from and write to tables in Amazon Redshift databases. When connecting to Amazon Redshift
databases, AWS Glue moves data through Amazon S3 to achieve maximum throughput, using the Amazon Redshift SQL COPY and
UNLOAD commands. In AWS Glue 4.0 and later, you can use the Amazon Redshift integration for
Apache Spark to read and write with optimizations and features specific to Amazon Redshift beyond those available
when connecting through previous versions.
Learn about how AWS Glue is making it easier than ever for Amazon Redshift users to migrate to AWS Glue for serverless data integration and ETL.
Configuring Redshift connections
To use Amazon Redshift clusters in AWS Glue, you will need some prerequisites:
-
An Amazon S3 directory to use for temporary storage when reading from and writing to the database.
-
An Amazon VPC enabling communication between your Amazon Redshift cluster, your AWS Glue job and your Amazon S3 directory.
-
Appropriate IAM permissions on the AWS Glue job and Amazon Redshift cluster.
Configuring IAM roles
Set up the role for the Amazon Redshift cluster
Your Amazon Redshift cluster needs to be able to read and write to Amazon S3 in order to integrate with AWS Glue jobs.
To allow this, you can associate IAM roles with the Amazon Redshift cluster you want to connect to.
Your role should have a policy allowing read from and write to your Amazon S3 temporary directory. Your role should have
a trust relationship allowing the redshift.amazonaws.com service to AssumeRole.
To associate an IAM role with Amazon Redshift
Prerequisites: An Amazon S3 bucket or directory used for the temporary storage of files.
-
Identify which Amazon S3 permissions your Amazon Redshift cluster will need. When moving data to and from an Amazon Redshift cluster, AWS Glue jobs issue COPY and UNLOAD statements against Amazon Redshift. If your job modifies a table in Amazon Redshift, AWS Glue will also issue CREATE LIBRARY statements. For information on specific Amazon S3 permissions required for Amazon Redshift to execute these statements, refer to the Amazon Redshift documentation: Amazon Redshift: Permissions to access other AWS Resources.
In the IAM console, create an IAM policy with the necessary permissions. For more information about creating a policy Creating IAM policies.
In the IAM console, create a role and trust relationship allowing Amazon Redshift to assume the role. Follow the instructions in the IAM documentation To create a role for an AWS service (console)
When asked to choose an AWS service use case, choose "Redshift - Customizable".
When asked to attach a policy, choose the policy you previously defined.
Note
For more information about configuring roles for Amazon Redshift, see Authorizing Amazon Redshift to access other AWS services on your behalf in the Amazon Redshift documentation.
In the Amazon Redshift console, associate the role with your Amazon Redshift cluster. Follow the instructions in the Amazon Redshift documentation.
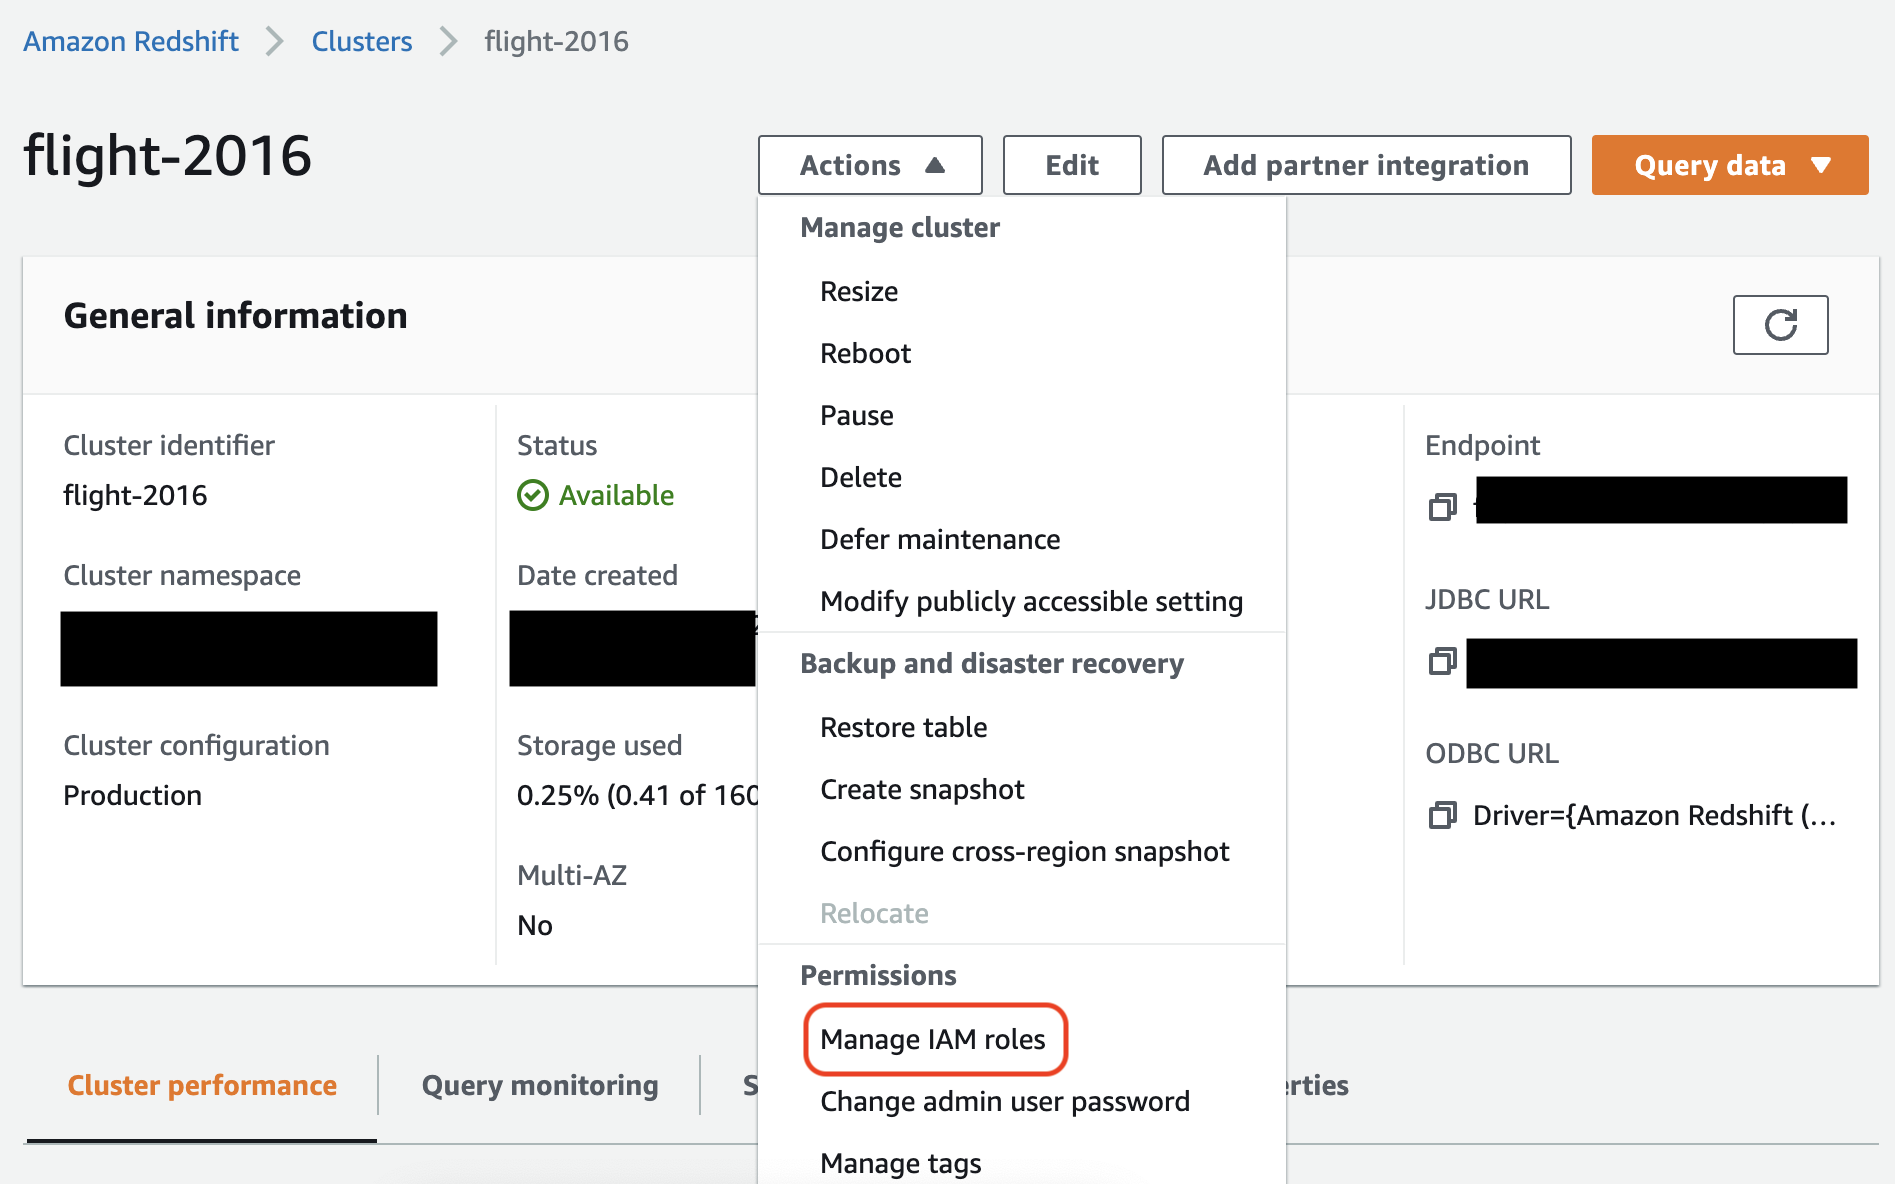
Select the highlighted option in the Amazon Redshift console to configure this setting:
Note
By default, AWS Glue jobs pass Amazon Redshift temporary credentials that are created using the role that you specified to run the job. We do not recommend using these credentials. For security purposes, these credentials expire after 1 hour.
Set up the role for the AWS Glue job
The AWS Glue job needs a role to access the Amazon S3 bucket. You do not need IAM permissions for the Amazon Redshift cluster, your access is controlled by connectivity in Amazon VPC and your database credentials.
Set up Amazon VPC
To set up access for Amazon Redshift data stores
Sign in to the AWS Management Console and open the Amazon Redshift console at https://console.aws.amazon.com/redshiftv2/
. -
In the left navigation pane, choose Clusters.
-
Choose the cluster name that you want to access from AWS Glue.
-
In the Cluster Properties section, choose a security group in VPC security groups to allow AWS Glue to use. Record the name of the security group that you chose for future reference. Choosing the security group opens the Amazon EC2 console Security Groups list.
-
Choose the security group to modify and navigate to the Inbound tab.
-
Add a self-referencing rule to allow AWS Glue components to communicate. Specifically, add or confirm that there is a rule of Type
All
                            TCP
, Protocol isTCP, Port Range includes all ports, and whose Source is the same security group name as the Group ID.The inbound rule looks similar to the following:
Type Protocol Port range Source All TCP
TCP
0–65535
database-security-group
For example:

-
Add a rule for outbound traffic also. Either open outbound traffic to all ports, for example:
Type Protocol Port range Destination All Traffic
ALL
ALL
0.0.0.0/0
Or create a self-referencing rule where Type
All TCP, Protocol isTCP, Port Range includes all ports, and whose Destination is the same security group name as the Group ID. If using an Amazon S3 VPC endpoint, also add an HTTPS rule for Amazon S3 access. Thes3-prefix-list-idis required in the security group rule to allow traffic from the VPC to the Amazon S3 VPC endpoint.For example:
Type Protocol Port range Destination All TCP
TCP
0–65535
security-groupHTTPS
TCP
443
s3-prefix-list-id
Set up AWS Glue
You will need to create an AWS Glue Data Catalog connection that provides Amazon VPC connection information.
To configure Amazon Redshift Amazon VPC connectivity to AWS Glue in the console
-
Create a Data Catalog connection by following the steps in: Adding an AWS Glue connection. After creating the connection, keep the connection name,
connectionName, for the next step.When selecting a Connection type, select Amazon Redshift.
When selecting a Redshift cluster, select your cluster by name.
Provide default connection information for a Amazon Redshift user on your cluster.
Your Amazon VPC settings will be automatically configured.
Note
You will need to manually provide
PhysicalConnectionRequirementsfor your Amazon VPC when creating an Amazon Redshift connection through the AWS SDK. -
In your AWS Glue job configuration, provide
connectionNameas an Additional network connection.
Example: Reading from Amazon Redshift tables
You can read from Amazon Redshift clusters and Amazon Redshift serverless environments.
Prerequisites: An Amazon Redshift table you would like to read from.
Follow the steps in the previous
section Configuring Redshift connections after which you should have
the Amazon S3 URI for a temporary directory, temp-s3-dir and an IAM role,
rs-role-name, (in account role-account-id).
Example: Writing to Amazon Redshift tables
You can write to Amazon Redshift clusters and Amazon Redshift serverless environments.
Prerequisites: An Amazon Redshift cluster and follow the steps in the previous
section Configuring Redshift connections after which you should have
the Amazon S3 URI for a temporary directory, temp-s3-dir and an IAM role,
rs-role-name, (in account role-account-id).
You will also need a DynamicFrame whose contents you would like to write to the database.
Amazon Redshift connection option reference
The basic connection options used for all AWS Glue JDBC connections to set up information like
url, user and password are consistent across all JDBC types. For
more information about standard JDBC parameters, see JDBC connection option reference.
The Amazon Redshift connection type takes some additional connection options:
-
"redshiftTmpDir": (Required) The Amazon S3 path where temporary data can be staged when copying out of the database. -
"aws_iam_role": (Optional) ARN for an IAM role. The AWS Glue job will pass this role to the Amazon Redshift cluster to grant the cluster permissions needed to complete instructions from the job.
Additional connection options available in AWS Glue 4.0+
You can also pass options for the new Amazon Redshift connector through AWS Glue connection options. For a complete list of supported connector options, see the Spark SQL parameters section in Amazon Redshift integration for Apache Spark.
For you convenience, we reiterate certain new options here:
| Name | Required | Default | Description |
|---|---|---|---|
| autopushdown |
No | TRUE | Applies predicate and query pushdown by capturing and analyzing the Spark logical plans for SQL operations. The operations are translated into a SQL query, and then run in Amazon Redshift to improve performance. |
| autopushdown.s3_result_cache |
No | FALSE | Caches the SQL query to unload data for Amazon S3 path mapping in memory so that
the same query doesn't need to run again in the same Spark session. Only supported when
|
| unload_s3_format |
No | PARQUET | PARQUET - Unloads the query results in Parquet format. TEXT - Unloads the query results in pipe-delimited text format. |
| sse_kms_key |
No | N/A | The AWS SSE-KMS key to use for encryption during |
| extracopyoptions |
No | N/A | A list of extra options to append to the Amazon Redshift Note that because these options are appended
to the end of the |
| csvnullstring (experimental) |
No | NULL | The String value to write for nulls when using the CSV
|
These new parameters can be used in the following ways.
New options for performance improvement
The new connector introduces some new performance improvement options:
-
autopushdown: Enabled by default. -
autopushdown.s3_result_cache: Disabled by default. -
unload_s3_format:PARQUETby default.
For information about using these options, see Amazon Redshift
integration for Apache Spark. We recommend that you don't turn on
autopushdown.s3_result_cache when you have mixed read and write operations because the
cached results might contain stale information. The option unload_s3_format is
set to PARQUET by default for the UNLOAD command, to improve
performance and reduce storage cost. To use the UNLOAD command default behavior,
reset the option to TEXT.
New encryption option for reading
By default, the data in the temporary folder that AWS Glue uses when it
reads data from the Amazon Redshift table is encrypted using SSE-S3 encryption. To use
customer managed keys from AWS Key Management Service (AWS KMS) to encrypt your data, you can set up ("sse_kms_key"
→ kmsKey) where ksmKey is the key ID
from AWS KMS, instead of the legacy setting option ("extraunloadoptions" →
s"ENCRYPTED KMS_KEY_ID '$kmsKey'") in AWS Glue version 3.0.
datasource0 = glueContext.create_dynamic_frame.from_catalog(
  database = "database-name",
  table_name = "table-name",
  redshift_tmp_dir = args["TempDir"],
  additional_options = {"sse_kms_key":"<KMS_KEY_ID>"},
  transformation_ctx = "datasource0"
)
Support IAM-based JDBC URL
The new connector supports an IAM-based JDBC URL so you don't need to pass in a user/password or secret. With an IAM-based JDBC URL, the connector uses the job runtime role to access to the Amazon Redshift data source.
Step 1: Attach the following minimal required policy to your AWS Glue job runtime role.
Step 2: Use the IAM-based JDBC URL as follows. Specify a new option DbUser
with the Amazon Redshift user name that you're connecting with.
conn_options = {
     // IAM-based JDBC URL
    "url": "jdbc:redshift:iam://<cluster name>:<region>/<database name>",
    "dbtable": dbtable,
    "redshiftTmpDir": redshiftTmpDir,
    "aws_iam_role": aws_iam_role,
    "DbUser": "<Redshift User name>" // required for IAM-based JDBC URL
    }

redshift_write = glueContext.write_dynamic_frame.from_options(
    frame=dyf,
    connection_type="redshift",
    connection_options=conn_options
)

redshift_read = glueContext.create_dynamic_frame.from_options(
    connection_type="redshift",
    connection_options=conn_options
)
Note
A DynamicFrame currently only supports an IAM-based JDBC URL with a
DbUser in the GlueContext.create_dynamic_frame.from_options workflow.
Migrating from AWS Glue version 3.0 to version 4.0
In AWS Glue 4.0, ETL jobs have access to a new Amazon Redshift Spark connector and a new JDBC driver with different options and configuration. The new Amazon Redshift connector and driver are written with performance in mind, and keep transactional consistency of your data. These products are documented in the Amazon Redshift documentation. For more information, see:
Table/column names and identifiers restriction
The new Amazon Redshift Spark connector and driver have a more restricted requirement for the Redshift table name. For more information, see Names and identifiers to define your Amazon Redshift table name. The job bookmark workflow might not work with a table name that doesn't match the rules and with certain characters, such as a space.
If you have legacy tables with names that don't conform to the Names and identifiers rules and see issues with bookmarks (jobs reprocessing old Amazon Redshift table data), we recommend that you rename your table names. For more information, see ALTER TABLE examples.
Default tempformat change in Dataframe
The AWS Glue version 3.0 Spark connector defaults the tempformat
to CSV while writing to Amazon Redshift. To be consistent, in AWS Glue version 3.0, the
DynamicFrame still defaults the tempformat to use CSV. If
you've previously used Spark Dataframe APIs directly with the Amazon Redshift Spark connector, you
can explicitly set the tempformat to CSV in the DataframeReader
/Writer options. Otherwise, tempformat defaults to AVRO
in the new Spark connector.
Behavior change: map Amazon Redshift data type REAL to Spark data type FLOAT instead of DOUBLE
In AWS Glue version 3.0, Amazon Redshift REAL is converted to a Spark
DOUBLE type. The new Amazon Redshift Spark connector has updated the behavior so that the Amazon Redshift
REAL type is converted to, and back from, the Spark FLOAT type. If you
have a legacy use case where you still want the Amazon Redshift REAL type to be mapped to
a Spark DOUBLE type, you can use the following workaround:
-
For a
DynamicFrame, map theFloattype to aDoubletype withDynamicFrame.ApplyMapping. For aDataframe, you need to usecast.
Code example:
dyf_cast = dyf.apply_mapping([('a', 'long', 'a', 'long'), ('b', 'float', 'b', 'double')])
Handling VARBYTE Data Type
When working with AWS Glue 3.0 and Amazon Redshift data types, AWS Glue 3.0 converts Amazon Redshift VARBYTE to Spark STRING type.
However, the latest Amazon Redshift Spark connector doesn't support the VARBYTE data type. To work around this limitation,
you can create a Redshift view that transforms VARBYTE columns to a supported data type. Then, use the new connector to load data
from this view instead of the original table, which ensures compatibility while maintaining access to your VARBYTE data.
Example for Redshift query:
CREATE VIEWview_nameAS SELECT FROM_VARBYTE(varbyte_column, 'hex') FROMtable_name
