Get started as an AWS IoT SiteWise Monitor project owner
Each portal in the AWS IoT SiteWise Monitor contains one or more projects. A project is the unit of sharing. If you invite viewers to your project, they can see all dashboards that you created in that project, as well as explore the assets that are associated with the project. If you want viewers to have access to different subsets of your dashboards, you must ask your portal administrator to split the project. As the owner of one or more projects, you can do the following tasks:
Explore project assets and their data
You can explore the list of assets to which you have access to view their properties. If you need additional assets in your project, you must contact your portal administrator.
Note
As a project owner, you can view only those assets that are contained in projects to which you have access.
The following procedure assumes that you signed in the AWS IoT SiteWise Monitor portal.
To explore project assets and their data
-
In the navigation bar, choose the Assets icon.

The Assets page appears.
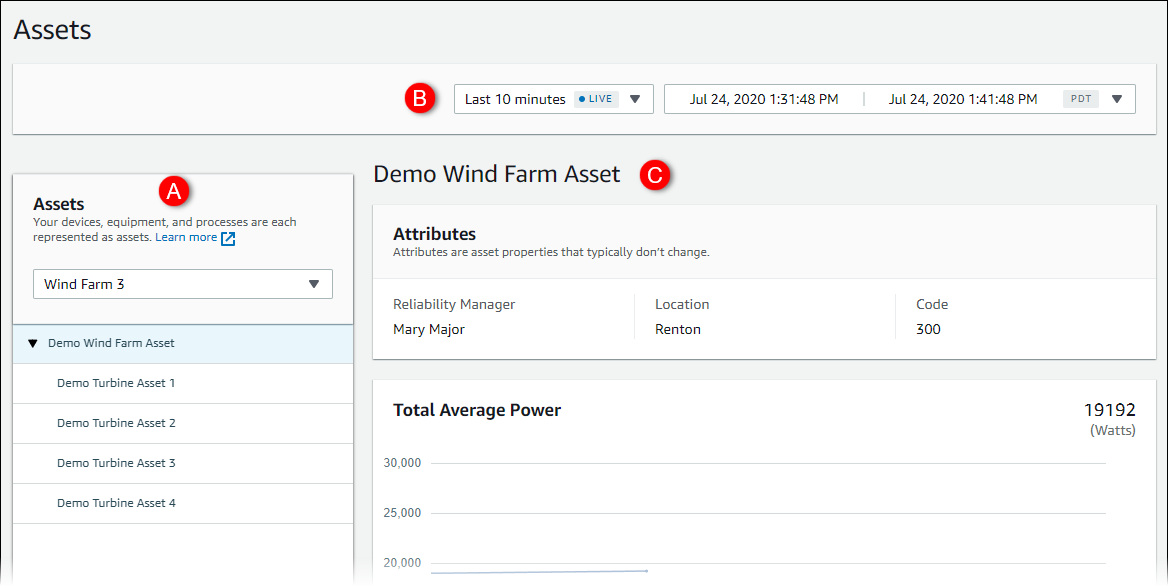
See the following areas of the page.
Callout Description A Browse the asset hierarchy to find assets to view. B Select the time range for the data shown for the properties of the selected asset. C View the values for the properties of the selected asset. View, configure, and respond to the alarms for the selected asset.
Create dashboards to visualize data
The primary activity for a project owner is to create dashboards that contain one or more visualizations that show the values of asset properties and alarms. Creating a dashboard is quick and easy.
To create dashboards
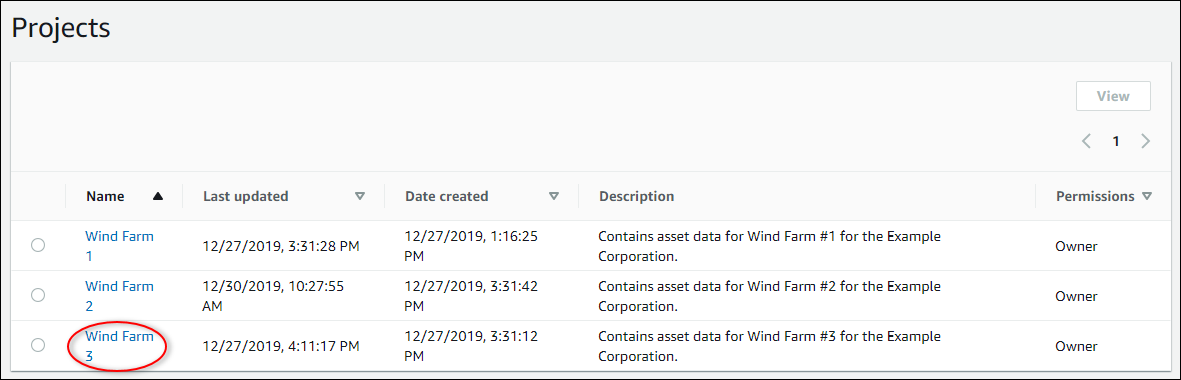
In the navigation bar, choose the Projects icon.

-
On the Projects page, choose the project in which you want to create a dashboard.
-
In the Dashboards section, choose Create dashboard.
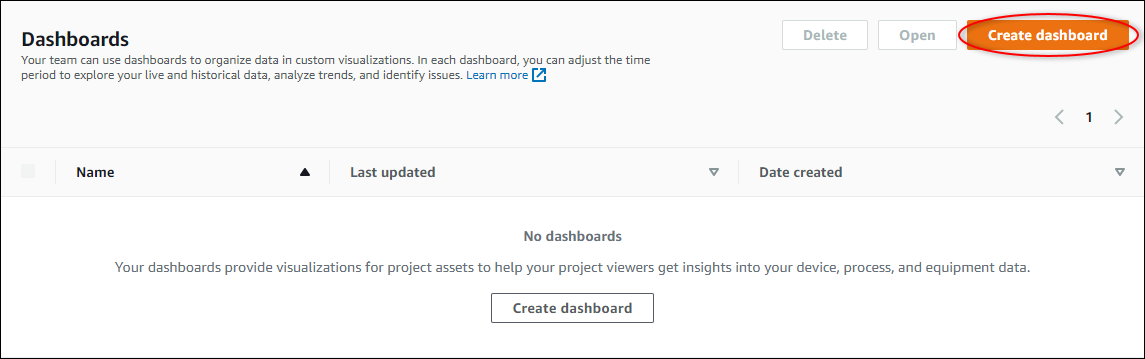
Next, you add one or more visualizations of asset properties and alarms to your dashboard.
Configure visualizations to understand data
Each dashboard can display one or more visualizations of the values of the asset properties and alarms in your project. You can add a visualization for any property or alarm, and customize the details of the visualization.
To configure visualizations
-
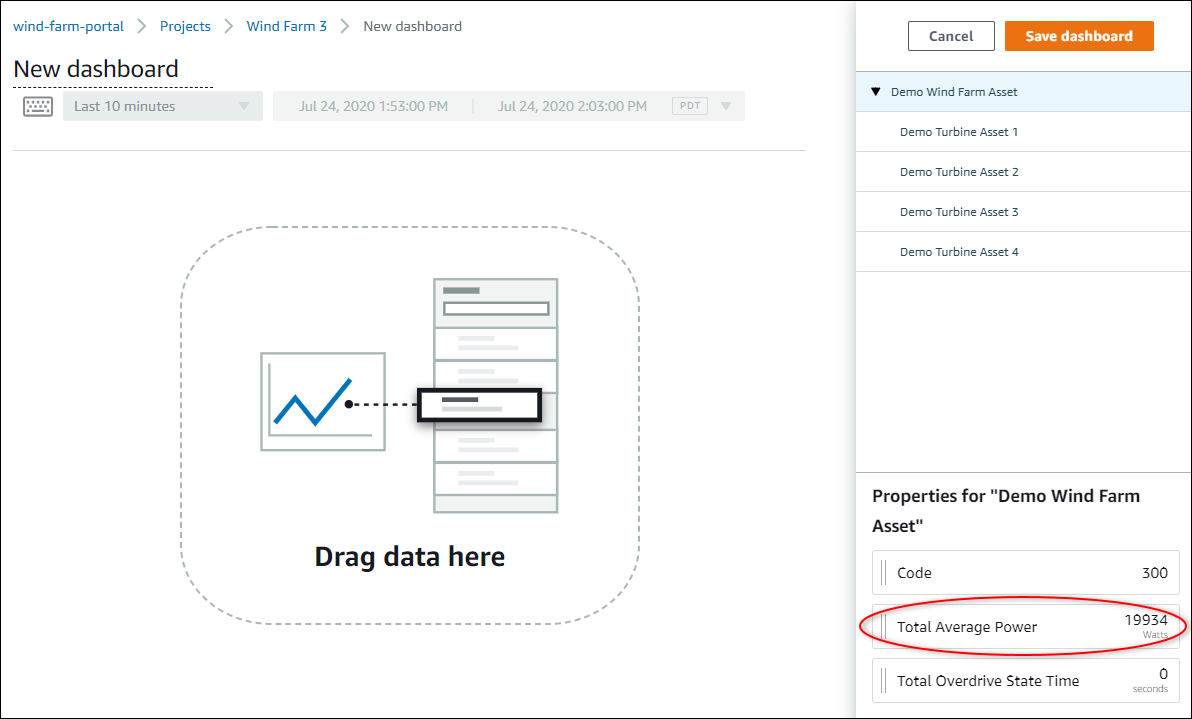
In the dashboard editor, change the dashboard name from the default,
New
          dashboard
, to something that describes the content.
-
Browse the list of project assets on the right side of the dashboard. When you find a property or alarm to visualize, drag it to the dashboard.
-
The default visualization type for properties is the line chart.
-
The default visualization type for alarms is the status grid widget.
Note
You can drag multiple properties and alarms onto a single visualization.
-
-
To change how your data displays, choose the visualization type.
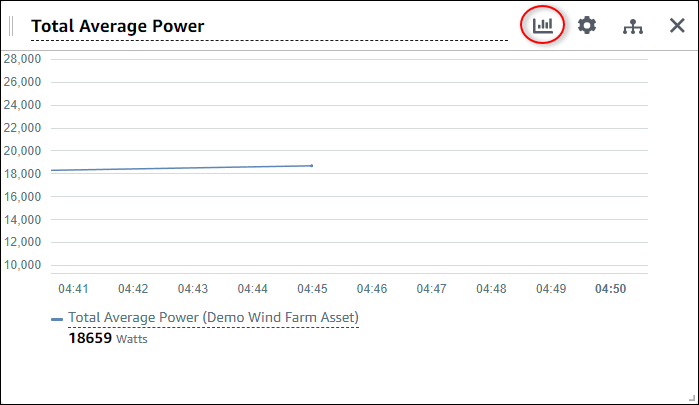
For more information about the available visualization types, see Choose visualization types. To customize details of the visualization, see Customize visualizations.
-
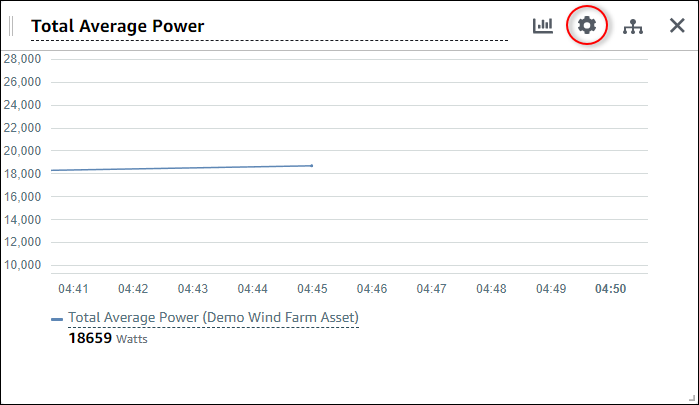
To add thresholds to your property, choose the visualization configuration icon. If you add a property that has an alarm, the visualization displays that alarm's threshold. For more information, see Configure thresholds.
-
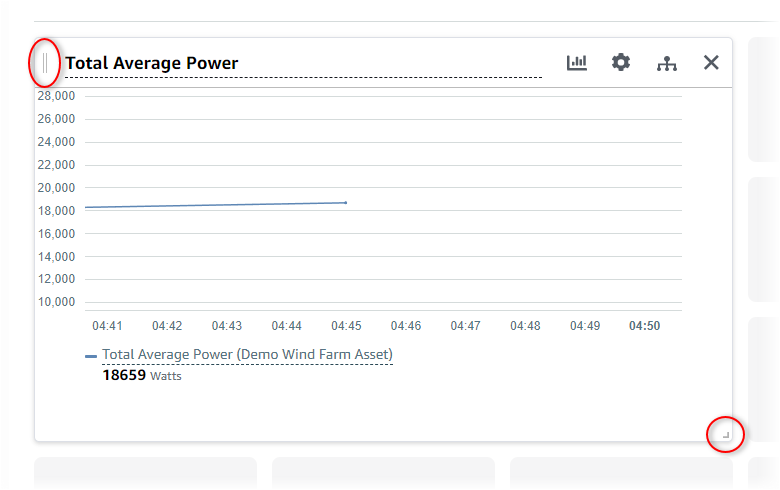
To move a visualization, choose the control icon in the upper left and then drag the visualization to a new location.
-
To change the size of a visualization, use the resize control in the lower right. Drag the corner to a new size and shape. Visualizations snap to the grid when resized, so you only have coarse control over the size.
-
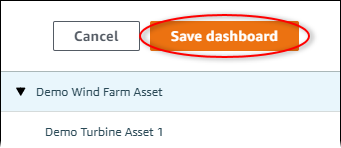
After you finish editing the dashboard, choose Save dashboard to save your changes. The dashboard editor closes. If you try to close a dashboard that has unsaved changes, you're prompted to save them.
-
Repeat these steps to add and configure more visualizations to the dashboard.
-
When you finish making changes, choose Save dashboard in the upper-right corner.
When you're ready to share your dashboard, you can add viewers to your project to explore dashboards. You can see and change who you invited to the project on the project details page.
Assign viewers to the project
You can assign viewers to your project from the project details page.
To assign viewers to a project
In the navigation bar, choose the Projects icon.
-
On the Projects page, choose the project to which to assign viewers.
-
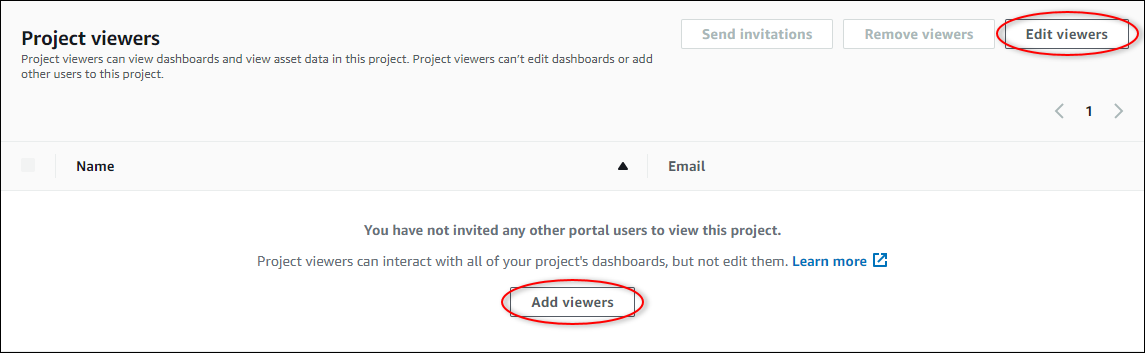
In the Project viewers section of the project details page, choose Add viewers if the project has no viewers, or Edit viewers.
-
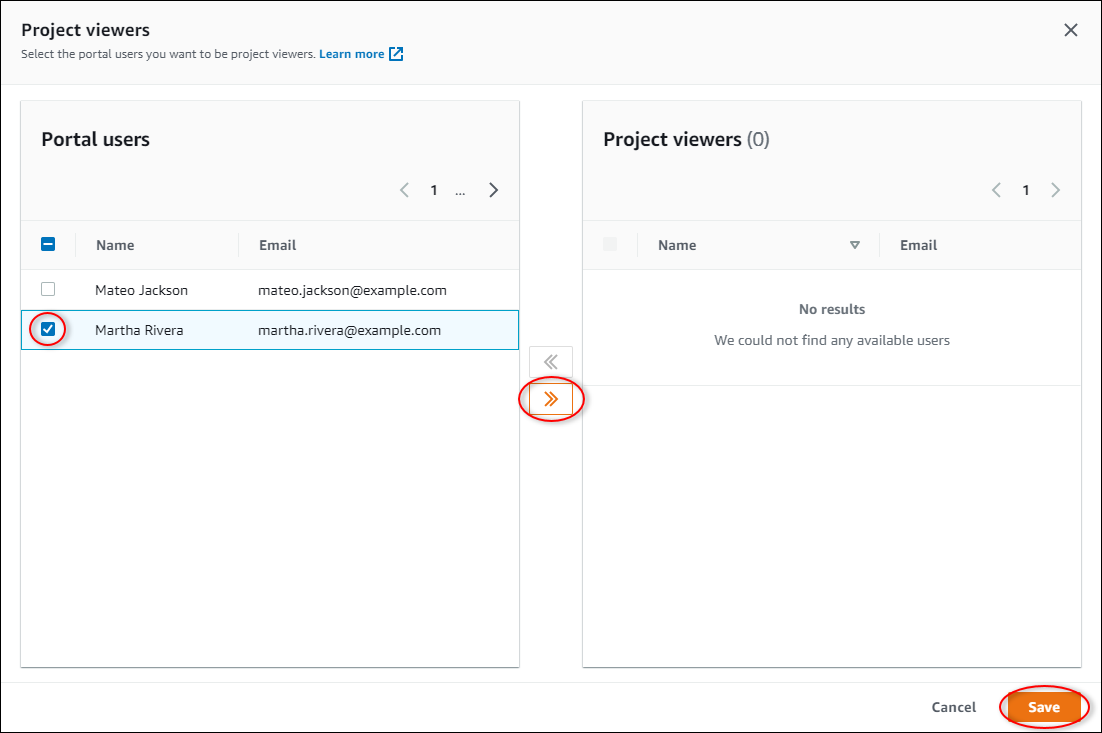
In the Project viewers dialog box, select the check boxes for the users to be viewers for this project.
Note
You can only add viewers if they're portal users. If you don't see a user listed, contact your AWS administrator to add them to the list of portal users.
-
Choose the >> icon to add those users as project viewers.
-
Choose Save to save your changes.
Next, you can send emails to your project viewers so they can sign in and start exploring the dashboards in the project.
To send email invitations to project viewers
In the navigation bar, choose the Projects icon.
-
On the Projects page, choose the project to which to invite project viewers.
-
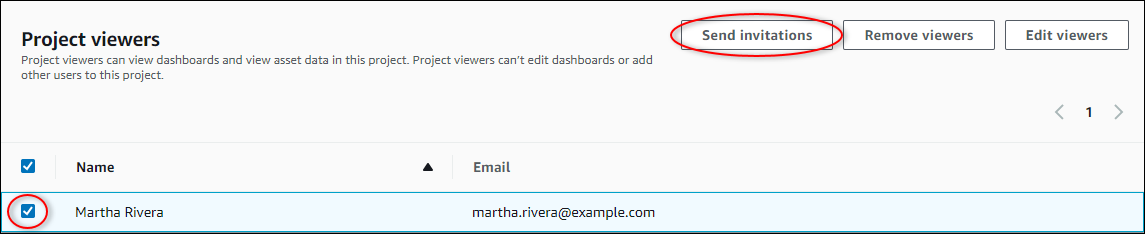
In the Project viewers section of the project details page, select the check boxes for the project viewers to receive an email, and then choose Send invitations.
-
Your preferred email client opens, prepopulated with the recipients and the email body with details from your project. You can customize the email before you send it to the project viewers.
