기계 번역으로 제공되는 번역입니다. 제공된 번역과 원본 영어의 내용이 상충하는 경우에는 영어 버전이 우선합니다.
데이터세트 준비
이 단계에서는 SHAP(SHapley Additive exPlanations) 라이브러리를 사용하여 성인 인구 조사 데이터 집합
다음 예제를 실행하려면 노트북 인스턴스의 셀에 샘플 코드를 붙여넣으세요.
SHAP를 사용하여 성인 인구 조사 데이터 집합 불러오기
SHAP 라이브러리를 사용하여 다음과 같이 성인 인구 조사 데이터 집합을 가져옵니다.
import shap
X, y = shap.datasets.adult()
X_display, y_display = shap.datasets.adult(display=True)
feature_names = list(X.columns)
feature_names
참고
현재 Jupyter 커널에 SHAP 라이브러리가 없는 경우 다음 conda명령을 실행하여 설치하세요.
%conda install -c conda-forge shap
JupyterLab을 사용하는 경우 설치 및 업데이트가 완료된 후 먼저 커널을 수동으로 새로 고쳐야 합니다. 다음 IPython 스크립트를 실행하여 커널을 종료합니다(커널은 자동으로 다시 시작됨).
import IPython
IPython.Application.instance().kernel.do_shutdown(True)
feature_names list 객체는 다음과 같은 기능 목록을 반환해야 합니다.
['Age',
 'Workclass',
 'Education-Num',
 'Marital Status',
 'Occupation',
 'Relationship',
 'Race',
 'Sex',
 'Capital Gain',
 'Capital Loss',
 'Hours per week',
 'Country']
작은 정보
레이블이 지정되지 않은 데이터로 시작하는 경우 Amazon SageMaker Ground Truth를 사용하여 몇 분 만에 데이터 레이블 지정 워크플로를 생성할 수 있습니다. 자세히 알아보려면 데이터 레이블을 참조하세요.
데이터 집합 개요
다음 스크립트를 실행하여 데이터 집합의 통계적 개요와 숫자 기능의 히스토그램을 표시합니다.
display(X.describe())
hist = X.hist(bins=30, sharey=True, figsize=(20, 10))

작은 정보
정리 및 변환이 필요한 데이터 집합을 사용하려는 경우 Amazon SageMaker Data Wrangler를 사용하여 데이터 사전 처리 및 기능 엔지니어링을 단순화하고 간소화할 수 있습니다. 자세한 내용은 Amazon SageMaker Data Wrangler를 사용하여 ML 데이터 준비를 참조하세요.
데이터 집합을 훈련, 검증 및 테스트 데이터 집합으로 분할합니다.
Sklearn을 사용하여 데이터 집합을 훈련 집합과 테스트 집합으로 분할합니다. 훈련 세트는 모델을 훈련하는 데 사용되고, 테스트 세트는 최종 훈련된 모델의 성능을 평가하는 데 사용됩니다. 데이터 집합은 고정된 무작위 시드를 사용하여 무작위로 정렬됩니다.데이터 집합의 80%는 훈련 집합용이고 20%는 테스트 집합용입니다.
from sklearn.model_selection import train_test_split
X_train, X_test, y_train, y_test = train_test_split(X, y, test_size=0.2, random_state=1)
X_train_display = X_display.loc[X_train.index]
훈련 세트를 분할하여 검증 세트를 분리합니다. 검증 세트는 모델의 하이퍼파라미터를 조정하면서 훈련된 모델의 성능을 평가하는 데 사용됩니다.훈련 세트의 75%는 최종 훈련 세트가 되고 나머지는 검증 세트가 됩니다.
X_train, X_val, y_train, y_val = train_test_split(X_train, y_train, test_size=0.25, random_state=1)
X_train_display = X_display.loc[X_train.index]
X_val_display = X_display.loc[X_val.index]
pandas 패키지를 사용하면 숫자 기능을 실제 레이블과 연결하여 각 데이터 집합을 명시적으로 정렬할 수 있습니다.
import pandas as pd
train = pd.concat([pd.Series(y_train, index=X_train.index,
                             name='Income>50K', dtype=int), X_train], axis=1)
validation = pd.concat([pd.Series(y_val, index=X_val.index,
                            name='Income>50K', dtype=int), X_val], axis=1)
test = pd.concat([pd.Series(y_test, index=X_test.index,
                            name='Income>50K', dtype=int), X_test], axis=1)
데이터 집합이 예상대로 분할되고 구조화되었는지 확인하세요.
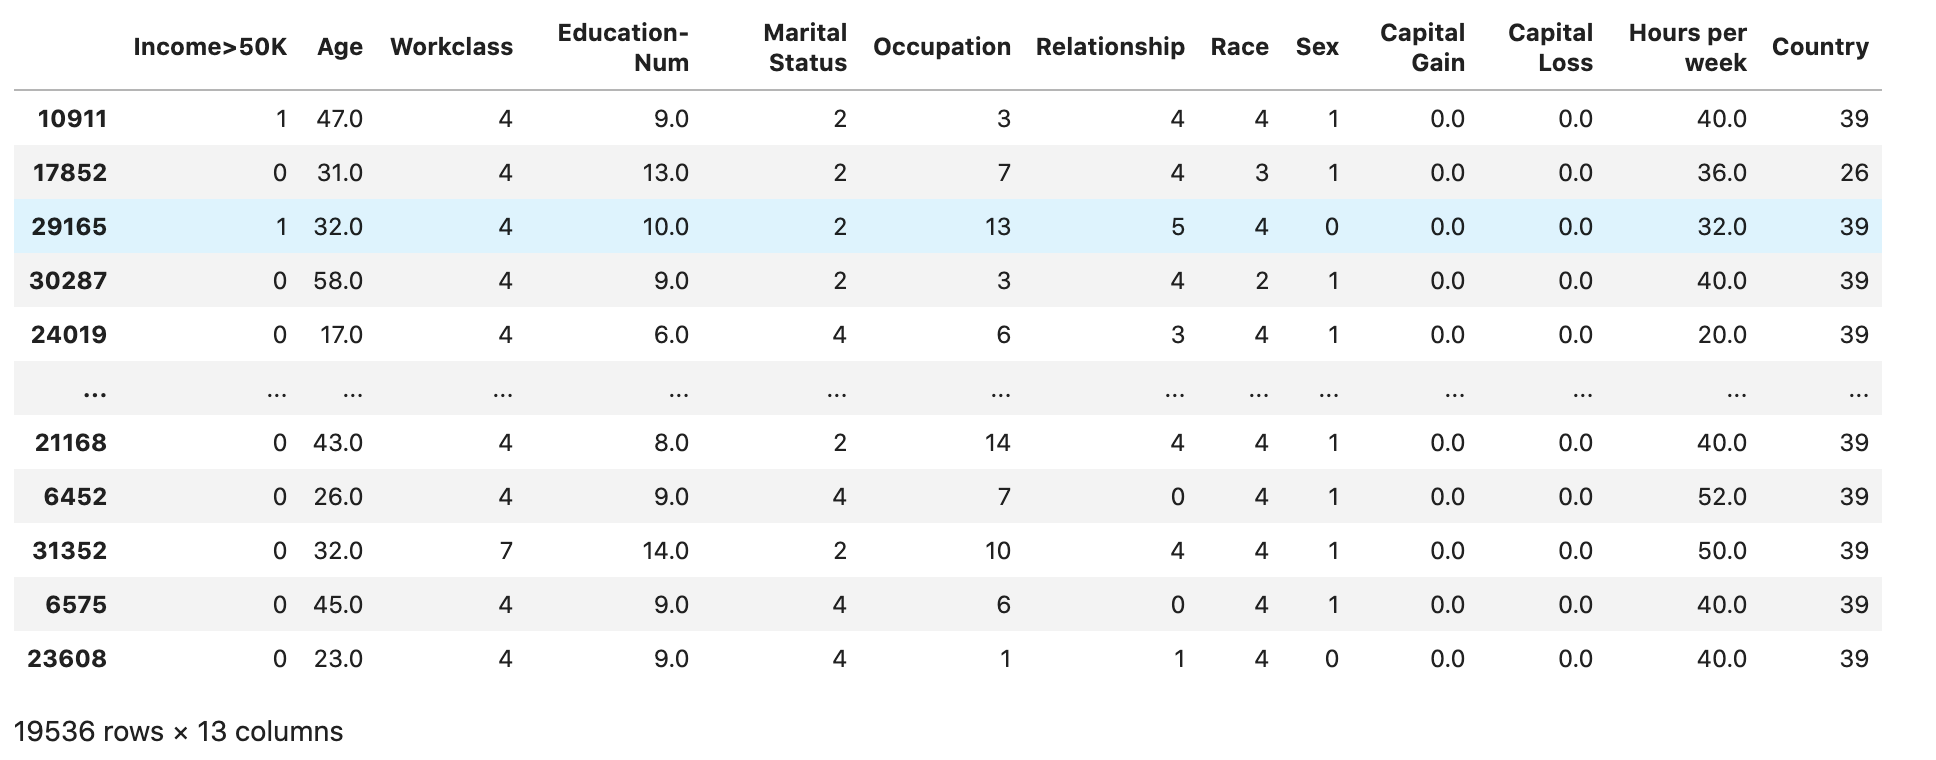
train
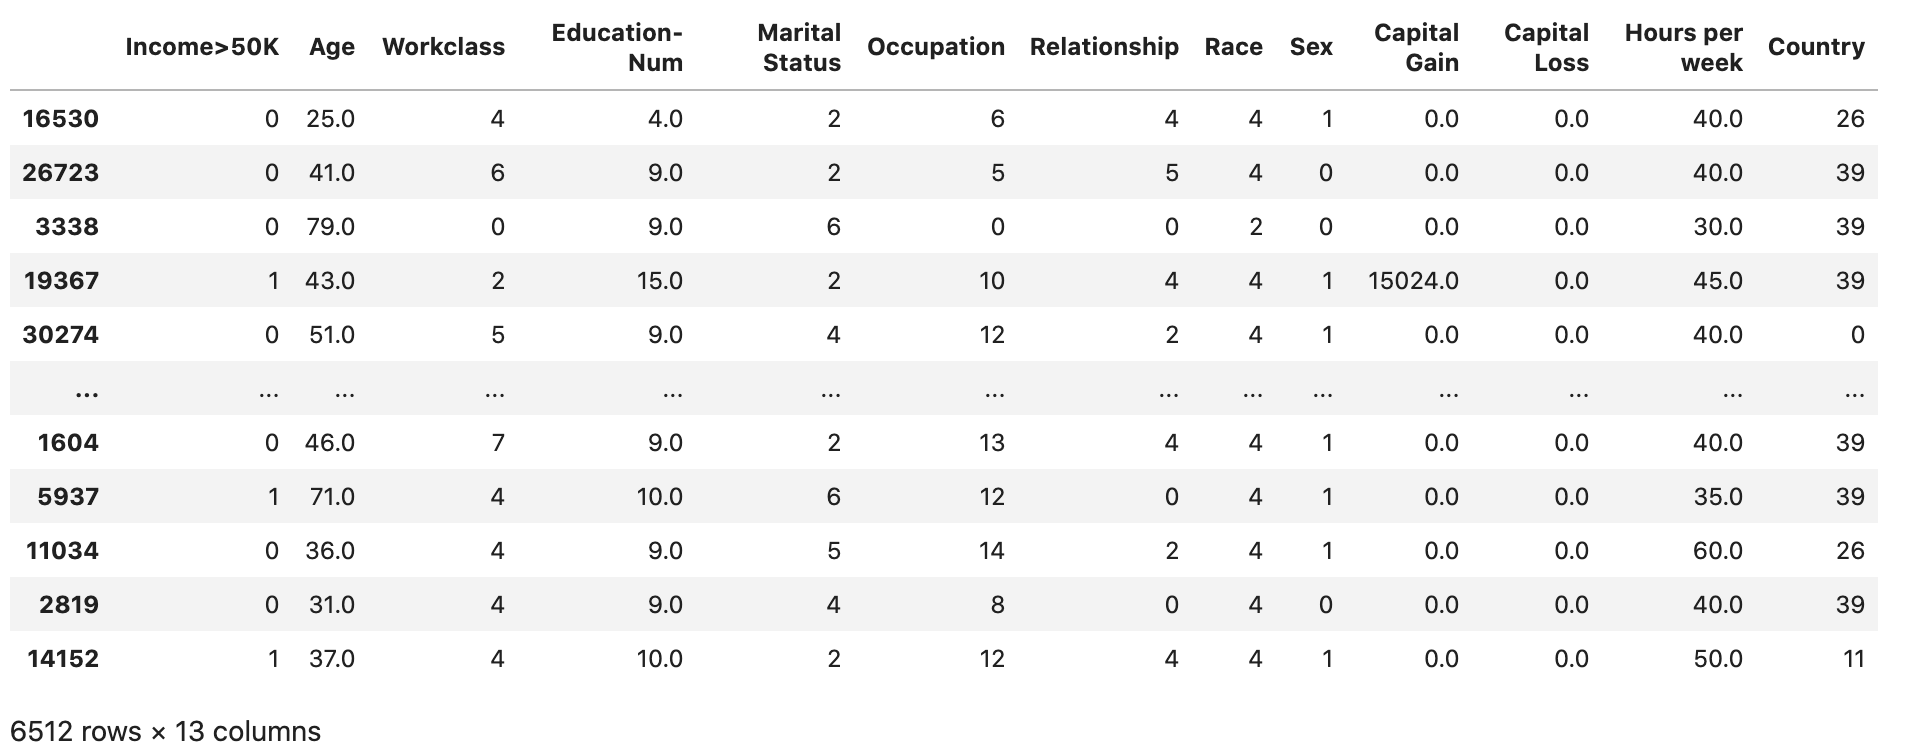
validation
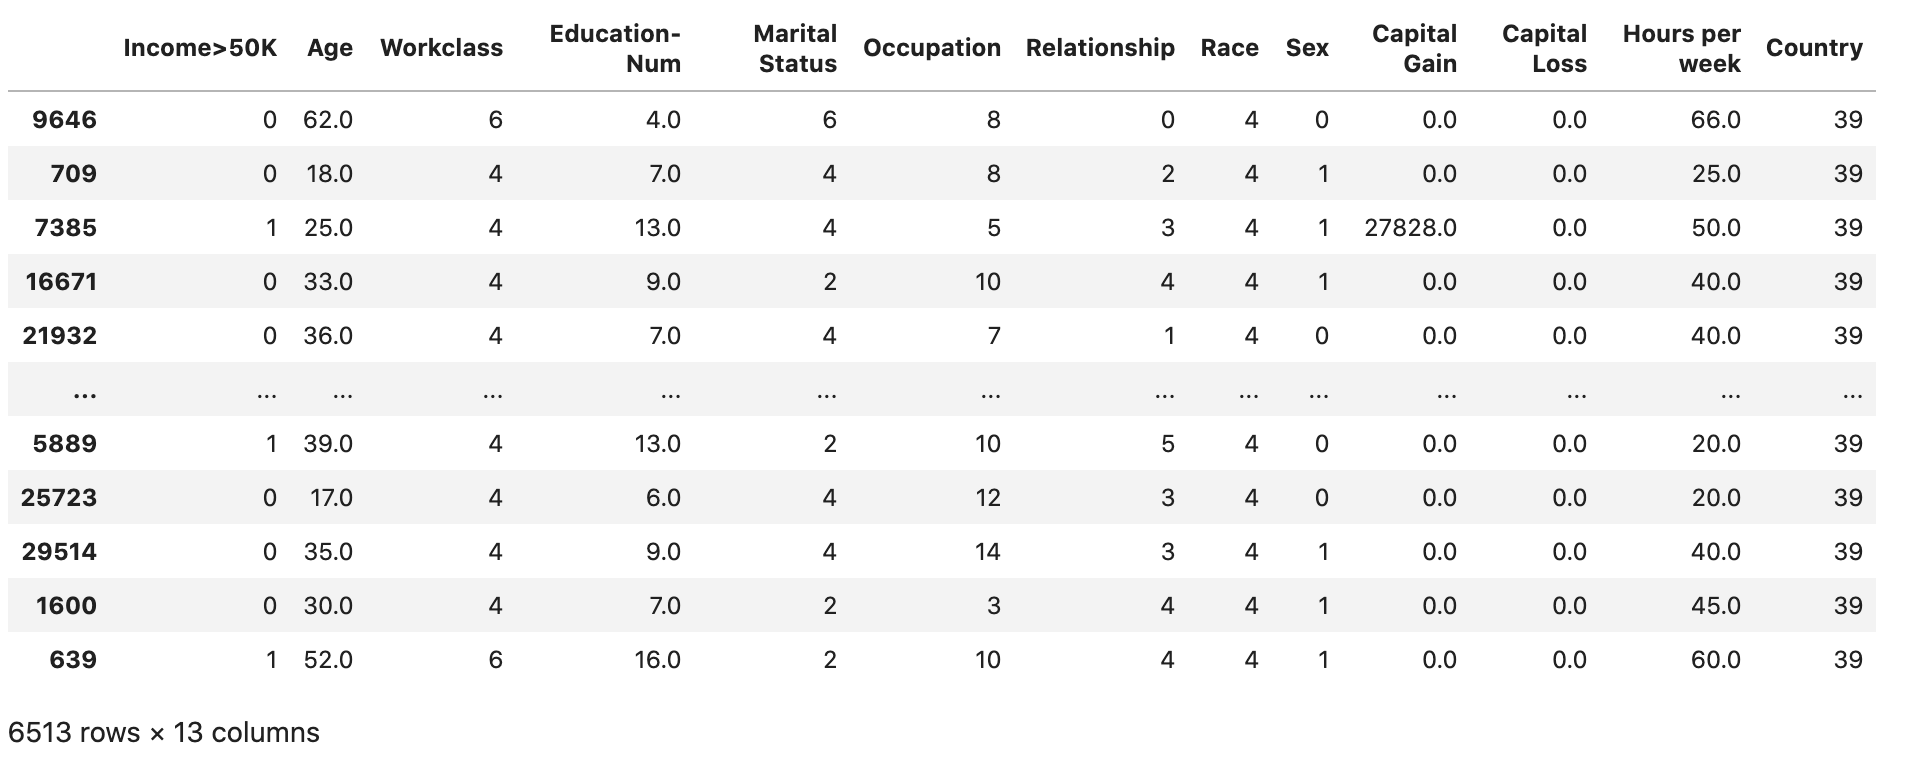
test
훈련 및 검증 데이터 집합을 CSV 파일로 변환
train 및 validation데이터프레임 객체를 XGBoost 알고리즘의 입력 파일 형식과 일치하도록 CSV 파일로 변환합니다.
# Use 'csv' format to store the data
# The first column is expected to be the output column
train.to_csv('train.csv', index=False, header=False)
validation.to_csv('validation.csv', index=False, header=False)
Amazon S3에 데이터 집합 업로드
SageMaker AI 및 Boto3를 사용하여 훈련 및 검증 데이터 세트를 기본 Amazon S3 버킷에 업로드합니다. S3 버킷의 데이터 집합은 Amazon EC2의 컴퓨팅 최적화 SageMaker 인스턴스에서 훈련용으로 사용됩니다.
다음 코드는 현재 SageMaker AI 세션에 대한 기본 S3 버킷 URI를 설정하고, 새 demo-sagemaker-xgboost-adult-income-prediction 폴더를 생성하고, 훈련 및 검증 데이터 세트를 data 하위 폴더에 업로드합니다. SageMaker
import sagemaker, boto3, os
bucket = sagemaker.Session().default_bucket()
prefix = "demo-sagemaker-xgboost-adult-income-prediction"

boto3.Session().resource('s3').Bucket(bucket).Object(
    os.path.join(prefix, 'data/train.csv')).upload_file('train.csv')
boto3.Session().resource('s3').Bucket(bucket).Object(
    os.path.join(prefix, 'data/validation.csv')).upload_file('validation.csv')
다음을 실행 AWS CLI 하여 CSV 파일이 S3 버킷에 성공적으로 업로드되었는지 확인합니다.
! aws s3 ls {bucket}/{prefix}/data --recursive
이는 다음 출력을 반환해야 합니다.

