After careful consideration, we have made the decision to close new customer access to AWS Mainframe Modernization self-managed experience, effective June 30, 2026. Existing customers can continue to use the service as normal. AWS continues to invest in security and availability improvements for AWS Mainframe Modernization self-managed experience, but we do not plan to introduce new features. For more information, see AWS Mainframe Modernization availability change.
AWS Mainframe Modernization Service (Managed Runtime Environment experience) is no longer open to new customers. For capabilities similar to AWS Mainframe Modernization Service (Managed Runtime Environment experience) explore AWS Mainframe Modernization Service (Self-Managed Experience). Existing customers can continue to use the service as normal. For more information, see AWS Mainframe Modernization availability change.
Tutorial: Set up managed runtime for AWS Transform for mainframe
You can deploy a AWS Transform for mainframe modernized application into an AWS Mainframe Modernization runtime environment with a demo application specified in this tutorial.
Topics
Prerequisites
To complete this tutorial, download the demo application archive PlanetsDemo-v4.zip
The running demo application requires a modern browser for access. Whether you run this browser from your desktop or from an Amazon Elastic Compute Cloud instance, for example, within the VPC, determines your security settings.
Step 1: Upload the demo application
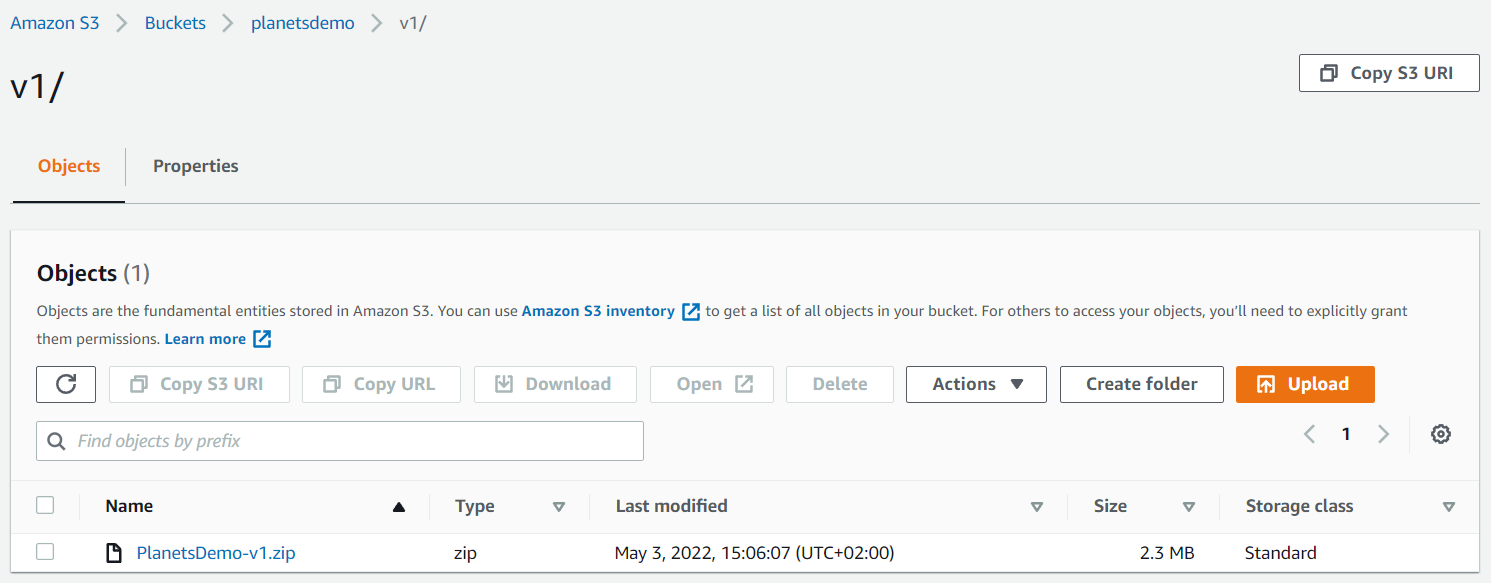
Upload the demo application to an Amazon S3 bucket. Make sure that this bucket is in the same
AWS Region where you will deploy the application. The following example shows a bucket named
planets-demo, with a key prefix, or folder, named v1
and an archive named planetsdemo-v4.zip.
Note
The folder in the bucket is required.
Step 2: Create the application definition
To deploy an application to the managed runtime, you need an AWS Mainframe Modernization application definition. This definition is a JSON file that describes the application location and settings. The following example is such an application definition for the demo application:
{
    "template-version": "2.0",
    "source-locations": [{
        "source-id": "s3-source",
        "source-type": "s3",
        "properties": {
            "s3-bucket": "planets-demo",
            "s3-key-prefix": "v1"
        }
    }],
    "definition": {
        "listeners": [{
            "port": 8196,
            "type": "http"
        }],
        "ba-application": {
            "app-location": "${s3-source}/PlanetsDemo-v4.zip"
        }
    }
}
Change the s3-bucket entry to the name of the sample application zip file
(e.g., planets-demo), and the app-location entry to the S3 path where you
stored the sample application zip file (e.g., ${s3-source}/PlanetsDemo-v4.zip).
Note
Make sure to create the application definition file on your local as a text file.
For more information on the application definition, see AWS Transform for mainframe application definition sample.
Step 3: Create a runtime environment
To create the AWS Mainframe Modernization runtime environment, perform the following steps:
Open the AWS Mainframe Modernization console
. -
In the AWS Region selector, choose the Region where you want to create the environment. This AWS Region must match the Region where you created the S3 bucket in Step 1: Upload the demo application.
-
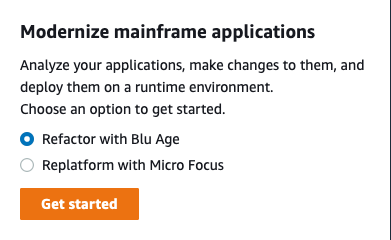
Under Modernize mainframe applications, choose Refactor with AWS Transform for mainframe, and then choose Get started.
-
Under How can AWS Mainframe Modernization help, choose Deploy and Create runtime environment.

-
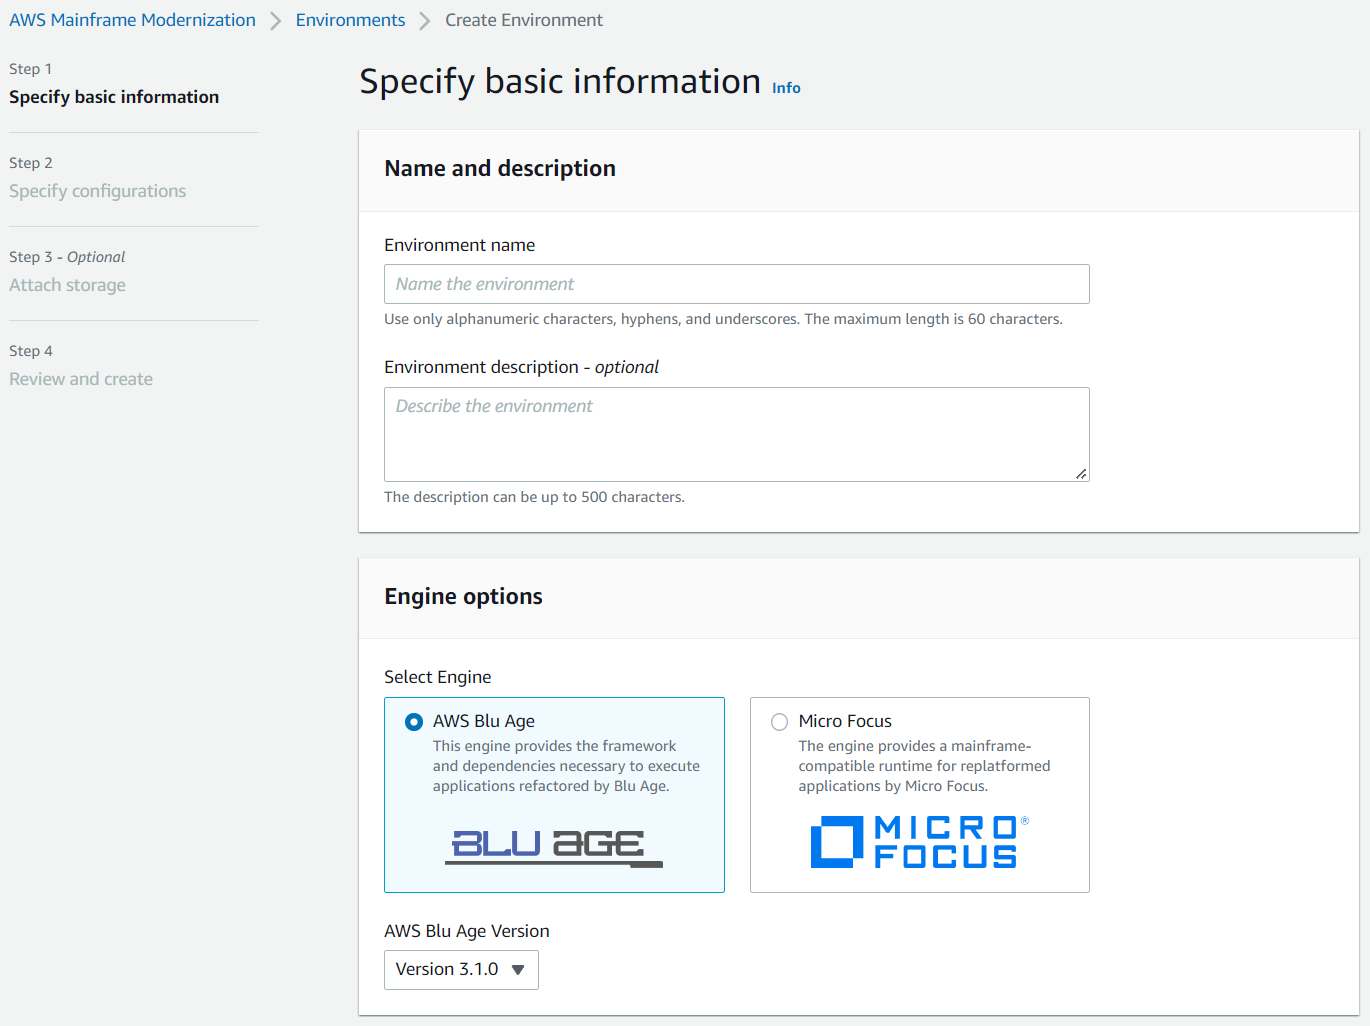
In the left navigation, choose Environments, then choose Create environment. On the Specify basic information page, enter a name and description for your environment, and then make sure AWS Blu Age engine is selected. Optionally, you can add tags to the created resource. Then choose Next.
-
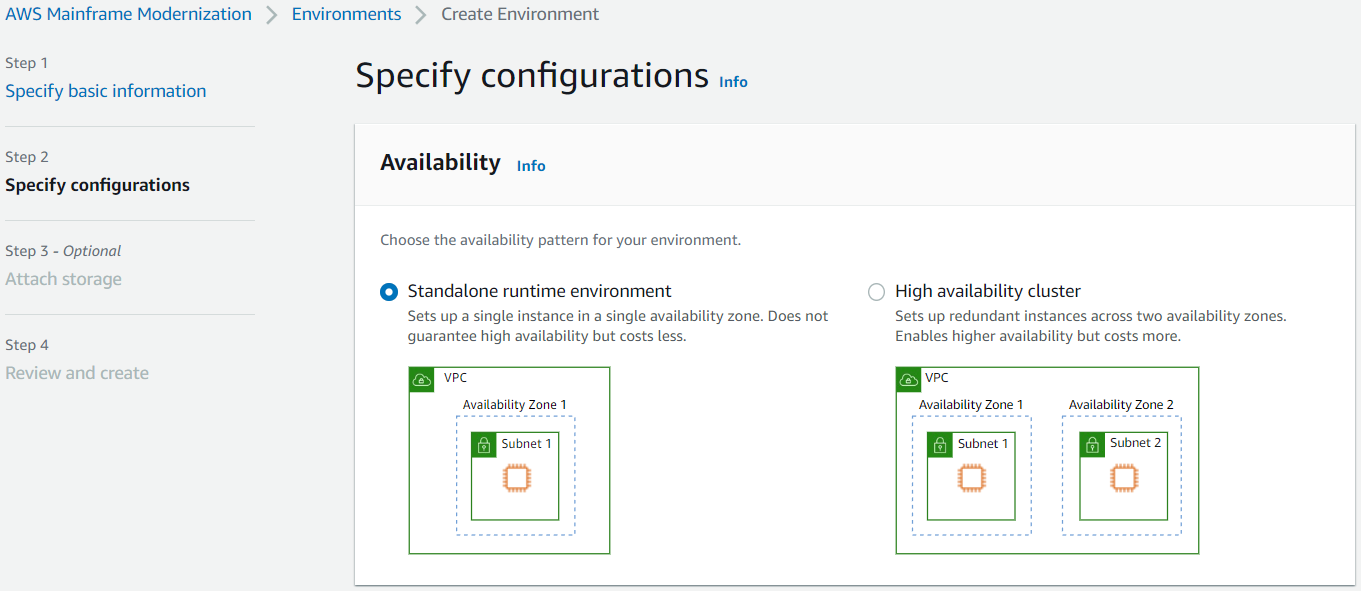
On the Specify configurations page, choose Standalone runtime environment.
-
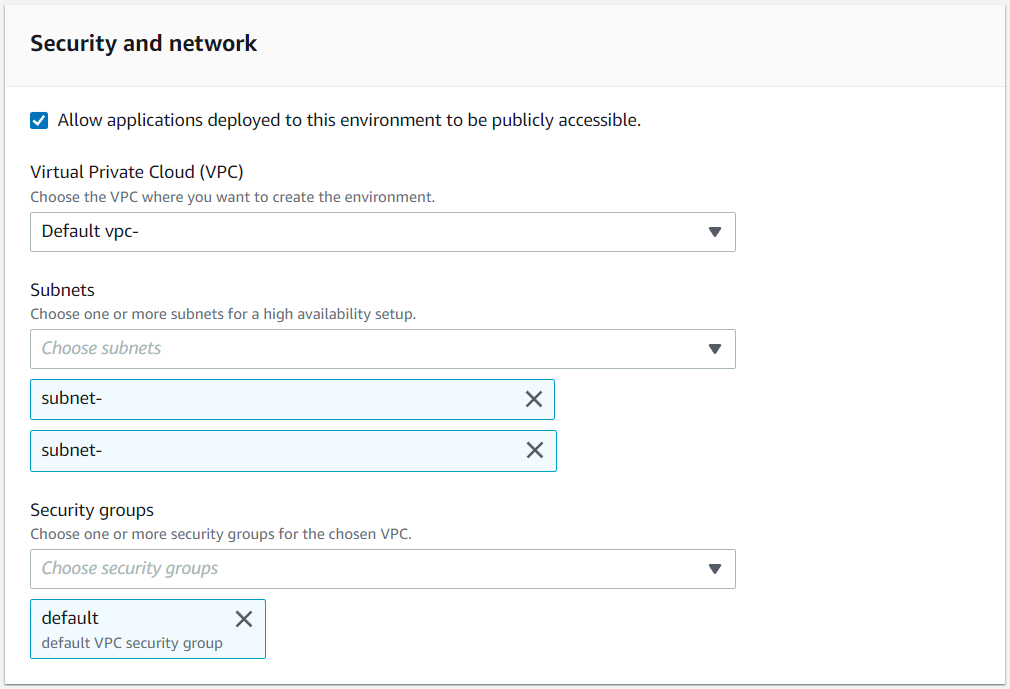
Under Security and network, make the following changes:
-
Choose Allow applications deployed to this environment to be publicly accessible. This option assigns a public IP address to the application so that you can access it from your desktop.
-
Choose a VPC. You can use the Default.
-
Choose two subnets. Make sure that the subnets allow the assignment of public IP addresses.
-
Choose a security group. You can use the Default. Make sure that the security group that you choose allows access from the browser IP address to the port you specified in the
listenerproperty of the application definition. For more information, see Step 2: Create the application definition.
If you want to access the application from outside the VPC that you chose, make sure that the inbound rules for that VPC are configured properly. For more information, see Troubleshooting error: Cannot access an application URL.
-
-
Choose Next.
-
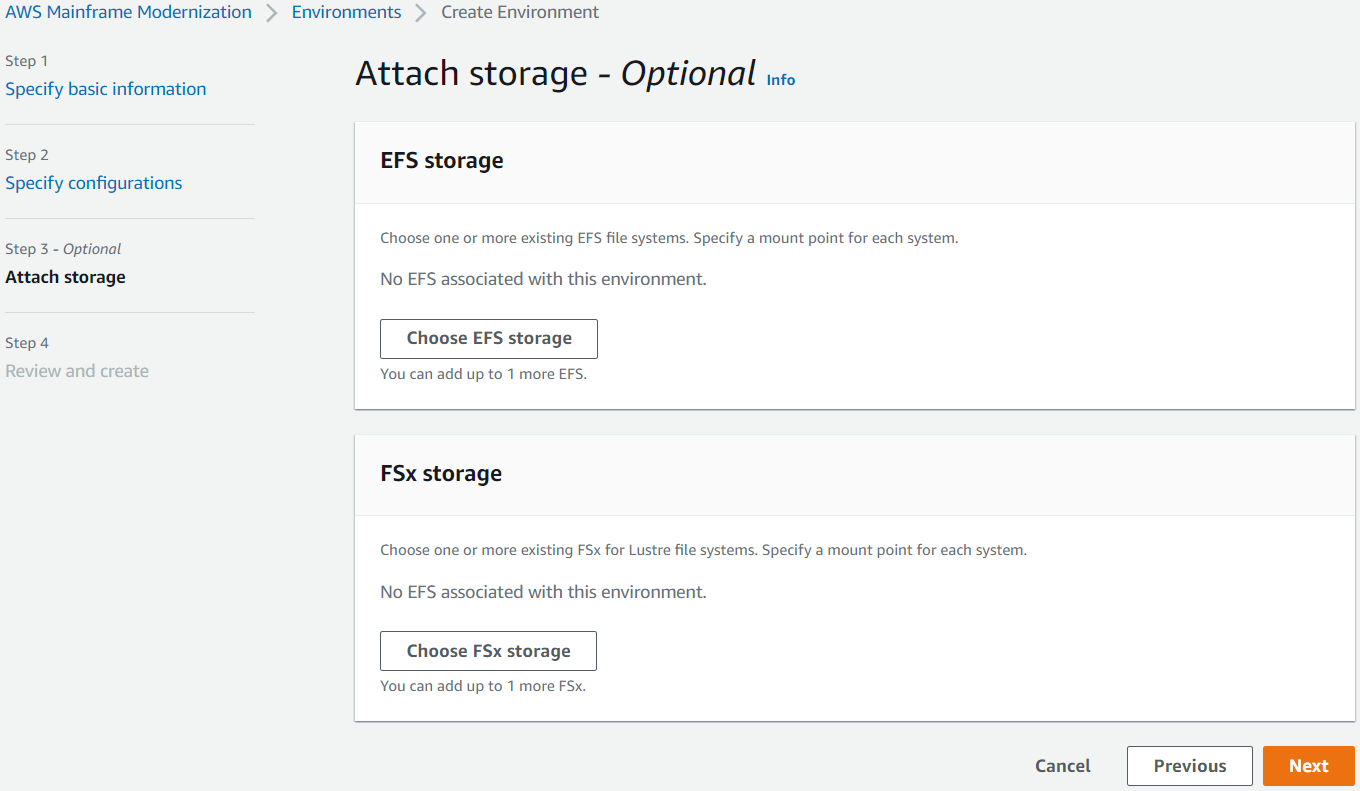
In Attach storage - Optional, leave the default selections and choose Next.
-
In Schedule maintenance, choose No preference, and then choose Next.
-
In Review and create, review the information, and then choose Create environment.
Step 4: Create an application
-
Navigate to AWS Mainframe Modernization in the AWS Management Console.
-
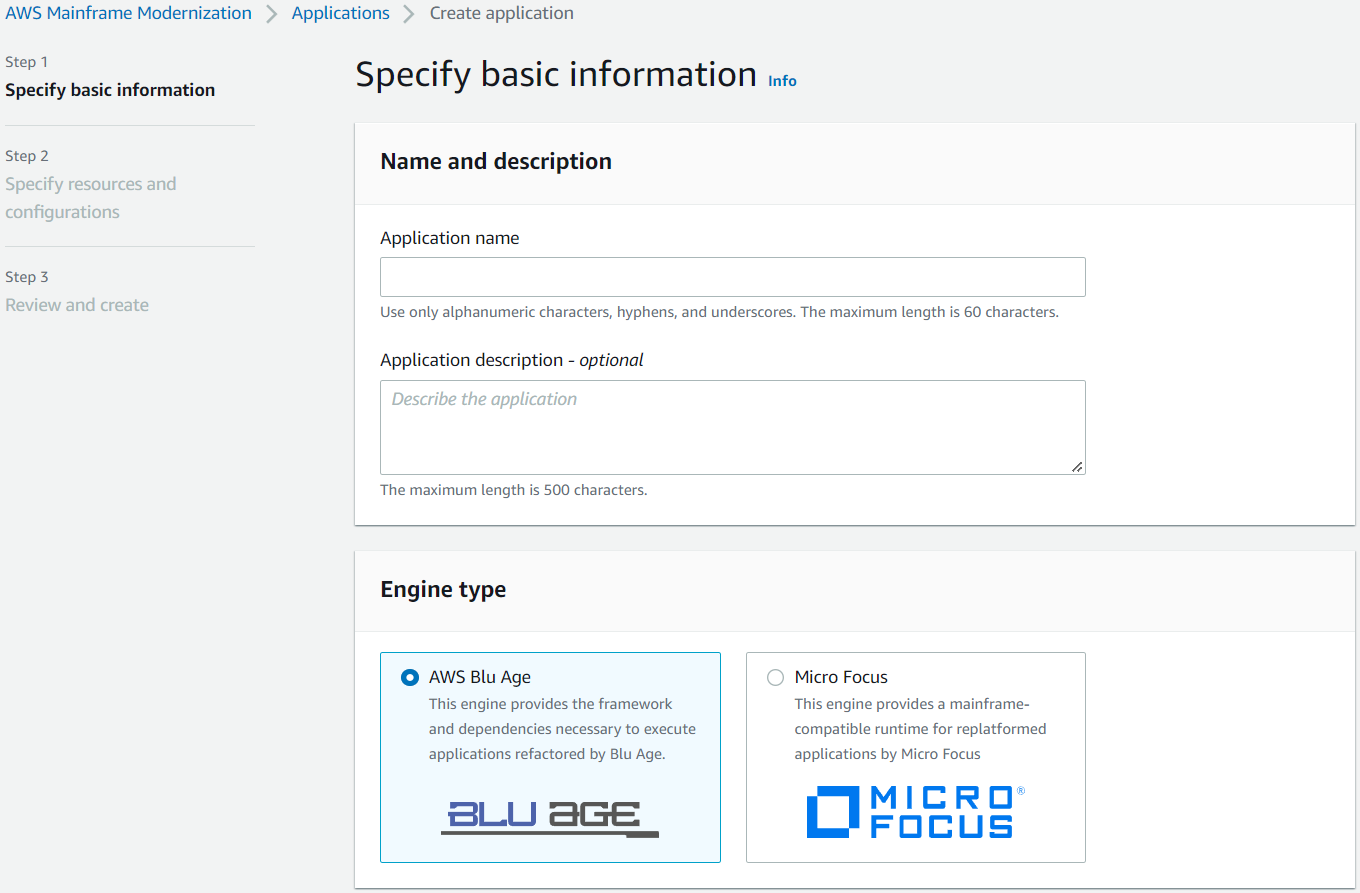
In the navigation pane, choose Applications, and then choose Create application. On the Specify basic information page, enter a name and description for the application, and make sure that the AWS AWS Transform for mainframe engine is selected. Then choose Next.
-
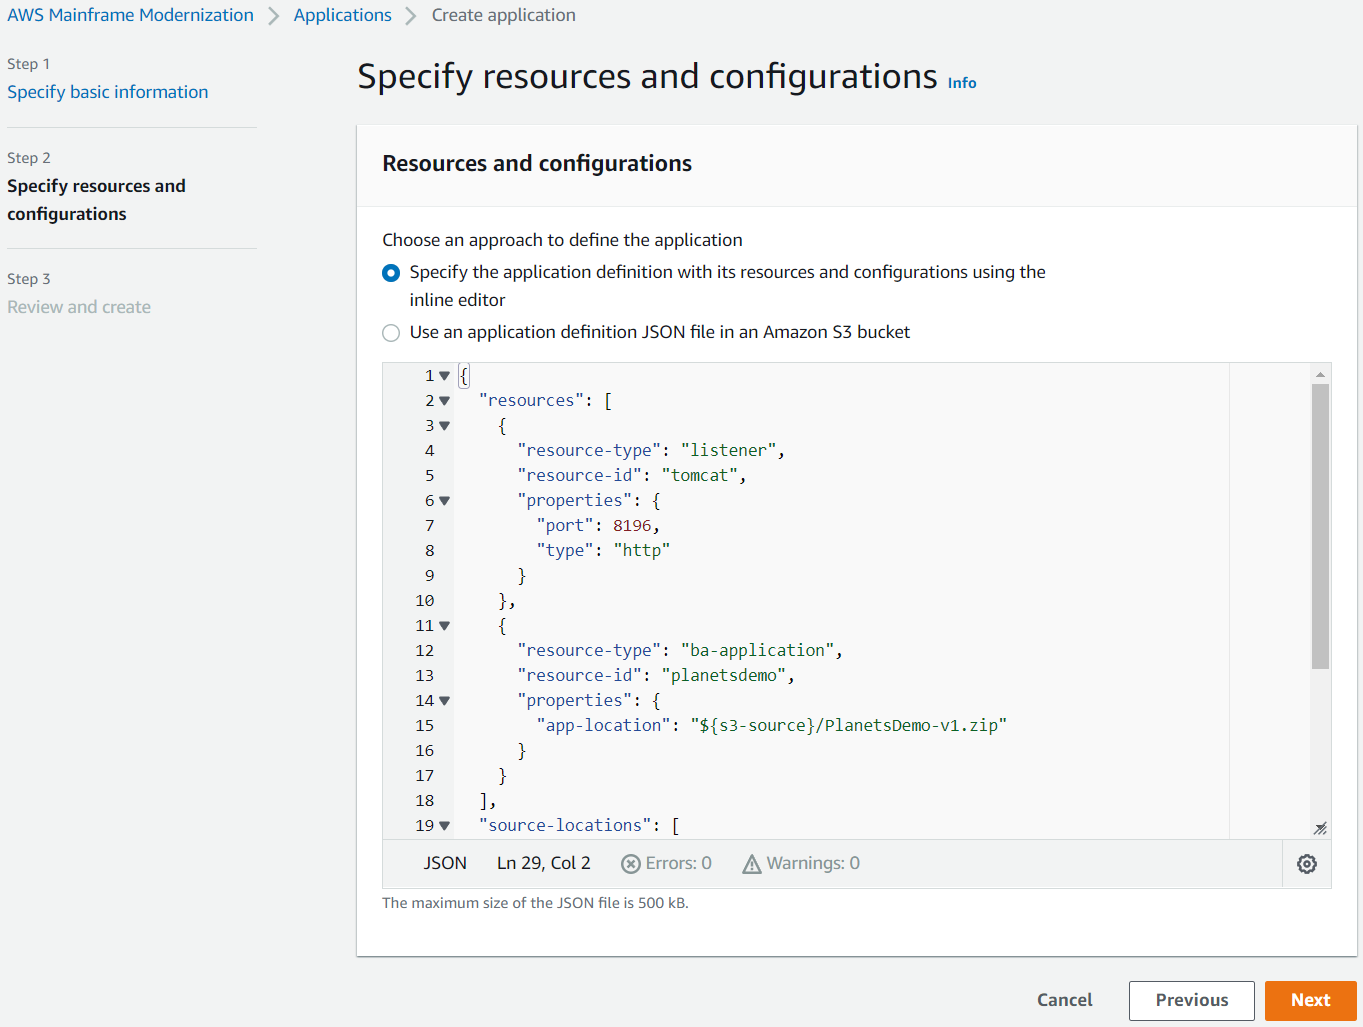
On the Specify resources and configurations page, copy and paste the updated application definition JSON you created in Step 2: Create the application definition.
-
In Review and create, review your choices, and then choose Create application.
Note
If your application creation fails, check the S3 path you entered since it's case sensitive.
Step 5: Deploy an application
After you successfully create both the AWS Mainframe Modernization runtime environment and application, and both are in the Available state, you can deploy the application into the runtime environment. To do this, complete the following steps:
-
Navigate to AWS Mainframe Modernization in the AWS Management Console. In the navigation pane, choose Environments. The Environments list page is displayed.
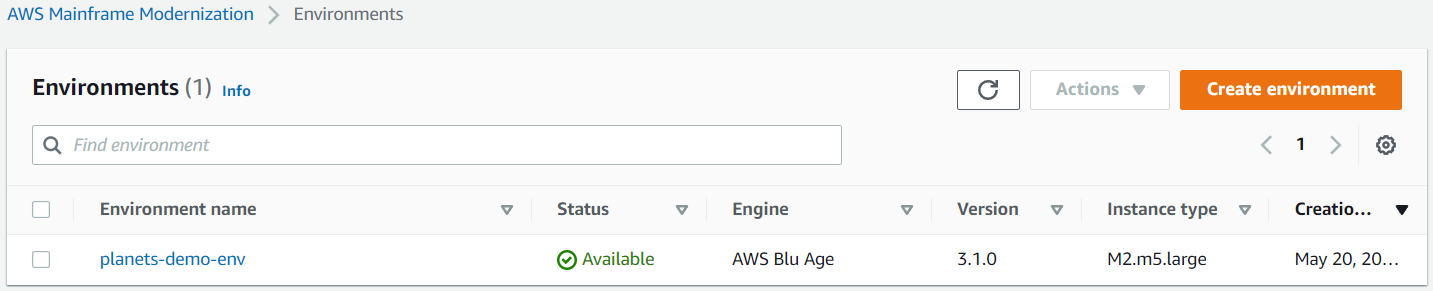
-
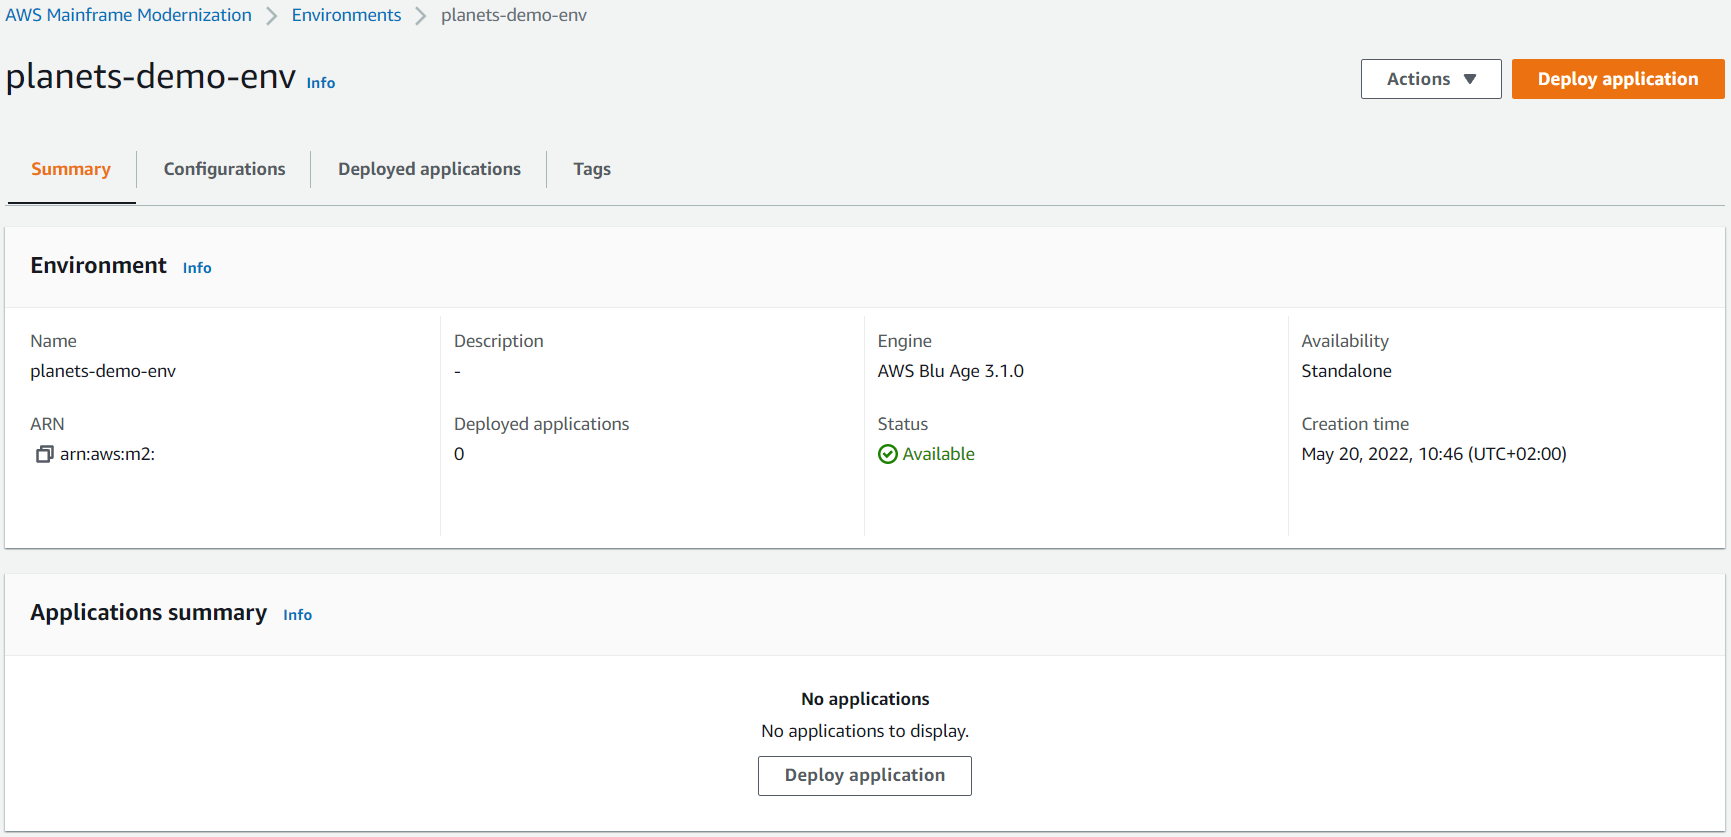
Choose the previously created runtime environment. The environment details page is displayed.
-
Choose Deploy application.
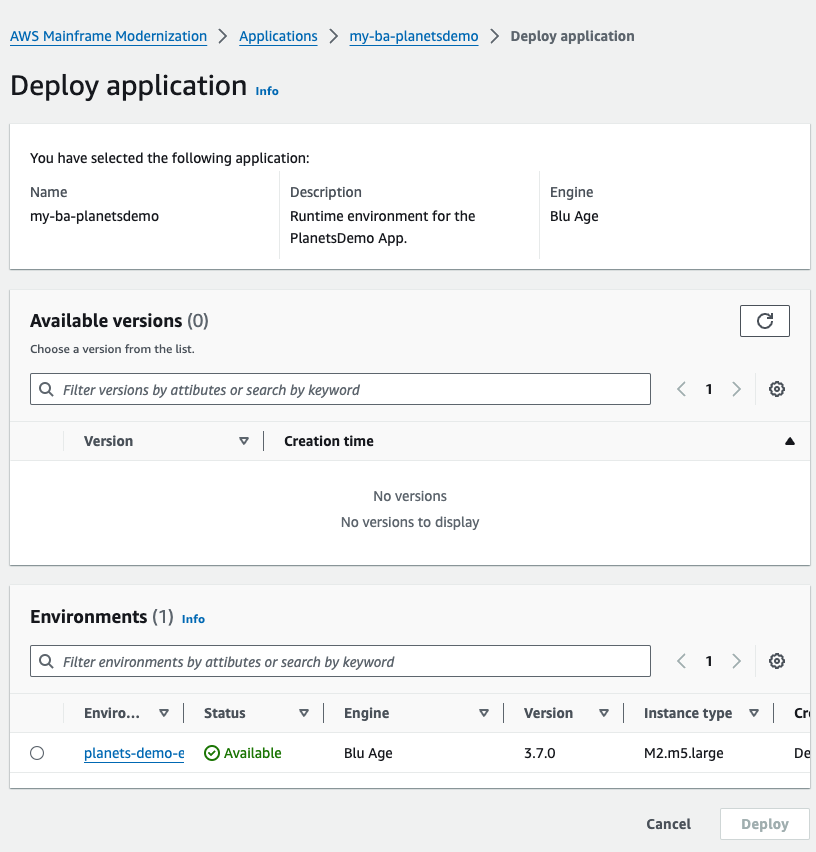
-
Choose the previously created application, then choose the version you want to deploy your application to. Then choose Deploy.
-
Wait until the application finishes its deployment. You'll see a banner with the message Application was deployed successfully.
Step 6: Start an application
-
Navigate to AWS Mainframe Modernization in the AWS Management Console and choose Applications.
-
Choose your application, and then go to Deployments. The status of the application should be Succeeded.

-
Choose Actions, and then choose Start application.
Step 7: Access the application
-
Wait until the application is in the Running state. You'll see a banner with the message Application was started successfully.
-
Copy the application DNS hostname. You can find this hostname in the Application information section of the application.
-
In a browser, navigate to
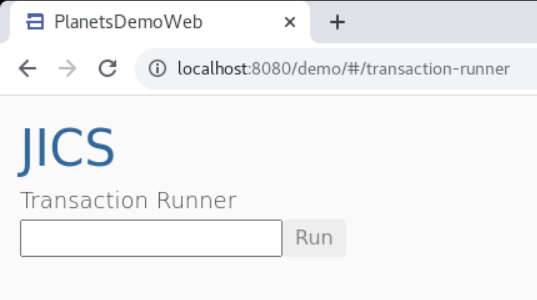
http://{hostname}:{portname}/PlanetsDemo-web-1.0.0/, where:-
hostnameis the DNS hostname copied previously. -
portnameis the Tomcat port defined in the application definition you created in Step 2: Create the application definition.
The JICS screen appears.
-
If you can't access the application, see Troubleshooting error: Cannot access an application URL.
Note
If the application is not accessible, and the inbound rule on security group has 'My IP' selected on port 8196, specify rule to allow traffic from LB i/p on port 8196.
Step 8: Test the application
In this step, you run a transaction in the migrated application.
-
On the JICS screen, enter
PINQin the input field, and choose Run (or press Enter) to start the application transaction.The demo app screen should appear.
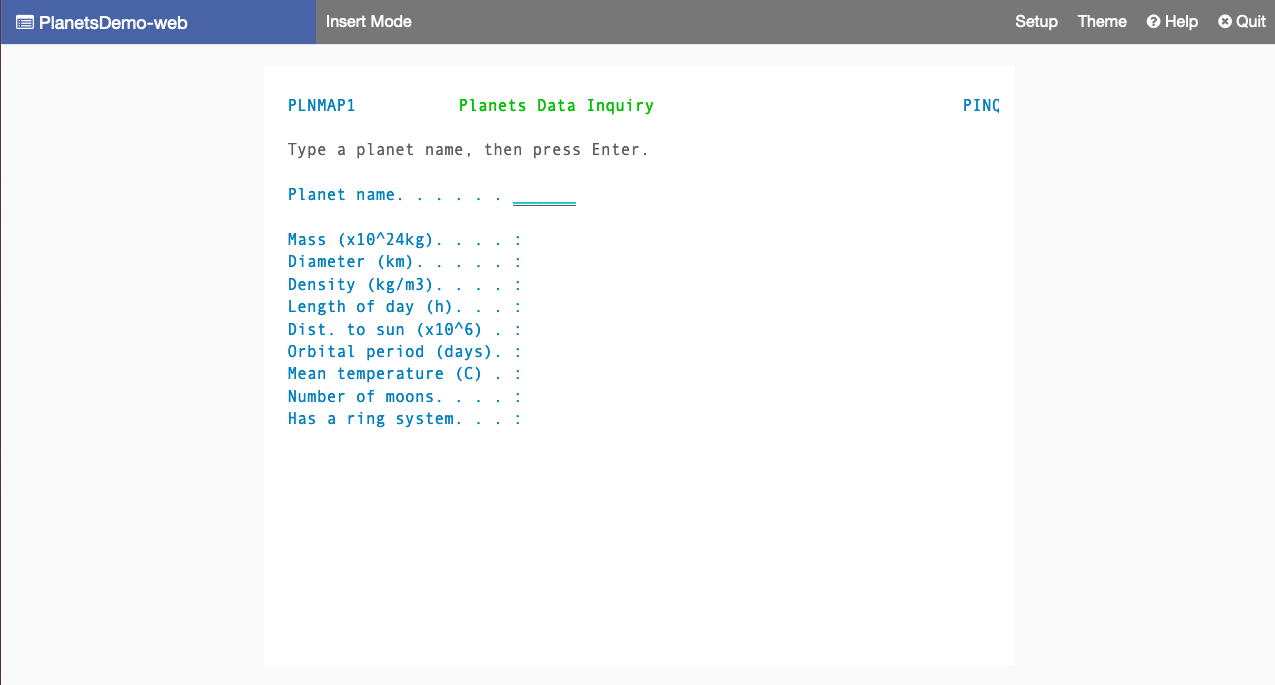
-
Type a planet name in the corresponding field and press Enter.
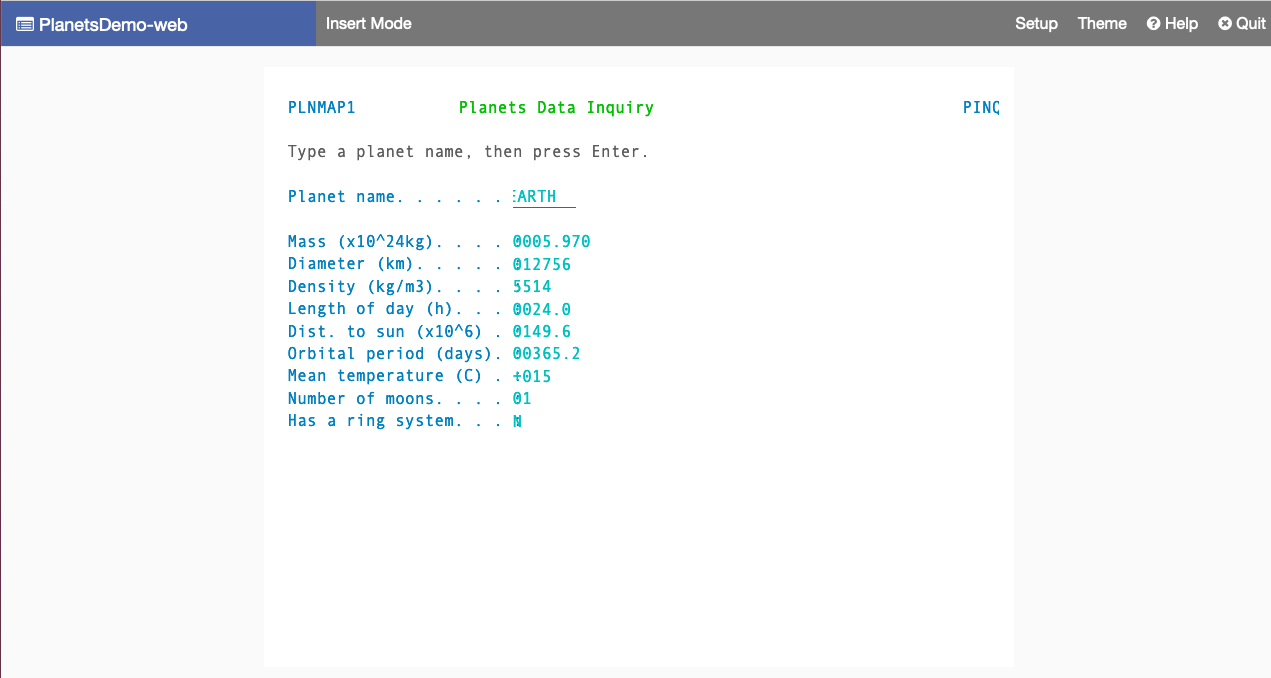
You should see details about the planet.
Clean up resources
If you no longer need the resources that you created for this tutorial, delete them to avoid additional charges. To do so, complete the following steps:
-
If the AWS Mainframe Modernization application is still running, stop it.
-
Delete the application. For more information, see Delete an AWS Mainframe Modernization application.
-
Delete the runtime environment. For more information, see Delete an AWS Mainframe Modernization runtime environment.
