Step 6: Deploy the App to the Instance
Important
The AWS OpsWorks Stacks service reached end of life on May 26, 2024 and has been disabled for both new and existing customers.
We strongly recommend customers migrate their workloads to other solutions as soon as possible. If you have questions about migration, reach out to the AWS Support Team on AWS re:Post
In this step, you will deploy the app from GitHub to the running instance. (For more
information, see Deploying Apps.) Before you deploy the app, you must specify the recipe to use to
coordinate the deployment. A recipe is a Chef concept. Recipes are instructions, written with
Ruby language syntax, that specify the resources to use and the order in which those resources
are applied. (For more information, go to About
Recipes
To specify the recipe to use to deploy the app to the instance
-
In the service navigation pane, choose Layers. The Layers page is displayed.
-
For MyLinuxDemoLayer, choose Recipes:
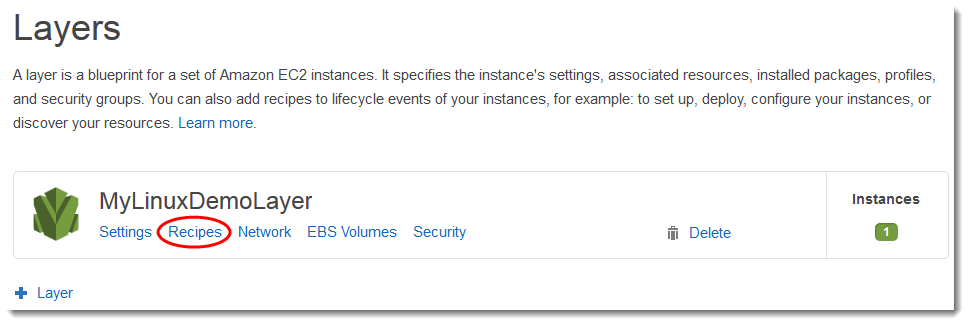
The Layer MyLinuxDemoLayer page is displayed with the Recipes tab open.
-
For Custom Chef Recipes, for Deploy, type
nodejs_demo::default, and then press Enter.nodejs_demois the name of the cookbook anddefaultis the name of the target recipe within the cookbook. (To explore the recipe's code, see Learning More: Explore the Cookbook Used in This Walkthrough.) Your results must match the following screenshot: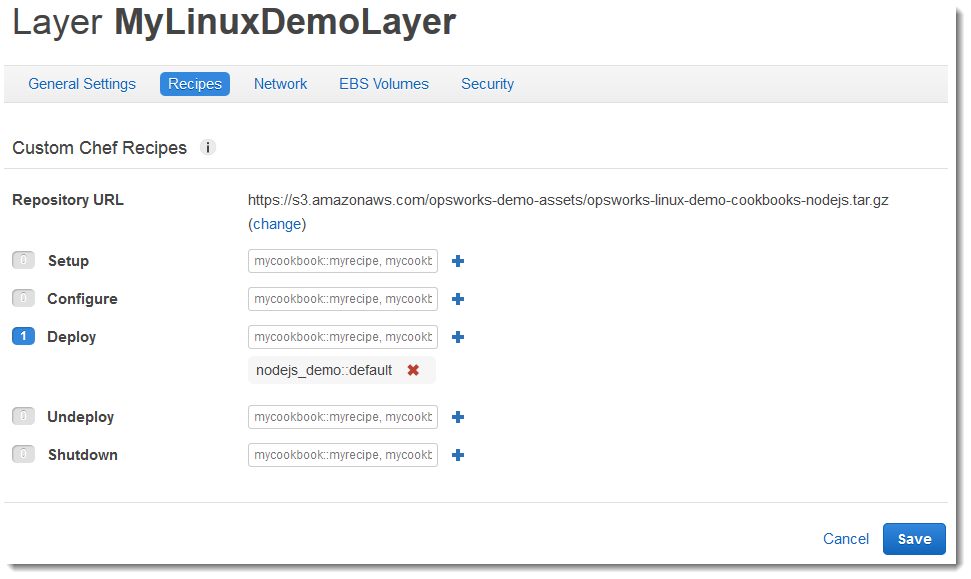
-
Choose Save. OpsWorks Stacks adds the recipe to the layer's Deploy lifecycle event.
To deploy the app to the instance
-
In the service navigation pane, choose Apps. The Apps page displays.
-
For MyLinuxDemoApp, for Actions, choose deploy, as displayed in the following screen shot:

-
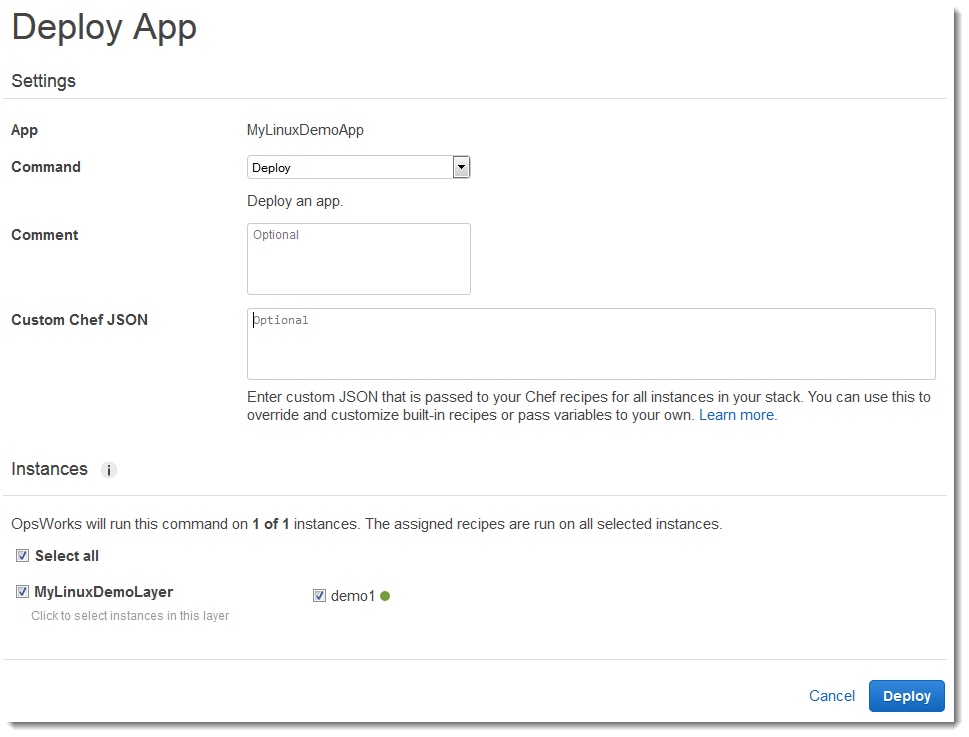
On the Deploy App page, leave the defaults for the following:
-
Command (Deploy)
-
Comment (blank)
-
Settings, Advanced, Custom Chef JSON (blank)
-
Instances, Advanced (checked Select all, checked MyLinuxDemoLayer, checked demo1)
-
-
Your results must match the following screenshot:
-
Choose Deploy. The Deployment MyLinuxDemoApp – deploy page is displayed. Status changes from running to successful. A spinning circle displays next to demo1, which then changes to a green check mark. Note that this process can take several minutes. Do not proceed until you see both a Status of successful and the green check mark icon.
-
Your results must match the following screenshot except of course for Created at, Completed at, Duration, and User. If status is failed, then to troubleshoot, for Log, choose show to get details about the failure:

You have now successfully deployed the app to the instance.
In the next step, you will test the deployed app on the instance.
