Step 2: Upload app code to an Amazon S3 bucket
Important
The AWS OpsWorks Stacks service reached end of life on May 26, 2024 and has been disabled for both new and existing customers.
We strongly recommend customers migrate their workloads to other solutions as soon as possible. If you have questions about migration, reach out to the AWS Support Team on AWS re:Post
Because you must provide a link to your code repository as part of pipeline setup, have the code repository ready before you create your pipeline. In this walkthrough, you upload a PHP app to an Amazon S3 bucket.
Although CodePipeline can use code directly from GitHub or CodeCommit as sources, this walkthrough demonstrates how to use an Amazon S3 bucket. The Amazon S3 bucket enables CodePipeline to detect changes to the app code and deploy the changed app automatically. If you wish, you can use an existing bucket. Be sure the bucket meets criteria for CodePipeline as described in Simple Pipeline Walkthrough (Amazon S3 Bucket) in the CodePipeline documentation.
Important
The Amazon S3 bucket must be in the same region in which you later create your pipeline. At this time, CodePipeline supports the OpsWorks Stacks provider in the US East (N. Virginia) Region (us-east-1) only. All resources in this walkthrough should be created in the US East (N. Virginia) Region. The bucket must also be versioned because CodePipeline requires a versioned source. For more information, see Using Versioning.
To upload your app to an Amazon S3 bucket
-
From the GitHub website
, download a ZIP file of the OpsWorks Stacks sample PHP app, and save it to a convenient location on your local computer. -
Be sure that
index.phpand theASSETSfolder are at the root level of the downloaded ZIP file. If they are not, unzip the file, and create a new ZIP file that has these files at the root level. Open the Amazon S3 console at https://console.aws.amazon.com/s3/
. -
Choose Create Bucket.
-
On the Create a Bucket - Select a Bucket Name and Region page, for Bucket Name, type a unique name for your bucket. Bucket names must be unique across all AWS accounts, not just in your own account. This walkthrough uses the name
my-appbucket, but you can usemy-appbucket-to make your bucket name unique. From the Region drop-down list, choose US Standard, and then choose Create. US Standard is equivalent toyearmonthdayus-east-1.
-
Choose the bucket that you created from the All Buckets list.
-
On the bucket page, choose Upload.
-
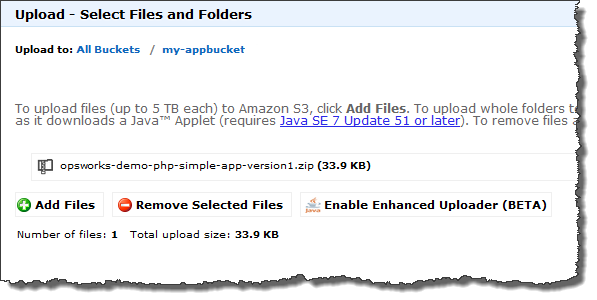
On the Upload - Select Files and Folders page, choose Add files. Browse for the ZIP file you saved in step 1, choose Open, and then choose Start Upload.
-
After the upload is complete, select the ZIP file from the list of files in your bucket, and then choose Properties.
-
In the Properties pane, copy the link to your ZIP file, and make a note of the link. You will need the bucket name and the ZIP file name portion of this link to create your pipeline.
