Launch a Custom SageMaker Image in Amazon SageMaker Studio Classic
Important
As of November 30, 2023, the previous Amazon SageMaker Studio experience is now named Amazon SageMaker Studio Classic. The following section is specific to using the Studio Classic application. For information about using the updated Studio experience, see Amazon SageMaker Studio.
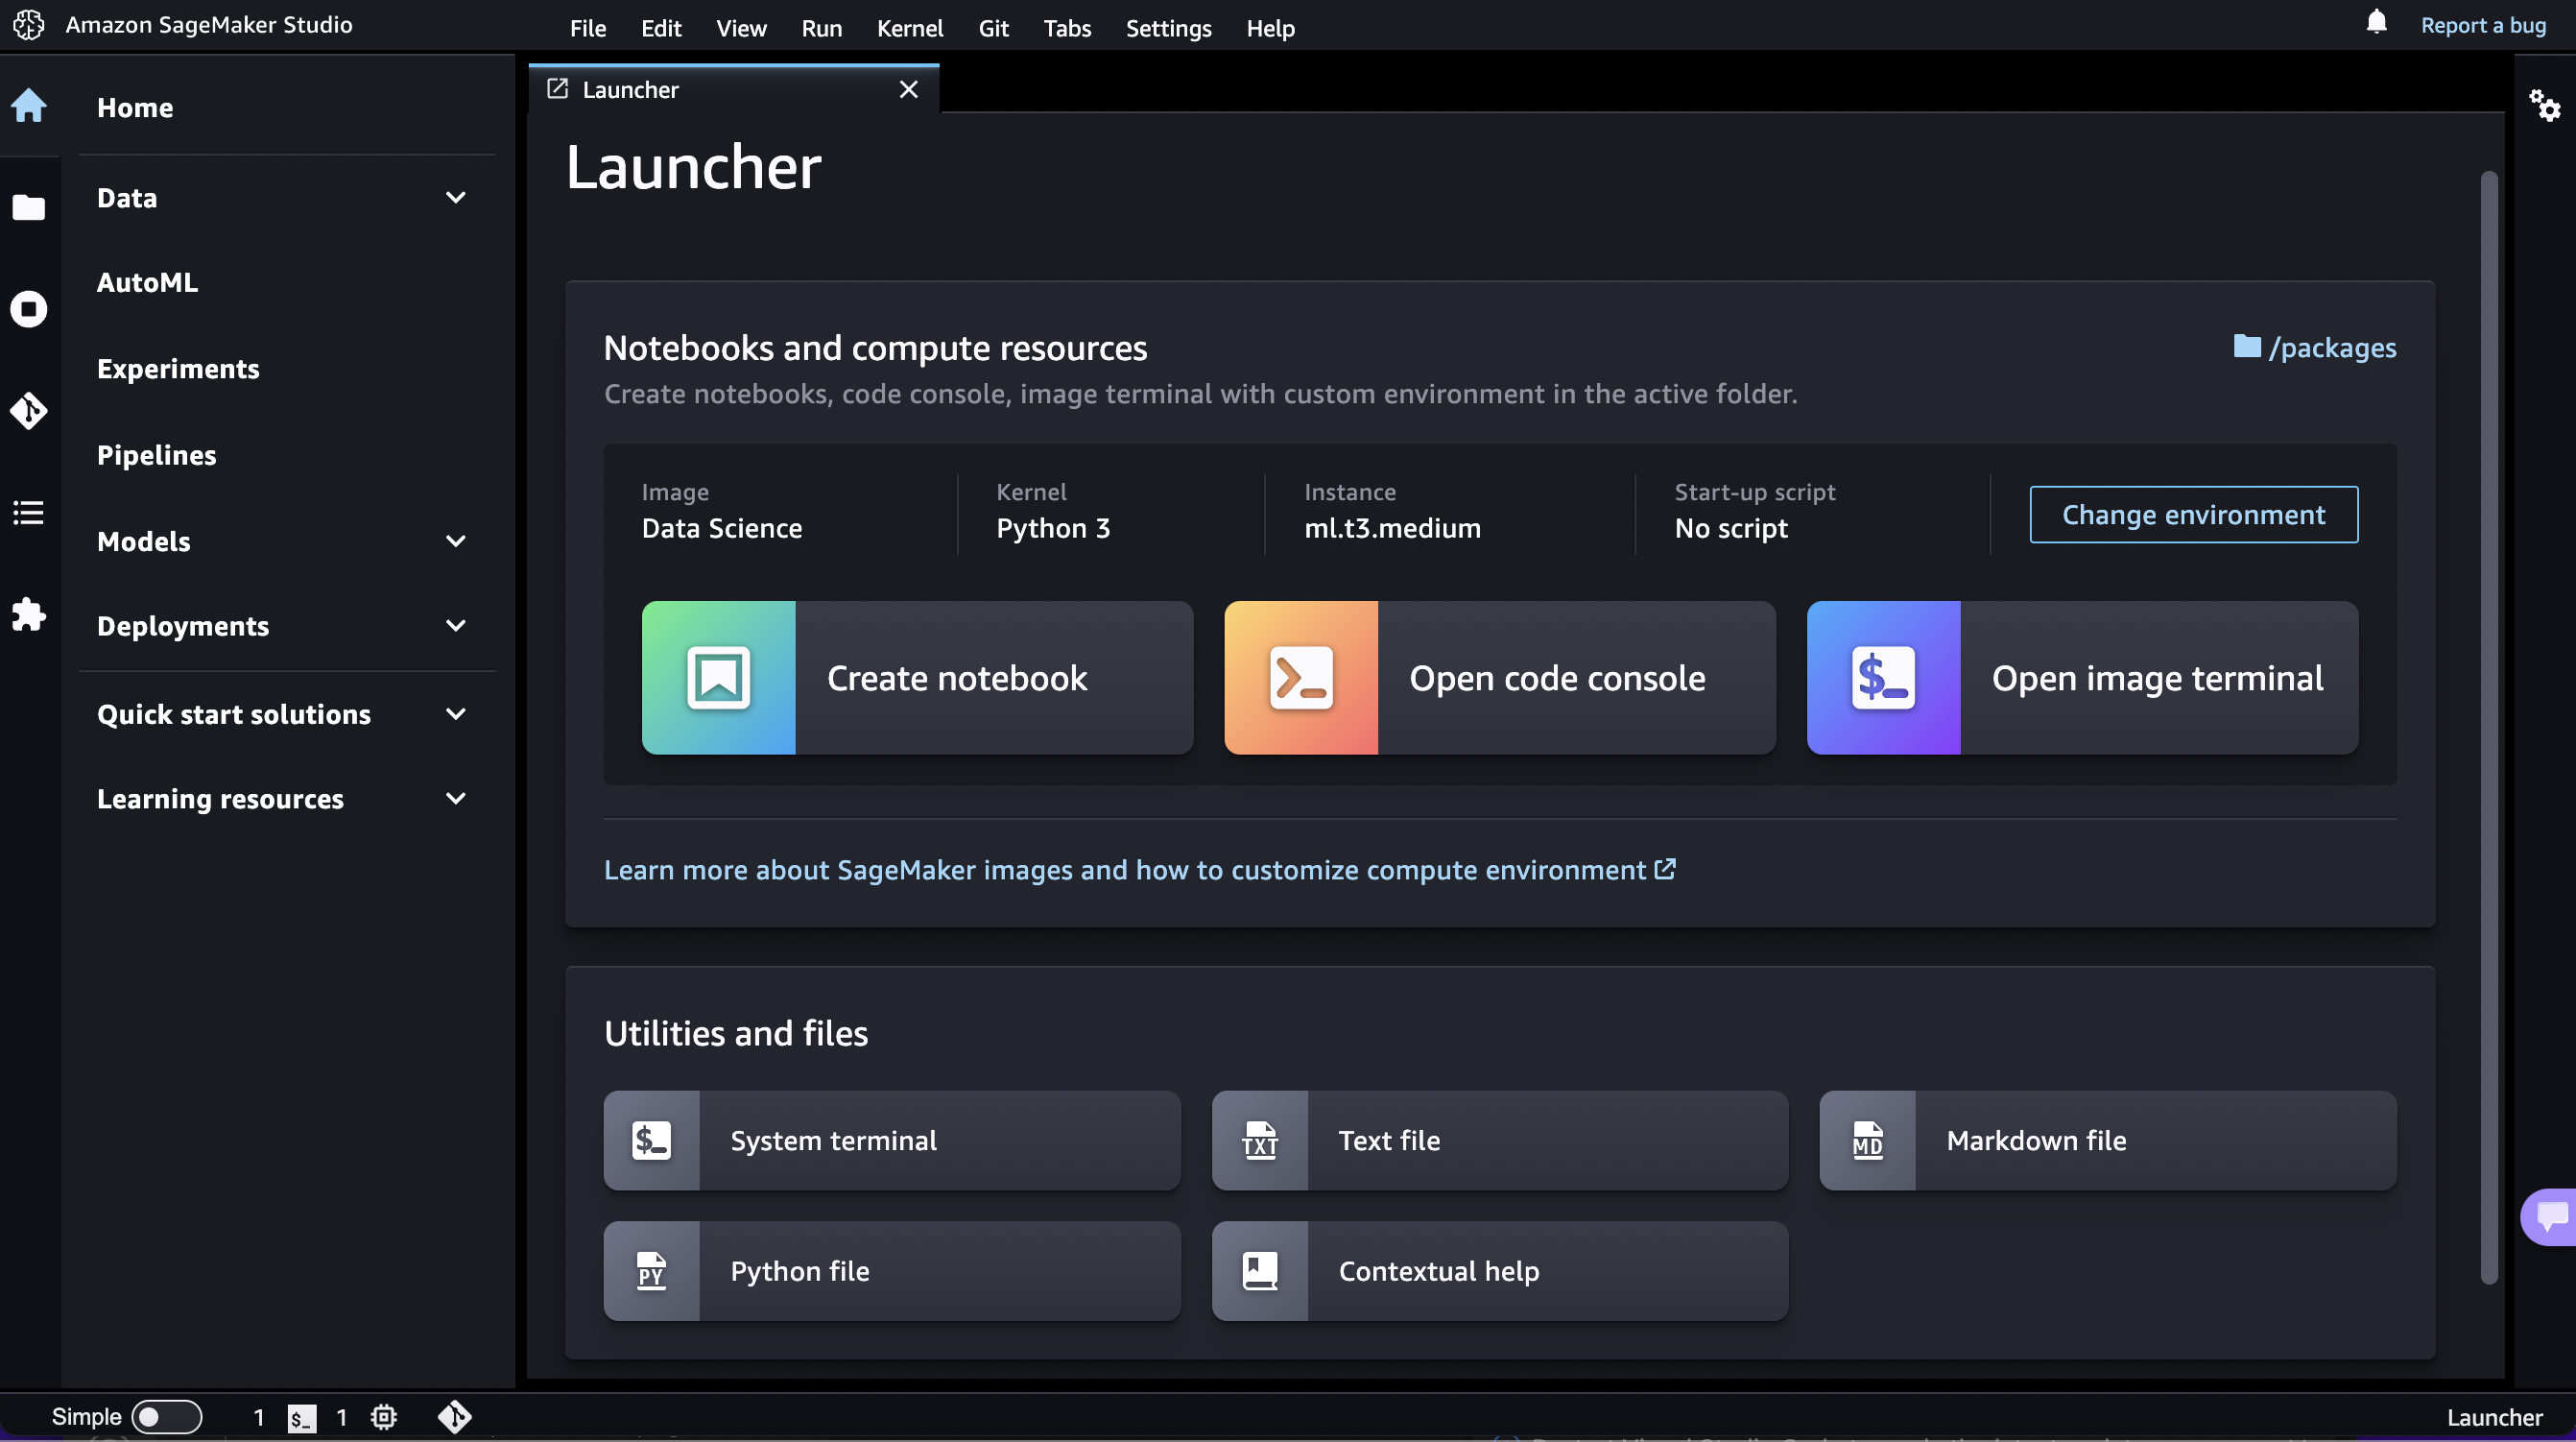
After you create your custom SageMaker image and attach it to your domain or shared space, the custom image and kernel appear in selectors in the Change environment dialog box of the Studio Classic Launcher.
To launch and select your custom image and kernel
-
In Amazon SageMaker Studio Classic, open the Launcher. To open the Launcher, choose Amazon SageMaker Studio Classic at the top left of the Studio Classic interface or use the keyboard shortcut
Ctrl + Shift + L.To learn about all the available ways to open the Launcher, see Use the Amazon SageMaker Studio Classic Launcher
-
In the Launcher, in the Notebooks and compute resources section, choose Change environment.
-
In the Change environment dialog, use the dropdown menus to select your Image from the Custom Image section, and your Kernel, then choose Select.
-
In the Launcher, choose Create notebook or Open image terminal. Your notebook or terminal launches in the selected custom image and kernel.
To change your image or kernel in an open notebook, see Change the Image or a Kernel for an Amazon SageMaker Studio Classic Notebook.
Note
If you encounter an error when launching the image, check your Amazon CloudWatch logs. The name of
the log group is /aws/sagemaker/studio. The name of the log stream is
$domainID/$userProfileName/KernelGateway/$appName.
