Install the AWS SAM CLI
Install the latest release of the AWS Serverless Application Model Command Line Interface
(AWS SAM CLI) on supported operating systems by following instructions in
Step 1: Install the AWS CLI.
For information on managing a currently installed version of the AWS SAM CLI, including how to
upgrade, uninstall, or manage nightly builds, see Managing AWS SAM CLI versions.
Is this your first time installing the AWS SAM CLI?
Complete all prerequisites in the previous section before moving forward. This
includes:
-
Signing up for an AWS account.
-
Setting up secure access to AWS.
-
Creating an access key ID and secret access key.
-
Installing the AWS CLI.
-
Configuring AWS credentials.
Installing the AWS SAM CLI
Starting September 2023, AWS will no longer maintain the AWS managed Homebrew installer for the
AWS SAM CLI (aws/tap/aws-sam-cli). If you use Homebrew to install and manage the AWS SAM CLI,
see the following options:
To install the AWS SAM CLI, follow the instructions for your operating system.
- x86_64 - command line installer
-
-
Download the AWS SAM CLI .zip file to a directory of your choice.
-
(Optional) You can verify the integrity of the installer before
installation. For instructions, see Optional: Verify the integrity of the AWS SAM CLI installer.
-
Unzip the installation files into a directory of your choice. The following is an example, using the
sam-installation subdirectory.
If your operating system doesn't have the built-in
unzip command, use an equivalent.
$ unzip aws-sam-cli-linux-x86_64.zip -d sam-installation
-
Install the AWS SAM CLI by running the install executable. This executable is located in the
directory used in the previous step. The following is an example, using the
sam-installation subdirectory:
$ sudo ./sam-installation/install
-
Verify the installation.
$ sam --version
To confirm a successful installation, you should see an output that replaces the following bracketed text with the latest available version:
SAM CLI, <latest version>
- arm64 - command line installer
-
-
Download the AWS SAM CLI .zip file to a directory of your choice.
-
(Optional) You can verify the integrity of the installer before
installation. For instructions, see Optional: Verify the integrity of the AWS SAM CLI installer.
-
Unzip the installation files into a directory of your choice. The following is an example, using the
sam-installation subdirectory.
If your operating system doesn't have the built-in
unzip command, use an equivalent.
$ unzip aws-sam-cli-linux-arm64.zip -d sam-installation
-
Install the AWS SAM CLI by running the install executable. This executable is located in the
directory used in the previous step. The following is an example, using the
sam-installation subdirectory:
$ sudo ./sam-installation/install
-
Verify the installation.
$ sam --version
To confirm a successful installation, you should see an output like the following but that replaces the bracketed text with the latest SAM CLI version:
SAM CLI, <latest version>
Installation steps
Use the package installer to install the AWS SAM CLI. Additionally, the package installer has two installation methods that you can choose from:
GUI and Command line. You can install for all users or just your current user. To install for all users, superuser
authorization is required.
AWS SAM CLI doesn't support MacOS versions older than MacOS 13.x. Upgrade to a
supported version of MacOS or install AWS SAM CLI with Homebrew.
- GUI - All users
-
To download the package installer and install the AWS SAM CLI
If you previously installed the AWS SAM CLI through Homebrew or pip, you
need to uninstall it first. For instructions, see Uninstalling the AWS SAM CLI.
-
Download the macOS pkg to a directory of your choice:
-
Run your downloaded file and follow the on-screen instructions to continue through the
Introduction, Read Me, and
License steps.
-
For Destination Select, select Install for all users of this
computer.
-
For Installation Type, choose where the AWS SAM CLI will be installed and
press Install. The recommended default location is
/usr/local/aws-sam-cli.
To invoke the AWS SAM CLI with the sam command, the installer automatically
creates a symlink between /usr/local/bin/sam and either
/usr/local/aws-sam-cli/sam or the installation folder you chose.
-
The AWS SAM CLI will install and The installation was successful message will
display. Press Close.
To verify a successful installation
-
Verify that the AWS SAM CLI has properly installed and that your symlink is configured by running:
$ which sam
/usr/local/bin/sam
$ sam --version
SAM CLI, <latest version>
- GUI - Current user
-
To download and install the AWS SAM CLI
If you previously installed the AWS SAM CLI through Homebrew or pip, you
need to uninstall it first. For instructions, see Uninstalling the AWS SAM CLI.
-
Download the macOS pkg to a directory of your choice:
-
Run your downloaded file and follow the on-screen instructions to continue through the
Introduction, Read Me, and
License steps.
-
For Destination Select, select Install for me only.
If you don't see this option, go to the next step.
-
For Installation Type, do the following:
-
Choose where the AWS SAM CLI will be installed. The default location is
/usr/local/aws-sam-cli. Select a location that you have write permissions
for. To change the installation location, select local and choose your
location. Press Continue when done.
-
If you didn't get the option to choose Install for me only in the previous
step, select Change Install Location > Install for me only
and press Continue.
-
Press Install.
-
The AWS SAM CLI will install and The installation was successful message will
display. Press Close.
To create a symlink
-
To invoke the AWS SAM CLI with the sam command, you must manually create a
symlink between the AWS SAM CLI program and your $PATH. Create your symlink
by modifying and running the following command:
$ sudo ln -s /path-to/aws-sam-cli/sam /path-to-symlink-directory/sam
-
sudo – If your user has write permissions to $PATH,
sudo is not required. Otherwise, sudo is required.
-
path-to – Path to where you installed the AWS SAM CLI program.
For example, /Users/myUser/Desktop.
-
path-to-symlink-directory – Your $PATH environment
variable. The default location is /usr/local/bin.
To verify a successful installation
-
Verify that the AWS SAM CLI has properly installed and that your symlink is configured by running:
$ which sam
/usr/local/bin/sam
$ sam --version
SAM CLI, <latest version>
- Command line - All users
-
To download and install the AWS SAM CLI
If you previously installed the AWS SAM CLI through Homebrew or pip, you
need to uninstall it first. For instructions, see Uninstalling the AWS SAM CLI.
-
Download the macOS pkg to a directory of your choice:
-
Modify and run the installation script:
$ sudo installer -pkg path-to-pkg-installer/name-of-pkg-installer -target /
installer: Package name is AWS SAM CLI
installer: Upgrading at base path /
installer: The upgrade was successful.
To invoke the AWS SAM CLI with the sam command, the installer automatically
creates a symlink between /usr/local/bin/sam and
/usr/local/aws-sam-cli/sam.
To verify a successful installation
-
Verify that the AWS SAM CLI has properly installed and that your symlink is configured by running:
$ which sam
/usr/local/bin/sam
$ sam --version
SAM CLI, <latest version>
- Command line - Current user
-
To download and install the AWS SAM CLI
If you previously installed the AWS SAM CLI through Homebrew or pip, you
need to uninstall it first. For instructions, see Uninstalling the AWS SAM CLI.
-
Download the macOS pkg to a directory of your choice:
-
Determine an installation directory that you have write permissions to. Then, create
an xml file using the template and modify it to reflect your installation
directory. The directory must already exist.
For example, if you replace path-to-my-directory with
/Users/myUser/Desktop, the aws-sam-cli program folder
will be installed there.
<?xml version="1.0" encoding="UTF-8"?>
<!DOCTYPE plist PUBLIC "-//Apple//DTD PLIST 1.0//EN" "http://www.apple.com/DTDs/PropertyList-1.0.dtd">
<plist version="1.0">
  <array>
    <dict>
      <key>choiceAttribute</key>
      <string>customLocation</string>
      <key>attributeSetting</key>
      <string>path-to-my-directory</string>
      <key>choiceIdentifier</key>
      <string>default</string>
    </dict>
  </array>
</plist>
-
Save the xml file and verify that its valid by running the following:
$ installer -pkg path-to-pkg-installer \
-target CurrentUserHomeDirectory \
-showChoicesAfterApplyingChangesXML path-to-your-xml-file
The output should display the preferences that will be applied to the AWS SAM CLI program.
-
Run the following to install the AWS SAM CLI:
$ installer -pkg path-to-pkg-installer \
-target CurrentUserHomeDirectory \
-applyChoiceChangesXML path-to-your-xml-file

# Example output
installer: Package name is AWS SAM CLI
installer: choices changes file 'path-to-your-xml-file' applied
installer: Upgrading at base path base-path-of-xml-file
installer: The upgrade was successful.
To create a symlink
-
To invoke the AWS SAM CLI with the sam command, you must manually create a
symlink between the AWS SAM CLI program and your $PATH. Create your symlink
by modifying and running the following command:
$ sudo ln -s /path-to/aws-sam-cli/sam /path-to-symlink-directory/sam
-
sudo – If your user has write permissions to $PATH,
sudo is not required. Otherwise, sudo is required.
-
path-to – Path to where you installed the AWS SAM CLI program.
For example, /Users/myUser/Desktop.
-
path-to-symlink-directory – Your $PATH environment
variable. The default location is /usr/local/bin.
To verify a successful installation
-
Verify that the AWS SAM CLI has properly installed and that your symlink is configured by running:
$ which sam
/usr/local/bin/sam
$ sam --version
SAM CLI, <latest version>
Windows Installer (MSI) files are the package installer files for the Windows
operating system.
Follow these steps to install the AWS SAM CLI using the MSI file.
-
Download the AWS SAM CLI 64-bit.
-
(Optional) You can verify the integrity of the installer before
installation. For instructions, see Optional: Verify the integrity of the AWS SAM CLI installer.
-
Verify the installation.
After completing the installation, verify it by opening a new command prompt or
PowerShell prompt. You should be able to invoke sam from the command
line.
sam --version
After successful installation of the AWS SAM CLI, you should see output like the
following:
SAM CLI, <latest version>
-
Enable long paths (Windows 10 and newer only).
The AWS SAM CLI might interact with filepaths that exceed the Windows max path limitation. This may
cause errors when running sam init due to Windows 10 MAX_PATH
limitations. To resolve this issue, the new long paths behavior must be
configured.
To enable long paths, see Enable Long Paths in Windows 10, Version 1607, and Later in the
Microsoft Windows App Development Documentation.
-
Install Git.
To download sample applications using the sam init command, you must
also install Git. For instructions, see Installing
Git.
Troubleshooting installation errors
Linux
Docker error: "Cannot connect to the Docker daemon. Is the docker daemon running on this host?"
In some cases, to provide permissions for the ec2-user to access the
Docker daemon, you might have to reboot your instance. If you receive this error, try
rebooting your instance.
Shell error: "command not found"
If you receive this error, your shell can't locate the AWS SAM CLI executable in the
path. Verify the location of the directory where you installed the AWS SAM CLI executable,
and then verify that the directory is on your path.
AWS SAM CLI error: "/lib64/libc.so.6: version `GLIBC_2.14' not found (required by /usr/local/aws-sam-cli/dist/libz.so.1)"
If you receive this error, you're using an unsupported version of Linux, and the
built-in glibc version is out of date. Try either of the following:
-
Upgrade your Linux host to the 64-bit version of a recent distribution of CentOS,
Fedora, Ubuntu, or Amazon Linux 2.
-
Follow the instructions for Install the AWS SAM CLI.
macOS
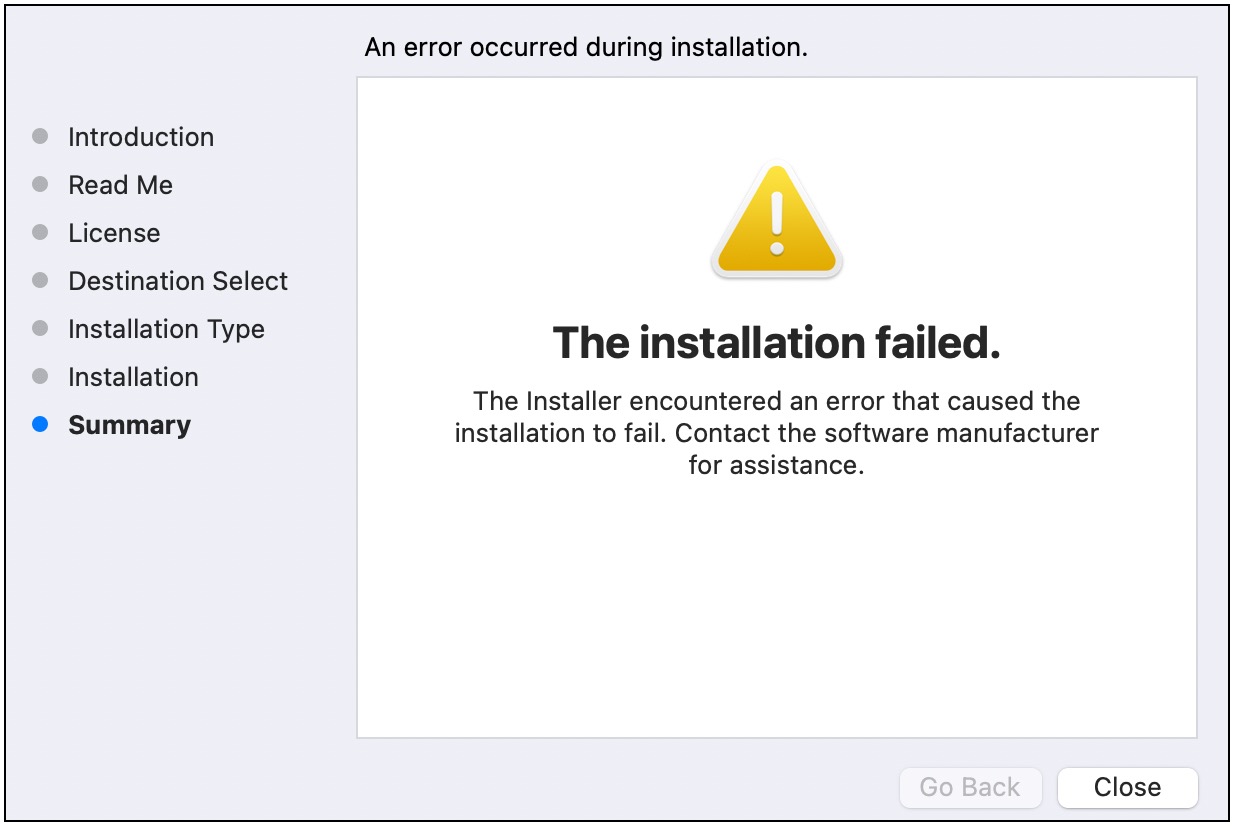
The installation failed
If you are installing the AWS SAM CLI for your user and selected an installation
directory that you don’t have write permissions for, this error could occur. Try either of
the following:
-
Select a different installation directory that you have write permissions for.
-
Delete the installer. Then, download and run it again.
Next steps
To learn more about the AWS SAM CLI and to begin building your own serverless applications,
see the following: