Amazon Monitron is no longer open to new customers. Existing customers can
continue to use the service as normal. For capabilities similar to Amazon
Monitron, see our blog post
Pairing a sensor to an asset
After you've added an asset, pair it to one or more of the sensors to monitor its health. Each sensor is mounted on the asset in its own position. Each sensor mounted on the asset can be assigned its own machine class.
When you pair a sensor to an asset, you record the type of position. The type of position tells Amazon Monitron how to assess the position when it analyzes the data from that sensor. Each position can give a very different view of the asset. You will often need to monitor multiple locations on a large asset to get a clear picture of its health. You can place up to 20 sensors at different positions on an asset. Less complex assets might require only one or two sensors.
Each sensor measures the temperature and vibration at its position. You can name a
position anything you like, and you can change the name later if necessary. For example,
a sensor set up to monitor the pump in the previous example might have a position of
Left Position, with a position type of Pump. The
position name identifies the location, whereas the position type tells Amazon Monitron which part of the asset it's monitoring. You can also edit the machine class assigned
to each sensor.
For more information about where to place sensors, see Positioning a sensor.
Important
After you pair a sensor to an asset, Amazon Monitron establishes a baseline for that position. The baseline tells Amazon Monitron how the asset performs under normal conditions. Amazon Monitron uses this information to identify abnormal conditions. During this time, Amazon Monitron assumes that conditions are normal and won't produce any alarms.
To pair a sensor to an asset
-
Ensure that near field communication (NFC) is turned on for your smartphone.
Tip
For many smartphone models, NFC is turned on by default. The following resources might help you determine whether you need to turn on NFC, and how to do so:
-
From the Assets list, choose the asset.
-
If you just created the asset:
Choose Add position.
-
If you created the asset earlier, and have already paired more than one sensor to it:
-
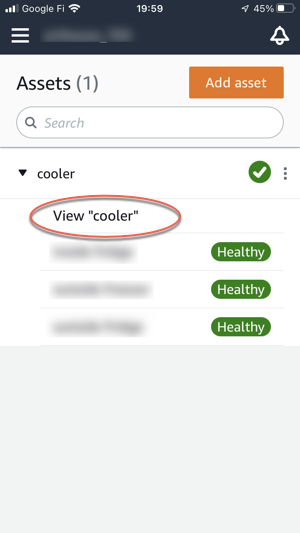
After you choose the asset, you will see a dropdown list of sensors associated with that asset.
Choose the View option at the top of that list.
-
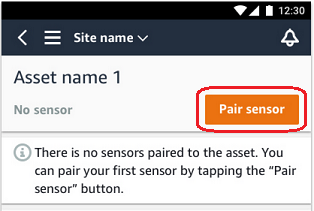
Choose Pair sensor.

-
-
-
Place your sensor on the machine in the correct location. For more information about placing sensors, see Positioning a sensor and Mounting a sensor.
-
Name the position that the sensor will monitor.
We recommend that you use a name that is clear and easy for you to work with.
-
For Position type, choose the position type.
Valid values:
-
Bearing
-
Compressor
-
Fan
-
Gearbox
-
Motor
-
Pump
-
Other
Note
After you pair a sensor to an asset, you can't change the position type. If you need to change the type, you must delete the sensor and re-add it.
-
-
For Machine class, choose the machine class of the asset part you are positioning the sensor on. Valid options are based on the ISO 20816 standards.
- Class I
-
Individual parts of engines and machines, integrally connected to the complete machine in its normal operating condition, for example, production electrical motors of up to 15 kilowatts (kW) or 20 horsepower (hp).
- Class II
-
Medium-sized machines (typically electrical motors with 15 to 75 kW (20 to 101 hp) output) without special foundations, rigidly mounted engines or machines (up to 300 kW or 402 hp) on special foundations.
- Class III
-
Large prime-movers and other large machines with rotating masses mounted on rigid and heavy foundations that are relatively stiff in the direction of vibration.
- Class IV
-
Large prime-movers and other large machines with rotating masses mounted on rigid and heavy foundations that are relatively soft in the direction of vibration measurement, for example, turbo-generator sets and gas turbines with outputs greater than 10 megawatt (MW) or 13,404 hp.
-
Choose Next.
-
Hold your smartphone close to the sensor to commission it. Don't move your smartphone while you are commissioning the sensor.

It can take a few moments for Amazon Monitron to commission the sensor and pair with it. While it's connecting, you will see the following message.

Note
The appropriate way to hold your mobile device while pairing depends on the type of mobile device you have. For more information, see Troubleshooting Amazon Monitron device issues.
When more than one sensor is paired with a given asset, the Assets page shows each sensor position and its health status, but not the specific details about each position. To display the details, choose the position from the list. For more information about the data you can monitor with each asset, see Understanding sensor measurements.

Positions are displayed in status order. For example, a position that's in an alarm state is displayed above a position that's in an acknowledged state. Positions that are in a healthy state follow those in an acknowledged state.
