Test voice, chat, and task experiences in Connect Customer
To learn what the voice, chat, and task experiences are like for your agents and customers, you can test them without doing any development.
Test voice
At the basic level, after you claim a number you can immediately call it to hear what the experience will be like for your customers. Connect Customer uses the default flows to power your initial experience.
To test a customized flow, assign a phone number to it and then call that number.
Tip
Call latency significantly impacts the quality of your customer's experience. For guidance about designing your contact center for optimal call quality and then testing latency, see Design your Connect Customer contact center for low latency to help ensure call quality.
Test chat
Connect Customer includes a simulated web page that shows how your customers can interact with you, and a Contact Control Panel (CCP) that shows the agent experience. Here's how to test chat:
-
On the navigation menu, choose Channels.
-
Choose Test chat.
If you don't see the option to test chat, choose here
. -
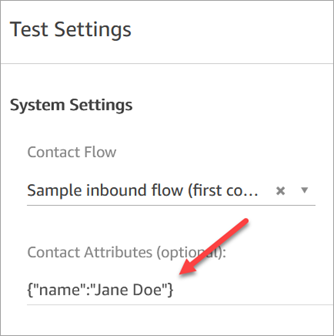
On the Test Chat page, choose Test Settings.
-
Under System Settings, choose the flow you want to test with chat, and then choose Apply. By default, it runs the Sample inbound flow.
Tip
If you want to test a chat and use contact attributes, note that the key and value pair must be enclosed in quotes, as shown in the following image:
-
In the chat window, choose the icon as shown in the following image.

-
Type a message similar to what one of your customers might type. In the agent window, type a reply.
-
To see what it's like for an agent to handle multiple chat conversations, copy the dashboard URL into another browser window, and start another chat. The chat goes to the same instance of the CCP that you already have open.
Tip
The test environment uses the BasicQueue and Basic Routing Profile. The Basic Routing Profile is set up for 2 chats. If you want to test what it's like to have more than two chats, change the Basic Routing Profile to 5 chats. For instructions, see Create a routing profile in Connect Customer to link queues to agents.
To learn more about what the agent experiences when managing chat conversations, see Use the Contact Control Panel (CCP) in Connect Customer to chat with contacts.
Test tasks
The first step in testing the task experience is to create a quick connect for the queue you want to assign the example tasks to.
Step 1: Create a quick connect
-
On the navigation menu, choose Routing, Quick connects, Add a new.
-
Enter a name for the quick connect. For example, if you want to assign the test task to yourself, enter your name (for example, Jane Doe).
-
Under Type, use the dropdown list to choose Queue.
-
Under Destination, use the dropdown list to choose a queue you set up for yourself (assuming you want to assign the test task to yourself).
-
Under flow, choose Default queue transfer.
-
Under Description, enter something like Test quick connect.
-
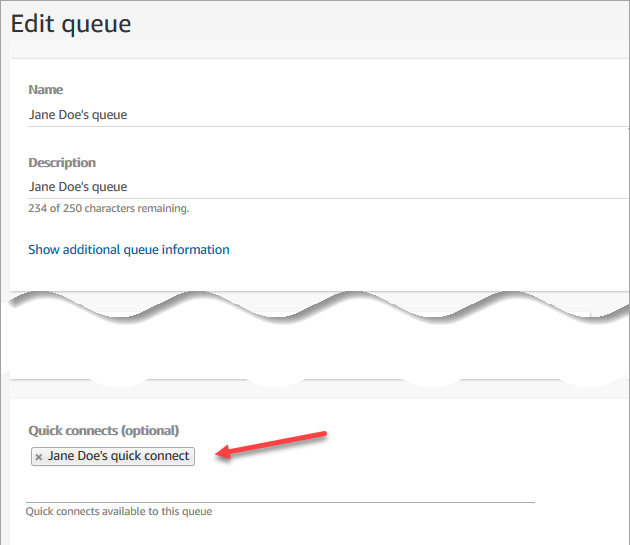
Choose Save. The completed quick connect looks similar to the quick connect in the following image.

Step 2: Make the quick connect visible in the CCP by assigning it to a queue
-
After you create the quick connect, go to Routing, Queues and then choose the appropriate queue for the contact to be routed to.
-
On the Edit queue page, in the Quick connects box, search for the quick connect you created. For example, it might have your name. The following image shows the quick connect for Jane Doe.
-
Select the quick connect and then choose Save.
Step 3: Assign the queue to the agent's routing profile
-
Go to Users, Routing profiles and choose the agent's routing profile.
-
Under Set channels and concurrency choose Tasks.
-
Add the agent's queue to the routing profile, and choose Task for the channel.
If the agent can receive transfers through other channels, select them as well.
-
Choose Save.
Step 4: Test tasks
-
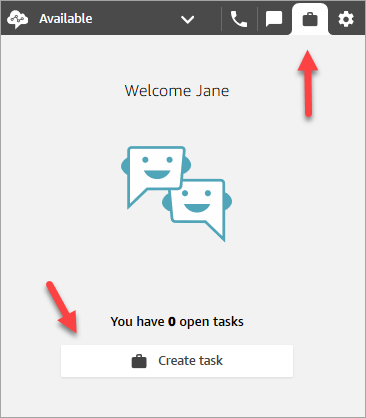
Open the CCP. Select the Task tab, and then choose Create task. The following image shows there are two ways to choose Create task: choose the task icon in the top right corner, or choose the Create task button at the bottom of the CCP page.
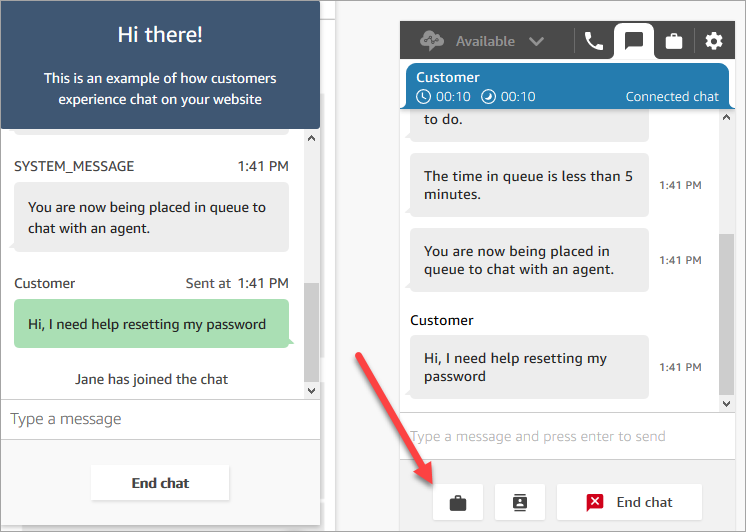
Or, if you're testing the chat experience, for example, you can choose the Task icon, as shown in the following image.
-
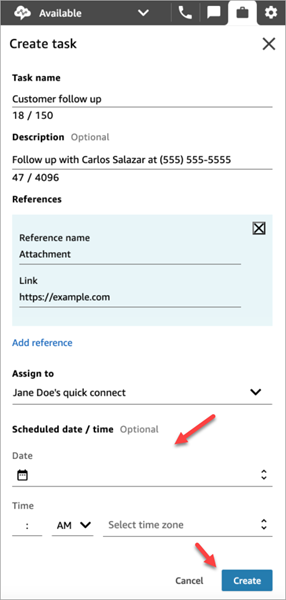
Complete the Create task page. When you choose Assign to, you can assign only a task to someone or a queue that has quick connect.
To create a scheduled task for the future, use the Scheduled date/time box to choose a future date and time. You can schedule a task up to six days in future.
Choose Create.
-
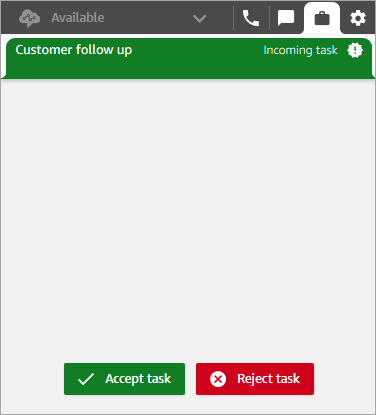
If you chose yourself, the task will be routed to you. The following image of the CCP shows what it looks like when a task arrives. Choose Accept task.
-
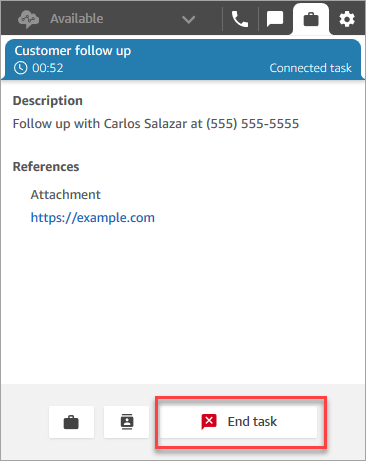
Review the task. When you're done with the task, choose End task when done.
View metrics for the test experiences
When you're testing the voice, chat, and task experiences, you may also want to explore metrics.
-
On the left navigation menu, choose Analytics and optimization, Real-time metrics, Queues.
-
You can review the real-time metrics as you test the different channels.
-
To view metrics by channel in a real-time metrics report, go to Settings, Groupings, Queues grouped by channels, Apply. Your report will look similar to the following image.

