Enable outbound calls in your Amazon Connect instance
Before your agents can make outbound calls to customers, you need to set up your Amazon Connect instance for outbound communications.
-
Open the Amazon Connect console at https://console.aws.amazon.com/connect/
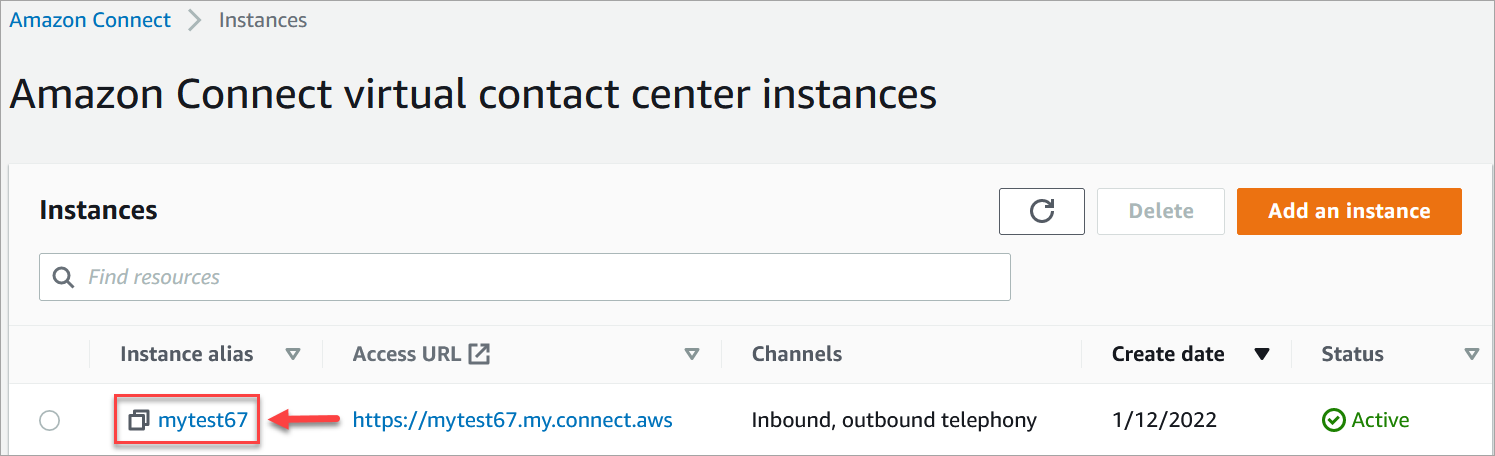
. On the instances page, choose the instance alias. The instance alias is also your instance name, which appears in your Amazon Connect URL. The following image shows the Amazon Connect virtual contact center instances page, with a box around the instance alias.
-
In the navigation pane, choose Telephony under Channels and communications.
-
To enable outbound calling from your contact center, choose Make outbound calls with Amazon Connect.
-
To enable outbound campaigns, choose Enable outbound campaigns.
-
By enabling early media audio, your agents can hear pre-connection audio such as busy signals, failure-to-connect errors, or other informational messages from telephony providers, when making outbound calls. Choose Enable early media.
-
Choose Save.
-
Ensure agents have the Contact Control Panel (CCP) - Make outbound calls permission in their security profile. For instructions, see Assign a security profile for Amazon Connect to a contact center user.
Note
For a list of countries you can call by default based on the Region of your instance, see Countries that call centers using Amazon Connect can call by default.
For a list of all countries available for outbound calls based on the Region of
your instance, see Amazon Connect
pricing
