Set up integration for external applications using Amazon AppFlow
These integrations use Amazon AppFlow to provide periodic updates to Amazon Connect Customer Profiles. The below steps provide guidance on configuring a connector of your choosing using Amazon AppFlow, configure data mappings, and configure integrations to ingest your customer data.
For more information on Amazon AppFlow pricing, see Amazon AppFlow pricing
For more information on Amazon AppFlow supported connectors see Supported source and destination applications.
Before you begin
When you enable Amazon Connect Customer Profiles you create a Customer Profiles domain, which is a container for all data, such as customer profiles, object types, profile keys, and encryption keys. The following are guidelines for creating Customer Profile domains:
-
Each Amazon Connect instance can only be associated with one domain.
-
You can create multiple domains, but they don't share external application integrations or customer data between each other.
-
All the external application integrations you create are at a domain level. All of the Amazon Connect instances associated with a domain inherit the domain's integrations.
Prerequisite: Enable Customer profiles in your Amazon Connect instance
-
Open the Amazon Connect console at https://console.aws.amazon.com/connect/
. On the instances page, choose the instance alias. The instance alias is also your instance name, which appears in your Amazon Connect URL. The following image shows the Amazon Connect virtual contact center instances page, with a box around the instance alias.
-
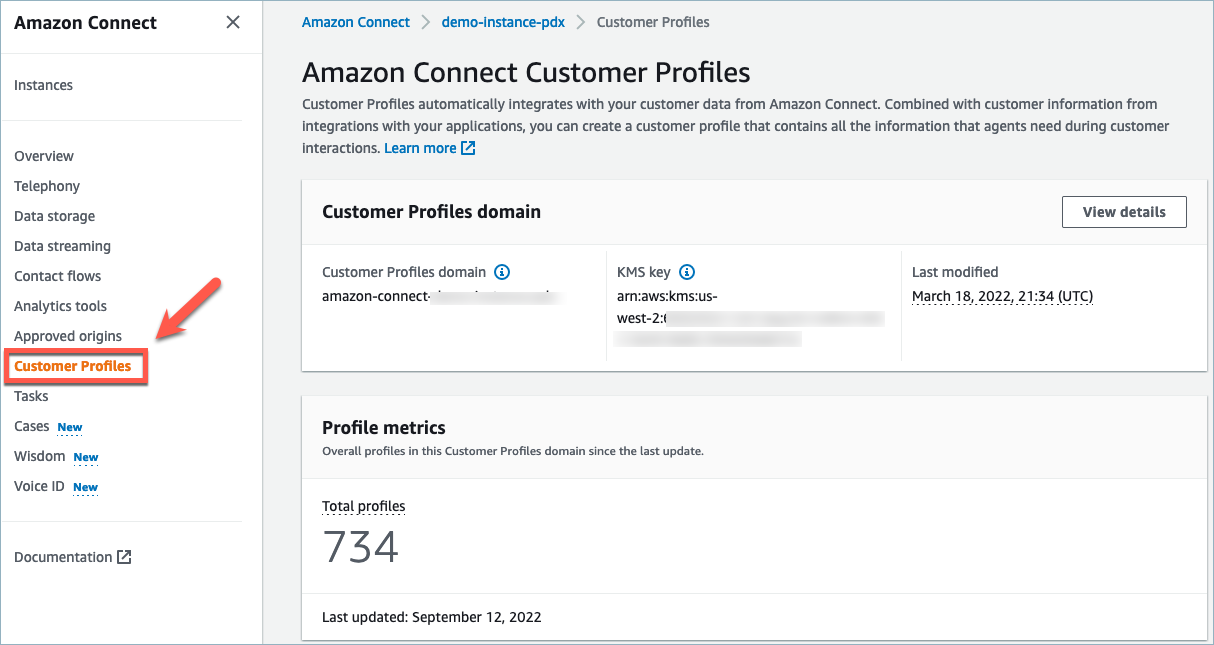
In the navigation pane, choose Customer profiles.
-
Choose enable Customer Profiles
In the form, you will be required to complete all the mandatory fields to create a Customer Profiles domain by following the steps below:
-
Domain Setup. You can Create New Domain and provide a name.
-
Encryption. Under Specify KMS key, you can enable encryption by either selecting an existing AWS KMS key, creating a new AWS KMS key, or you can choose Select existing domain.
-
Error Reporting. You can provide a Dead letter queue, which is an SQS queue to handle customer profile errors
-
Choose Submit and Customer Profiles will be get created using the Contact History information of your instance.
Set up an external application using Amazon AppFlow
You can add an external application integration to an Amazon Connect Customer Profiles domain by using Amazon AppFlow by following steps below. You must create a flow for your data source in the Amazon AppFlow console and set Amazon Connect Customer Profiles as the destination prior to continuing in the Customer Profiles console. If you created a flow more than 14 days ago, it has expired and you will need to create a new flow for your integration.
You can optionally perform data transformations such as
Arithmetic, Filter, Map,
Map_all, Mask, Merge,
Truncate, and Validate when using the AWS CloudFormation
AWS::AppFlow::Flow Task resource prior to ingestion.
-
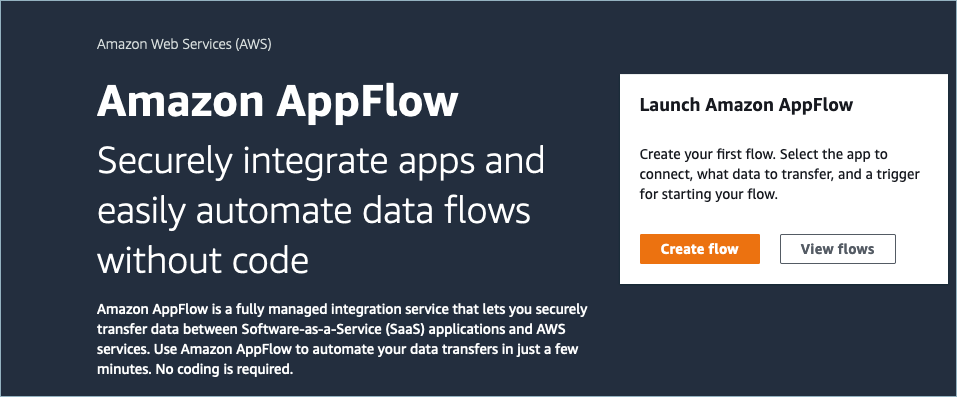
Log into your AWS Management Console, select Amazon AppFlow, and choose Create flow.
-
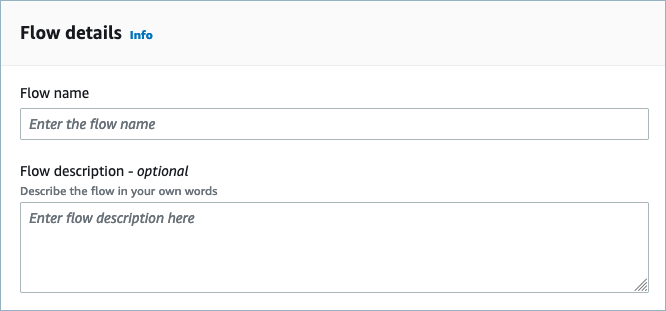
Enter the flow name and an optional flow description.
-
You can leave the Data encryption section as it is since your Amazon Connect Customer Profiles domain already has an existing AWS KMS key that will be used for this Flow. You can optionally create tags and then choose Next.

-
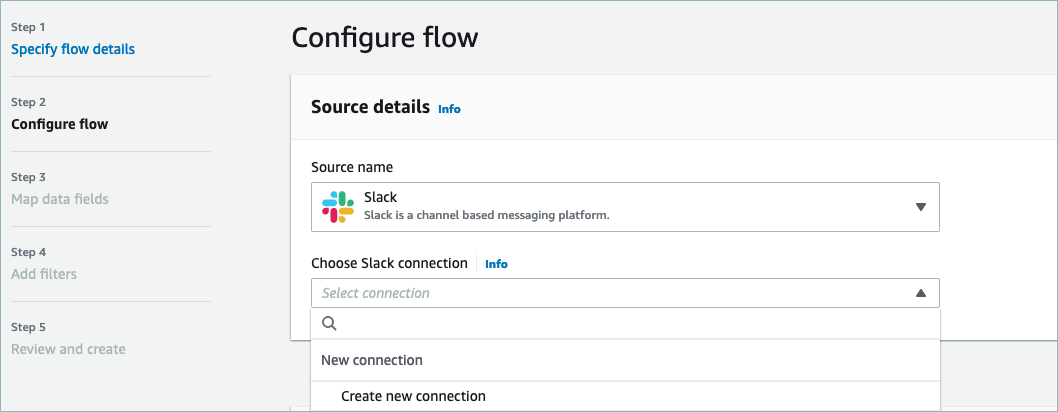
Select an external application of your choice in the Source name dropdown and then select the next relevant field. For example, if you wish to configure Slack, select Slack from the Source name dropdown. You can then either select an existing Slack flow or create a new connection.
-
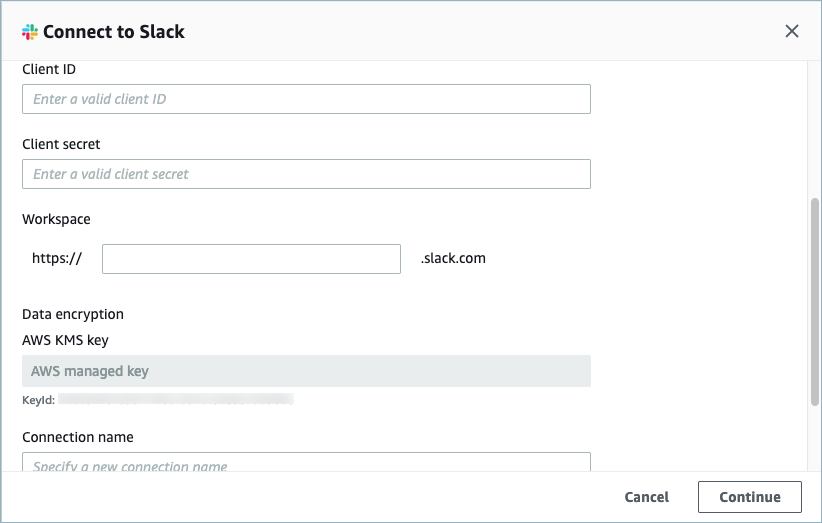
If you chose to create a new connection, you can then enter the external application's details such as user name, password and subdomain. You can also select the AWS KMS key for data encryption and enter the connection name to identify this connection.
-
If you choose to use an existing connection you can select the specific external application object from dropdown. For example, If choosing an existing Slack connection, you can select Conversations as the object and then choose the specific Slack channel that will be used.

-
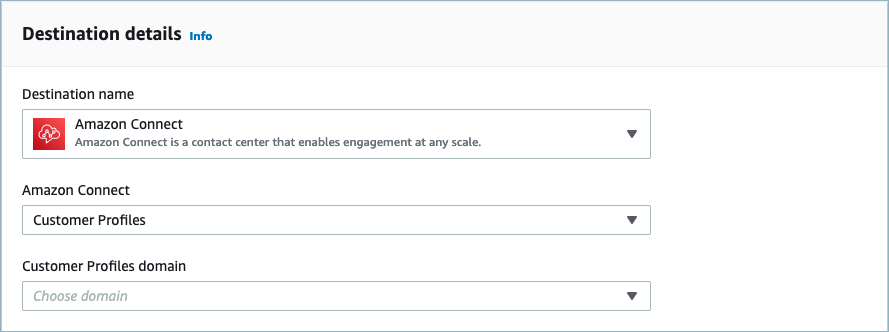
In the Destination details section, select Amazon Connect as the Destination name in the dropdown and select the Customer profile domain created in the previous prerequisite step.
-
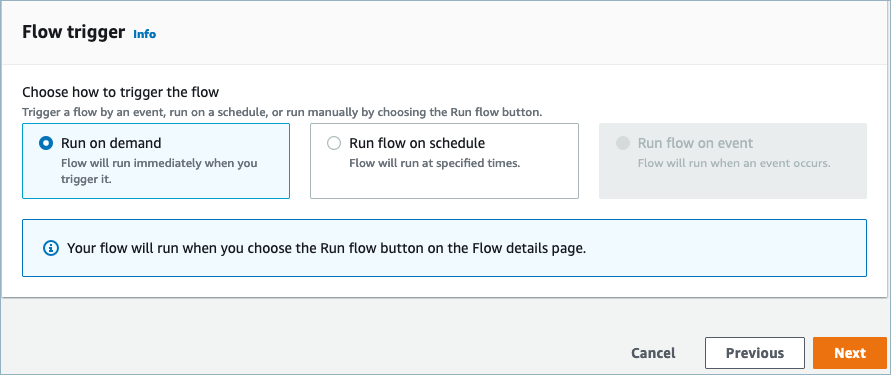
Select a flow trigger by choosing Run on demand or Run flow on schedule. Choose Next.
-
Run on demand runs the flow only when you trigger it.
-
Run flow on schedule runs the flow at a specific time by using a schedule. The schedule frequency is limited to 5 minutes, 15 minutes, or 1 hour.
-
-
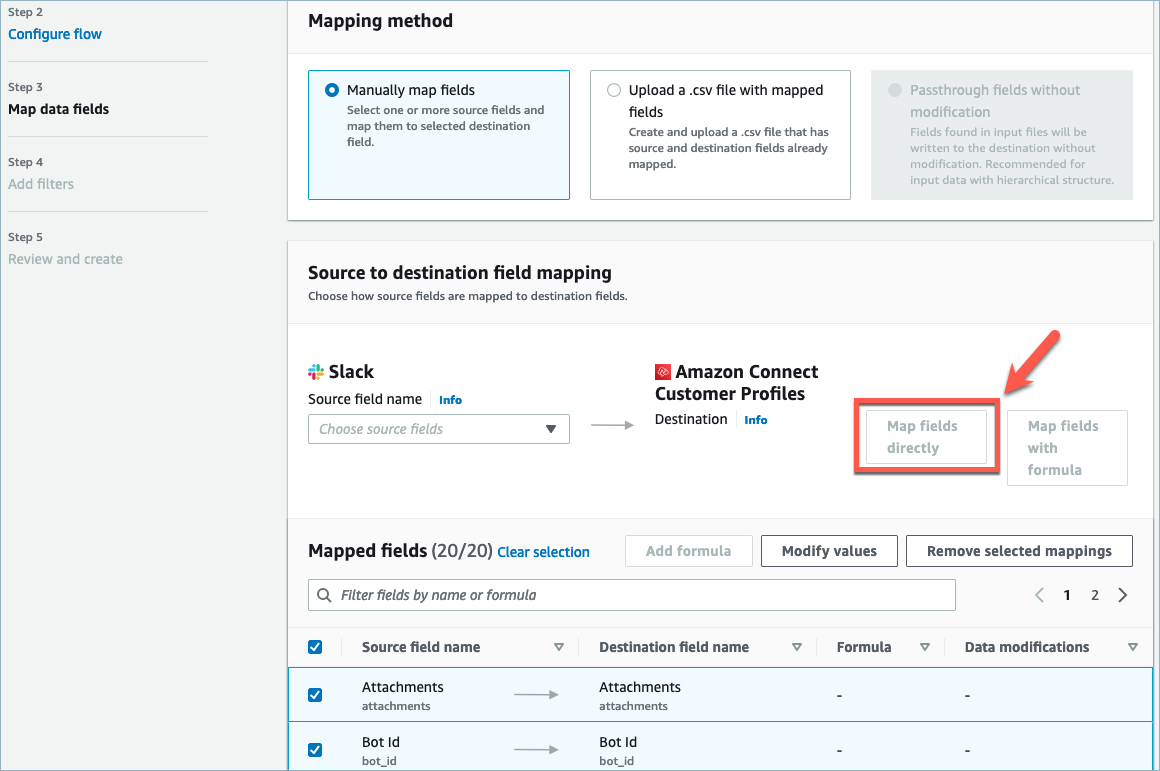
Choose Manually map fields under Mapping method. Choose the source fields from external application and then choose Map fields directly.
-
Review and choose Create flow.
For more information on creating flows in the Amazon AppFlow console, see Creating flows in Amazon AppFlow.
For more information on the setup of external application and many other supported applications in Amazon AppFlow, see Supported Amazon AppFlow source and destination applications.
Set up data mappings to define how external application data is mapped to a Customer Profile
Once Amazon AppFlow integration has been set up, you need to set up data mappings in Customer Profiles to define how data from the external application will be mapped to the Customer Profile. This will allow you to customize the data that you want to use to build your unified customer profile. Choose your mapping carefully, as you will not be able to choose a different mapping after creating the integration.
For more detailed information on data mappings, see Object type mapping.
-
Log into your AWS Management Console, select Amazon Connect. and choose Customer Profiles under your connect instance alias.
-
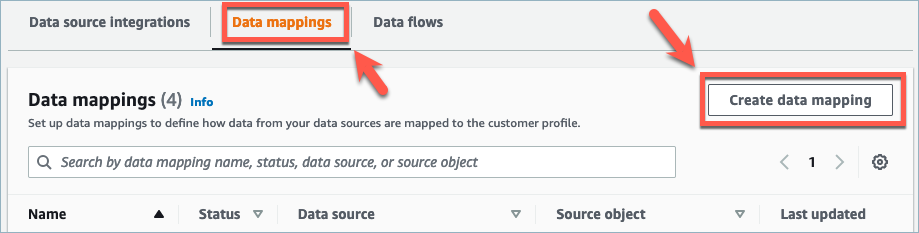
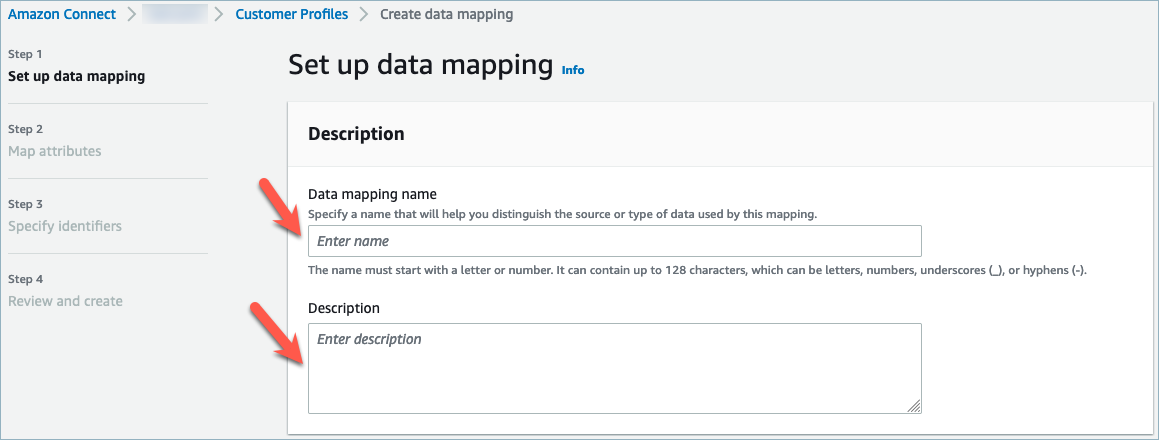
Choose Data mappings and then choose Create data mapping. Provide a Data Mapping name and a description.
-
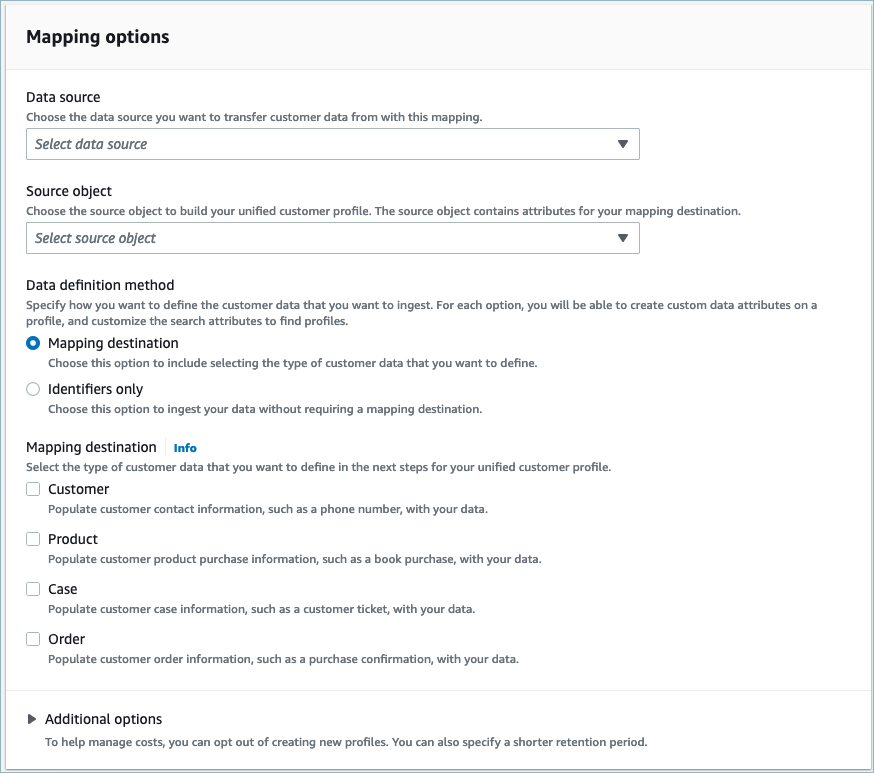
Under Mapping options, you can choose your Data source as the external application, the Flow name that you created in the previous section, and the Data definition method as Mapping destination. Under Mapping destination you can choose the types of customer data that wish to define for your unified customer profiles. Choose Next.
-
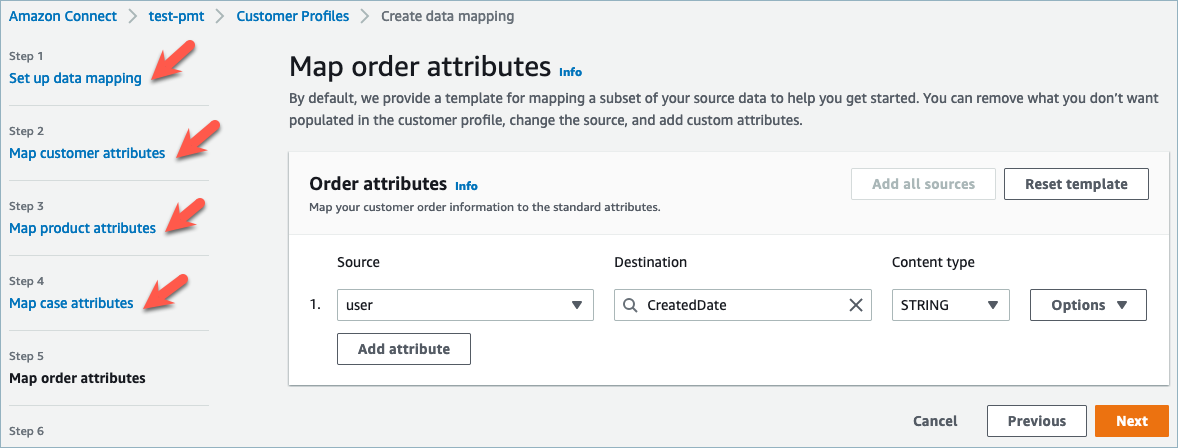
Add customer, product, case and order attributes with source, destination, and content type, then choose Next.
-
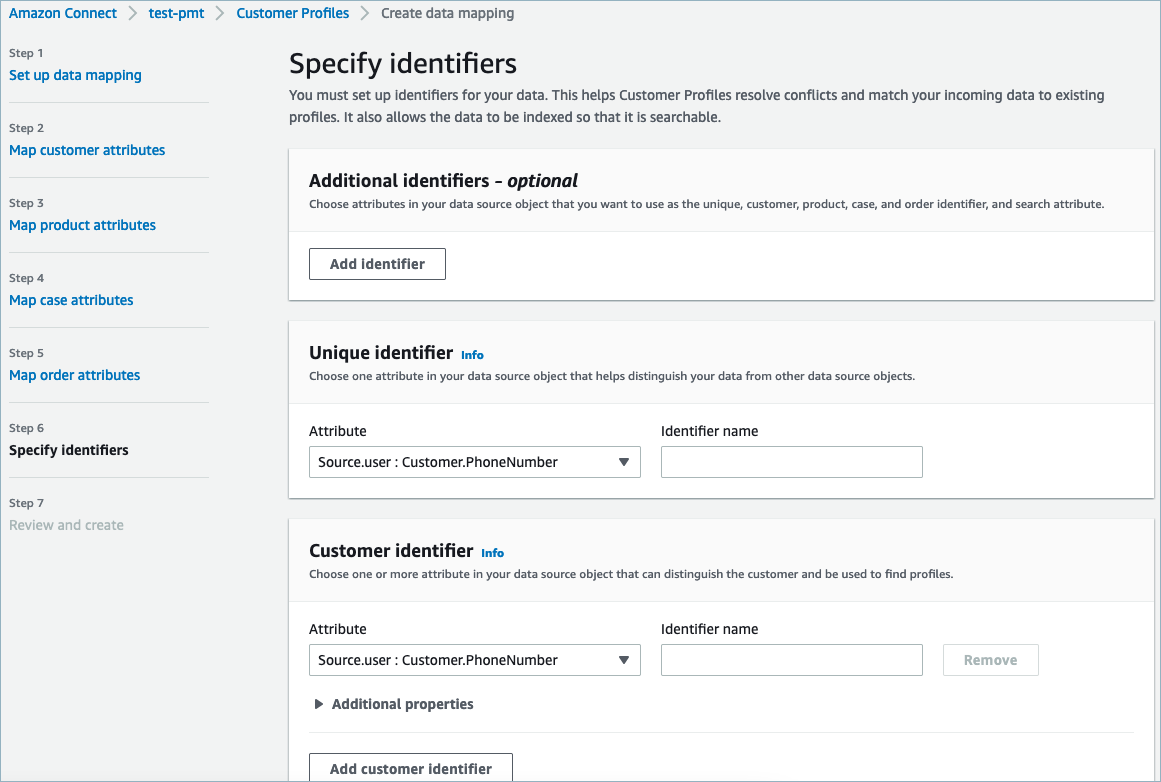
Under Specify identifiers, you can select various attributes from your data source object that helps distinguish your data from other data source objects. You can select attributes from unique, customer, product, case and order identifiers. For more information about identifiers, see Standard identifiers for setting attributes on the key in Customer Profiles.
-
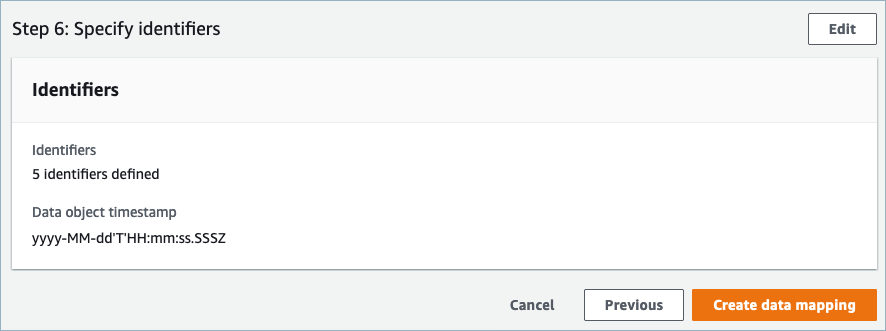
Review and choose Create Data Mapping. The Data Mapping status will show as Active.
Set up integrations to ingest your customer data from an external application
Once the data mapping set up is done for an external application, you will set up the Data source integration to ingest your customer data.
-
Log into your AWS Management Console, select Amazon Connect. and choose Customer Profiles under your connect instance alias.
-
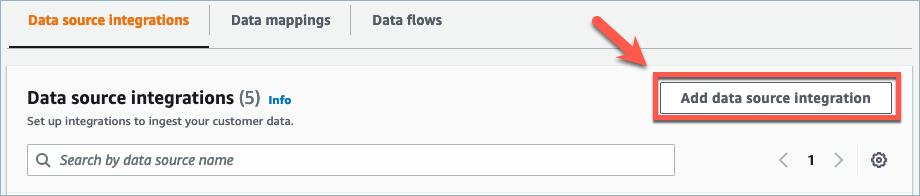
Under the Data source integrations section choose Add data source integration.
-
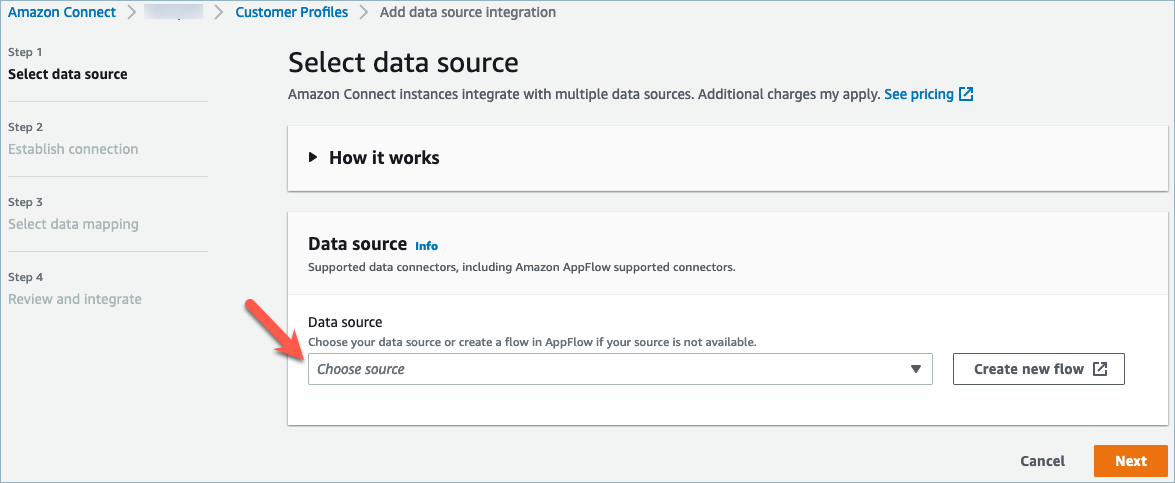
Under the Data source dropdown, select the external application and choose Next. You also have the option to choose Create new flow which will open the Amazon AppFlow console in a new tab.
-
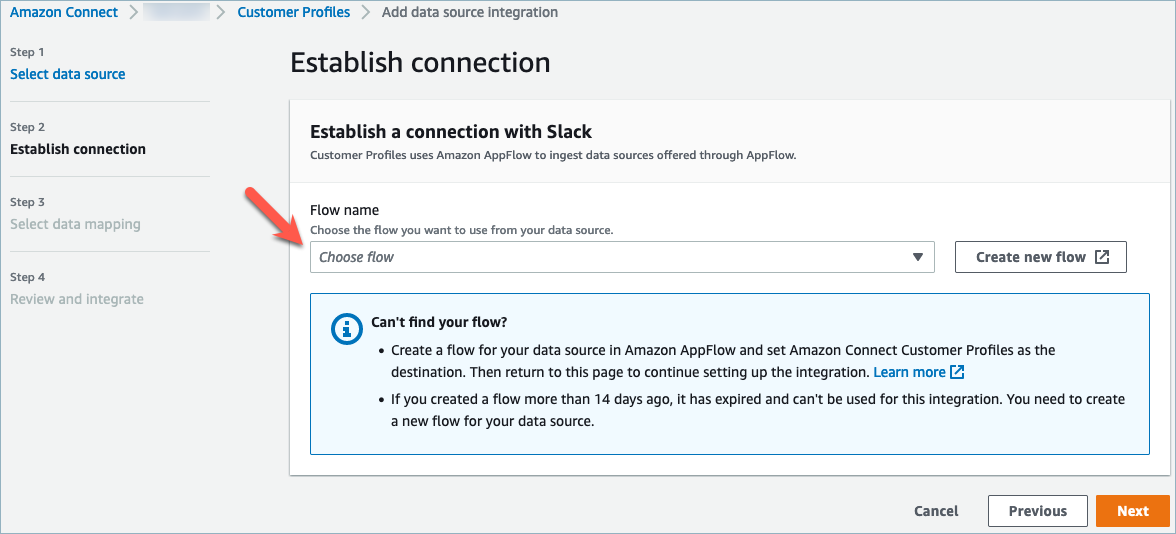
Under the Flow name dropdown, select the flow you want to use from your data source and choose Next.
-
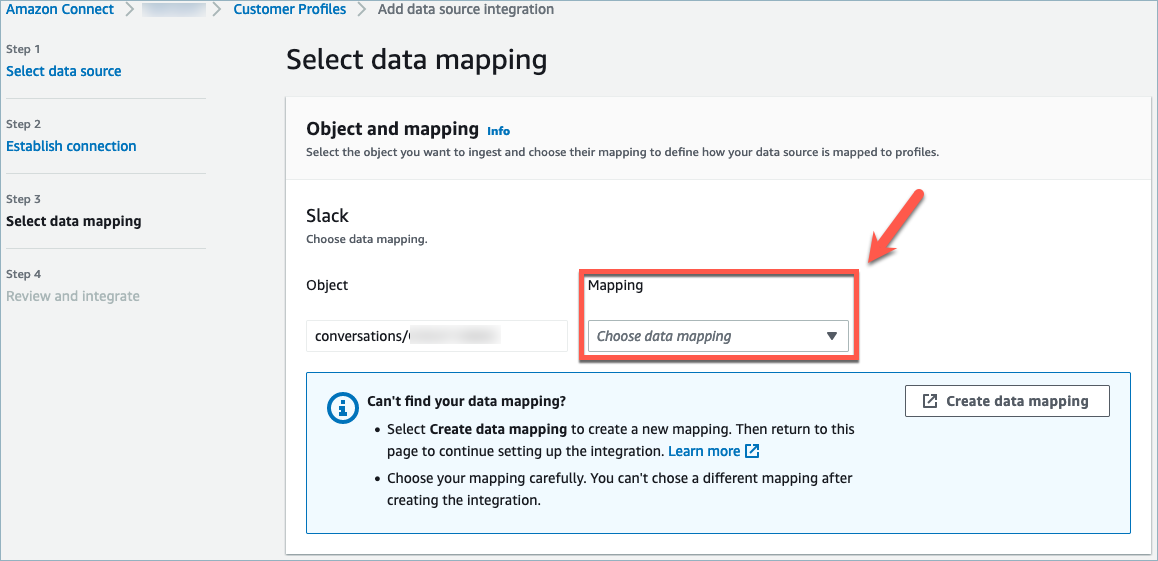
Under the Data Mapping dropdown, select the external application data mapping for the object to define how your data source is mapped to profiles. Choose Next.
-
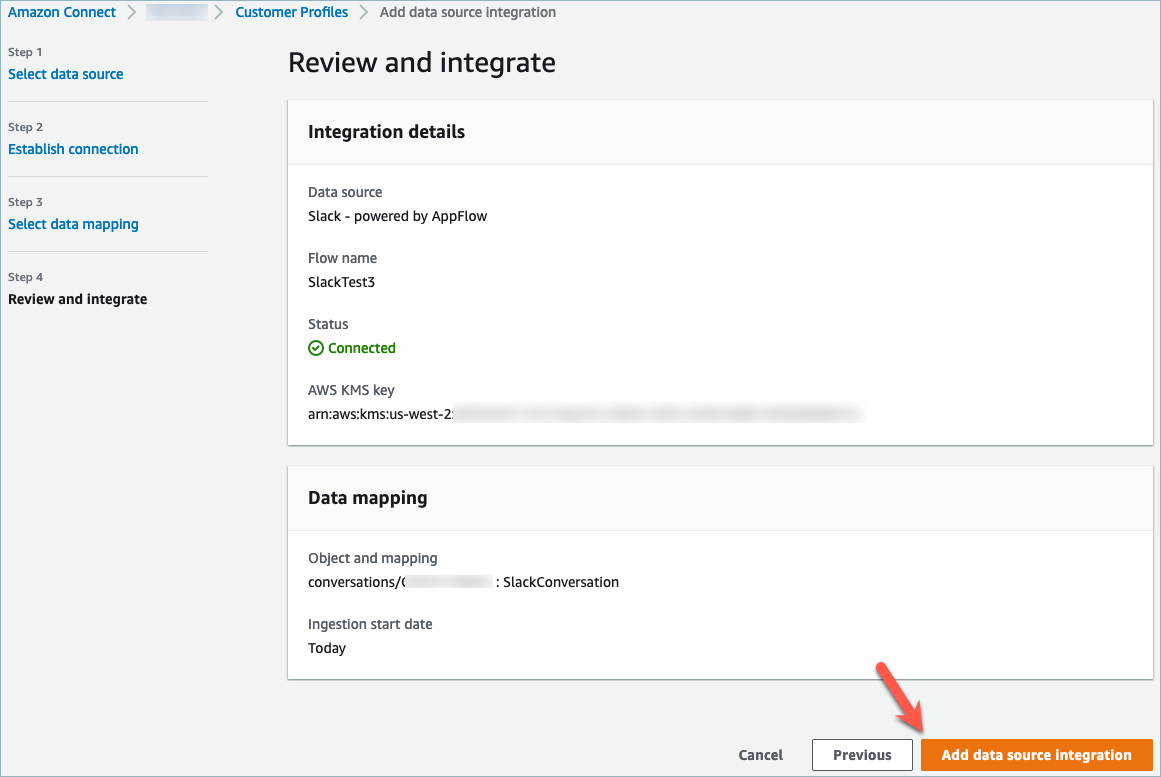
Review and choose Add data Source Integration. The datasource integration of the external application will initially show as pending before moving to an active state.
View the unified customer profile in Amazon Connect Customer Profile Agent CCP
Your agents will now be able to view customer data that has been imported from an external application by logging in to the Amazon Connect Agent CCP. For more information on connecting to the Amazon Connect Agent CCP, see Agent application: Everything in one place.
Your agent will need to have the appropriate security profile permissions to view Customer Profiles and will be able to perform searches using a key name and value in the profiles search bar.
For more information on security profile permissions, see Security profiles.
Advanced users who want to build their own custom agent application and
embedded customer profiles can use StreamsJS
