End of support notice: On October 7th, 2026, AWS will discontinue support for AWS IoT Greengrass Version 1. After October 7th, 2026, you will no longer be able to access the AWS IoT Greengrass V1 resources. For more information, please visit Migrate from AWS IoT Greengrass Version 1.
Create and configure the Lambda function
In this step, you create a Lambda function that tracks the number of cars that pass
the traffic light. Every time that the GG_TrafficLight shadow state
changes to G, the Lambda function simulates the passing of a random
number of cars (from 1 to 20). On every third G light change, the Lambda
function sends basic statistics, such as min and max, to a DynamoDB table.
-
On your computer, create a folder named
car_aggregator. -
From the TrafficLight
examples folder on GitHub, download the carAggregator.pyfile to thecar_aggregatorfolder. This is your Lambda function code.Note
This example Python file is stored in the AWS IoT Greengrass Core SDK repository for convenience, but it doesn't use the AWS IoT Greengrass Core SDK.
-
If you aren't working in the US East (N. Virgina) Region, open
carAggregator.pyand changeregion_namein the following line to the AWS Region that's currently selected in the AWS IoT console. For the list of supported AWS Regions, see AWS IoT Greengrass in the Amazon Web Services General Reference.dynamodb = boto3.resource('dynamodb', region_name='us-east-1') -
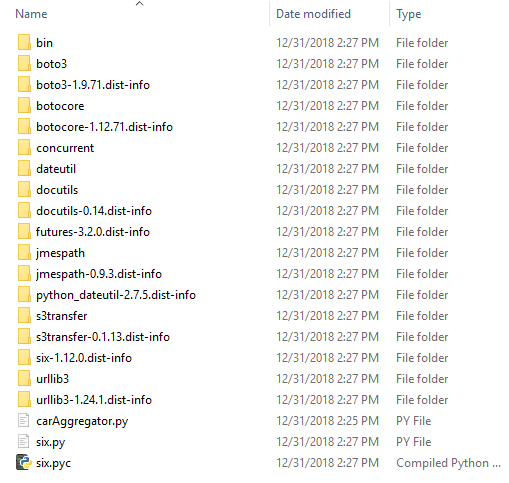
Run the following command in a command-line
window to install the AWS SDK for Python (Boto3) package and its dependencies in the car_aggregatorfolder. Greengrass Lambda functions use the AWS SDK to access other AWS services. (For Windows, use an elevated command prompt.) pip install boto3 -tpath-to-car_aggregator-folderThis results in a directory listing similar to the following:
-
Compress the contents of the
car_aggregatorfolder into a.zipfile namedcar_aggregator.zip. (Compress the folder's contents, not the folder.) This is your Lambda function deployment package. -
In the Lambda console, create a function named
GG_Car_Aggregator, and set the remaining fields as follows:-
For Runtime, choose Python 3.7.
-
For Permissions, keep the default setting. This creates an execution role that grants basic Lambda permissions. This role isn't used by AWS IoT Greengrass.
Choose Create function.

-
-
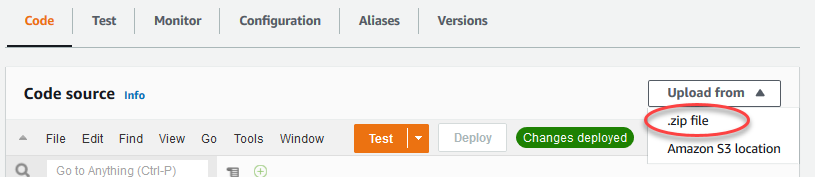
Upload your Lambda function deployment package:
-
On the Code tab, under Code source, choose Upload from. From the dropdown, choose .zip file.
-
Choose upload, and then choose your
car_aggregator.zipdeployment package. Then, choose Save. -
On the Code tab for the function, under Runtime settings, choose Edit, and then enter the following values.
-
For Runtime, choose Python 3.7.
-
For Handler, enter
carAggregator.function_handler
-
-
Choose Save.
-
-
Publish the Lambda function, and then create an alias named
GG_CarAggregator. For step-by-step instructions, see the steps to publish the Lambda function and create an alias in Module 3 (Part 1). -
In the AWS IoT console, add the Lambda function that you just created to your AWS IoT Greengrass group:
-
On the group configuration page, choose Lambda functions, and then under My Lambda functions, choose Add.
-
For Lambda function, choose GG_Car_Aggregator.
-
For Lambda function version, choose the alias to the version that you published.
-
For Memory limit, enter
64 MB. -
For Pinned, choose True.
-
Choose Add Lambda function.
Note
You can remove other Lambda functions from earlier modules.
-
