Getting started with Device Advisor in the console
This tutorial helps you get started with AWS IoT Core Device Advisor on the console. Device Advisor offers
features such as required tests and signed qualification reports. You can use these
tests and reports to qualify and list devices in the AWS Partner Device Catalog
For more information about using Device Advisor, see Device Advisor workflow and Device Advisor detailed console workflow.
To complete this tutorial, follow the steps outlined in Setting up.
Note
Device Advisor is supported in the following AWS Regions:
-
US East (N. Virginia)
-
US West (Oregon)
-
Asia Pacific (Tokyo)
-
Europe (Ireland)
Getting started
-
In the AWS IoT console's
navigation pane under Test, choose Device Advisor. Then, choose the Start walkthrough button on the console. 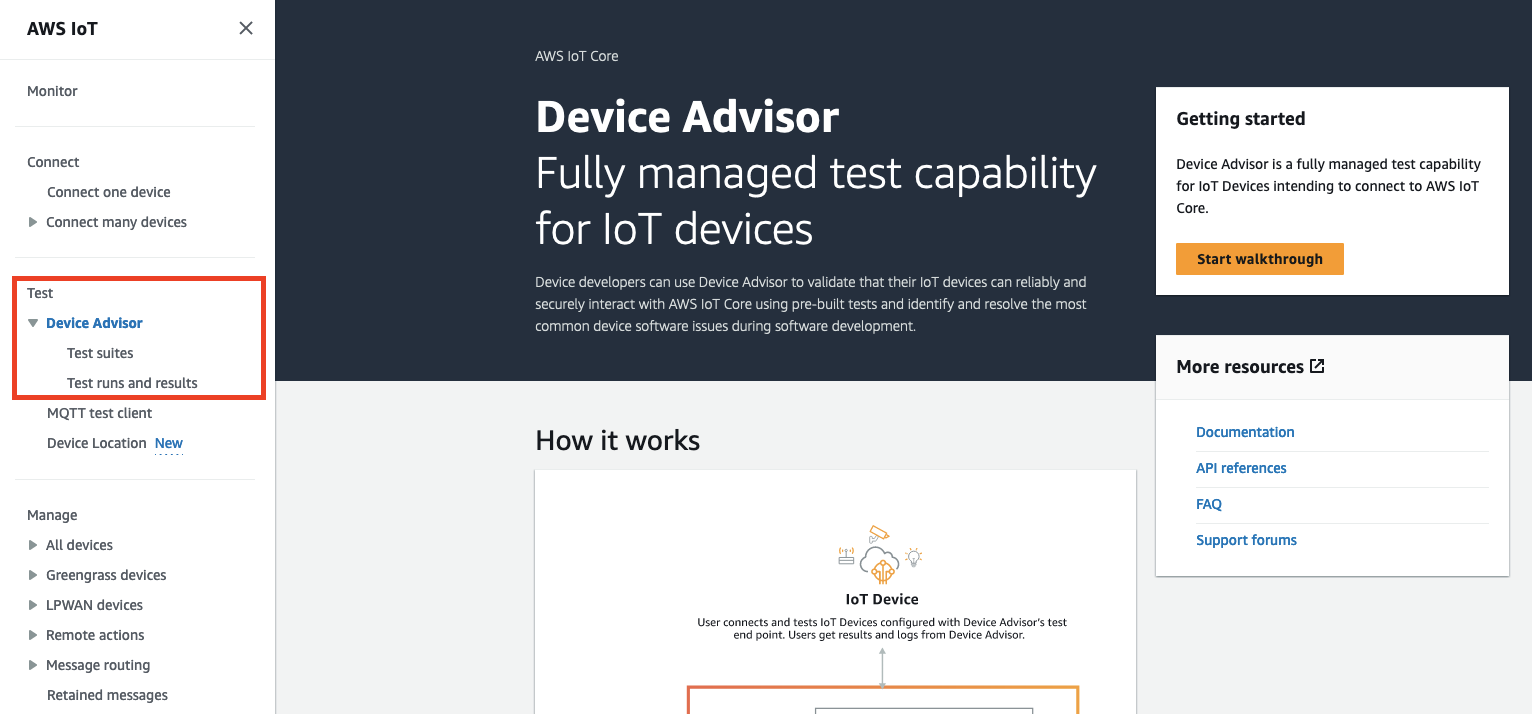
-
The Getting started with Device Advisor page provides an overview of the steps required to create a test suite and run tests against your device. You can also find the Device Advisor test endpoint for your account here. You must configure the firmware or software on the device used for testing to connect to this test endpoint.
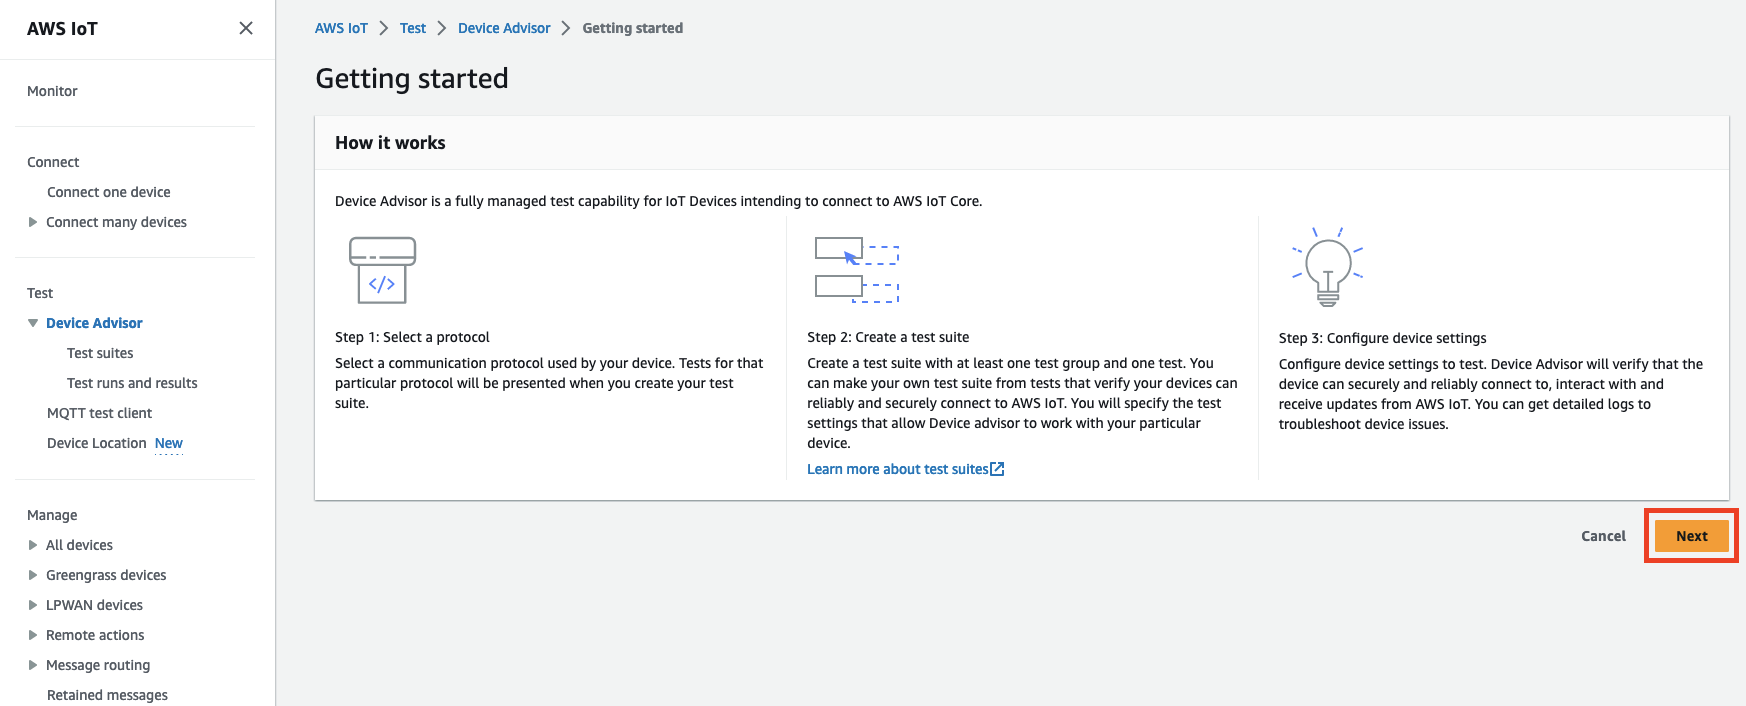
To complete this tutorial, first create a thing and certificate. After you review the information under How it works, choose Next.
-
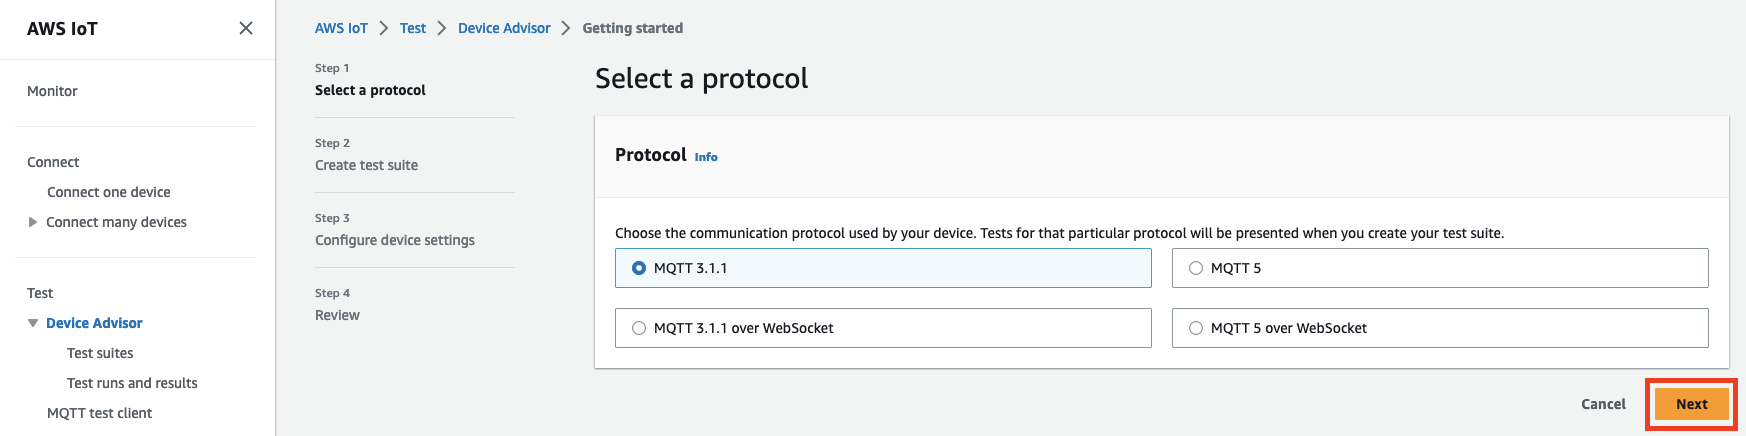
In Step 1: Select a protocol, select a protocol from the options listed. Then, choose Next.
-
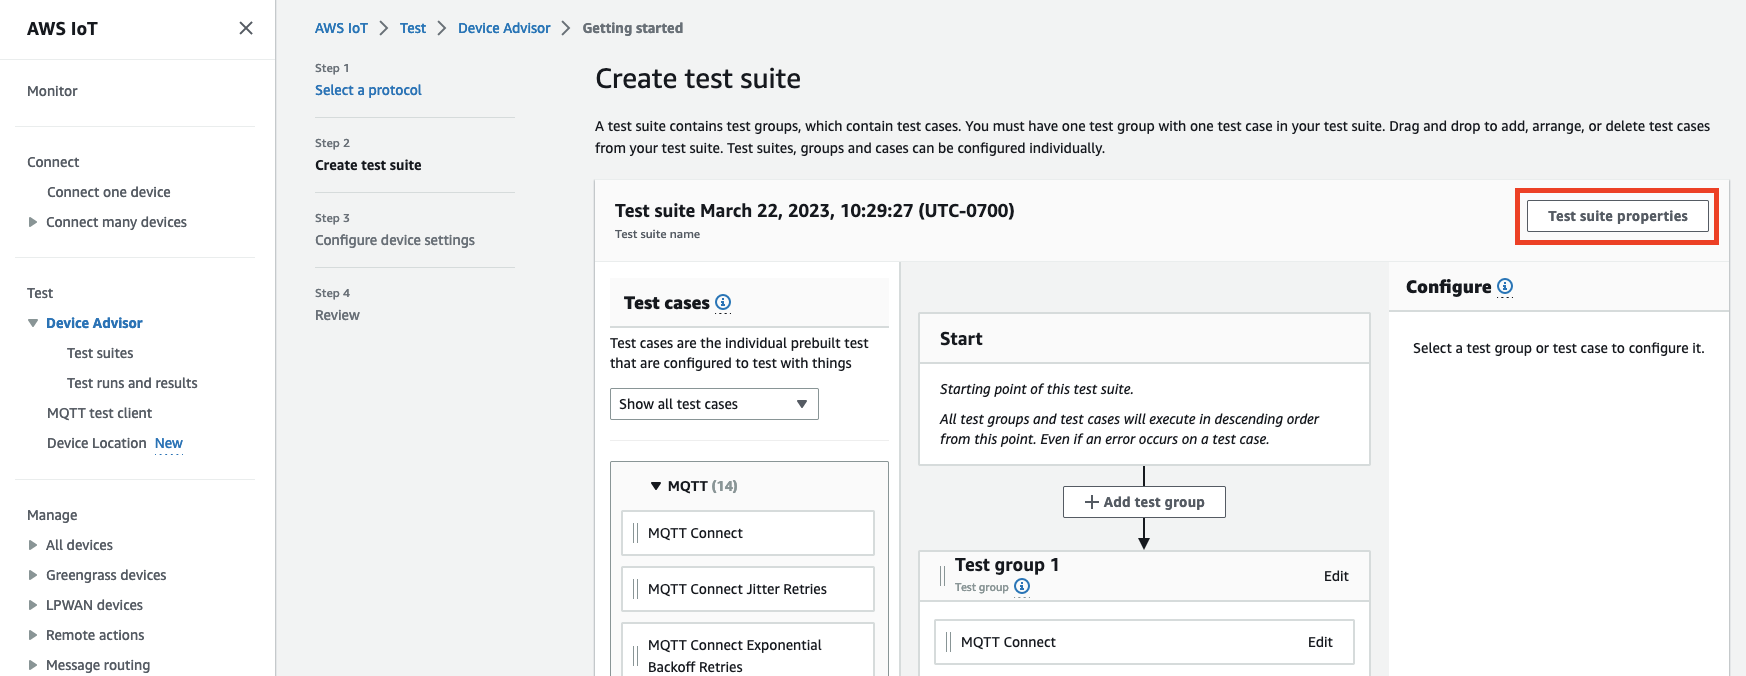
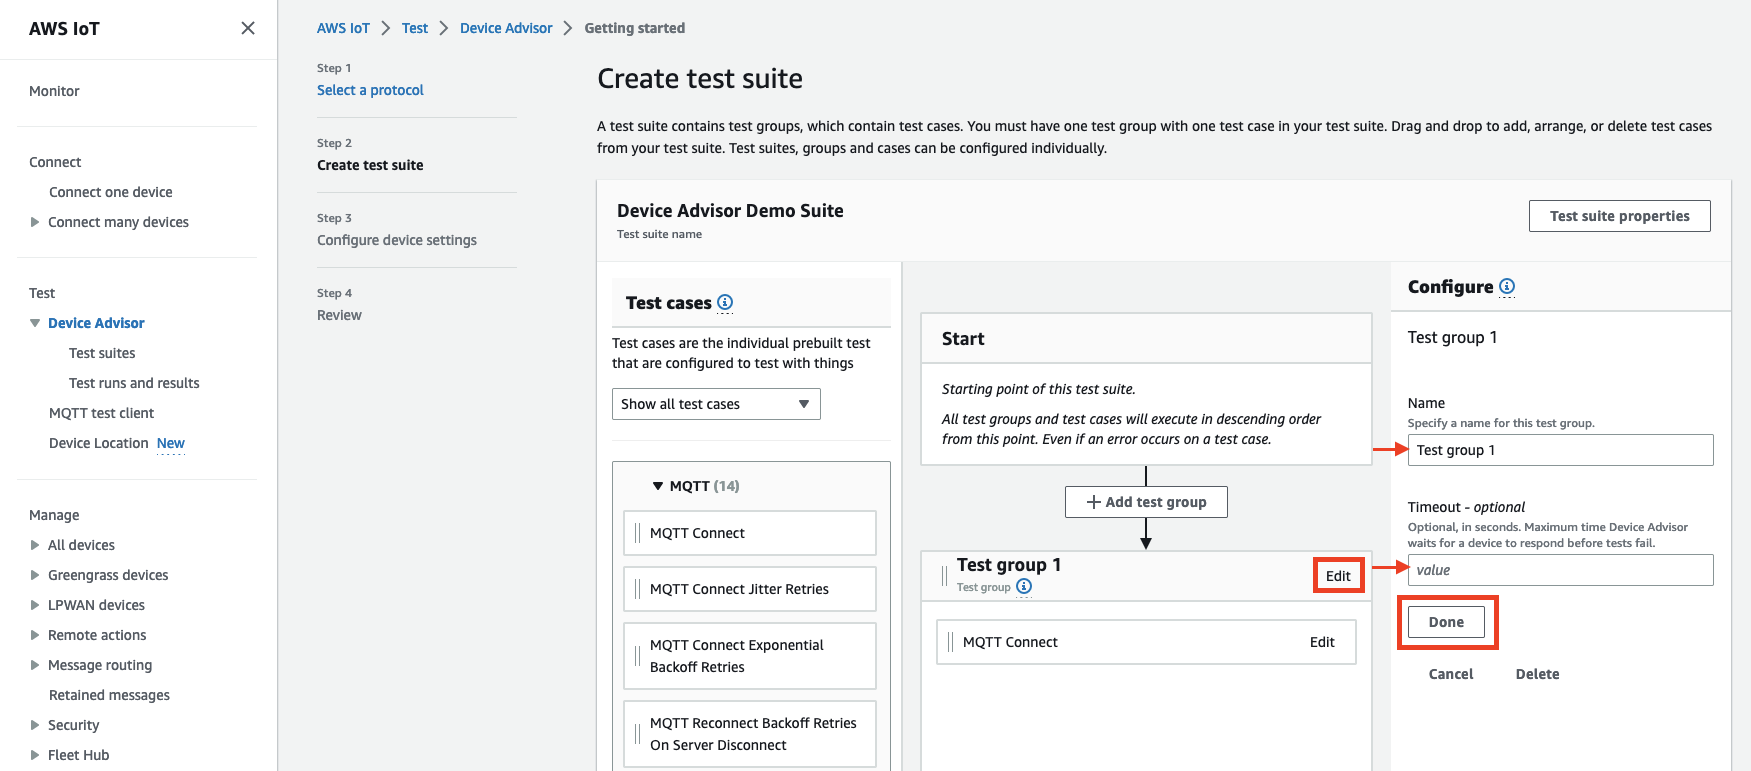
In Step 2, you create and configure a custom test suite. A custom test suite must have at least one test group, and each test group must have at least one test case. We've added the MQTT Connect test case for you to get started.
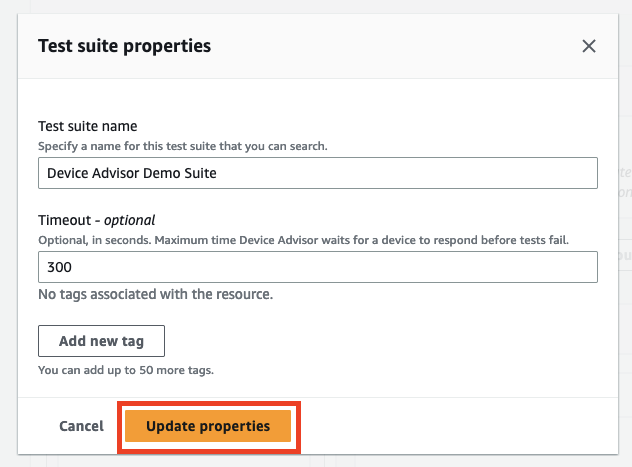
Choose Test suite properties.
Supply the test suite properties when you create your test suite. You can configure the following suite-level properties:
-
Test suite name: Enter a name for your test suite.
-
Timeout (optional): The timeout (in seconds) for each test case in the current test suite. If you don't specify a timeout value, the default value is used.
-
Tags (optional): Add tags to the test suite.
When you’ve finished, choose Update properties.
-
-
(Optional) To update the test suite group configuration, choose the Edit button next to the test group name.
-
Name: Enter a custom name for the test suite group.
-
Timeout (optional): The timeout (in seconds) for each test case in the current test suite. If you don't specify a timeout value, the default value is used.
When finished, choose Done to continue.
-
-
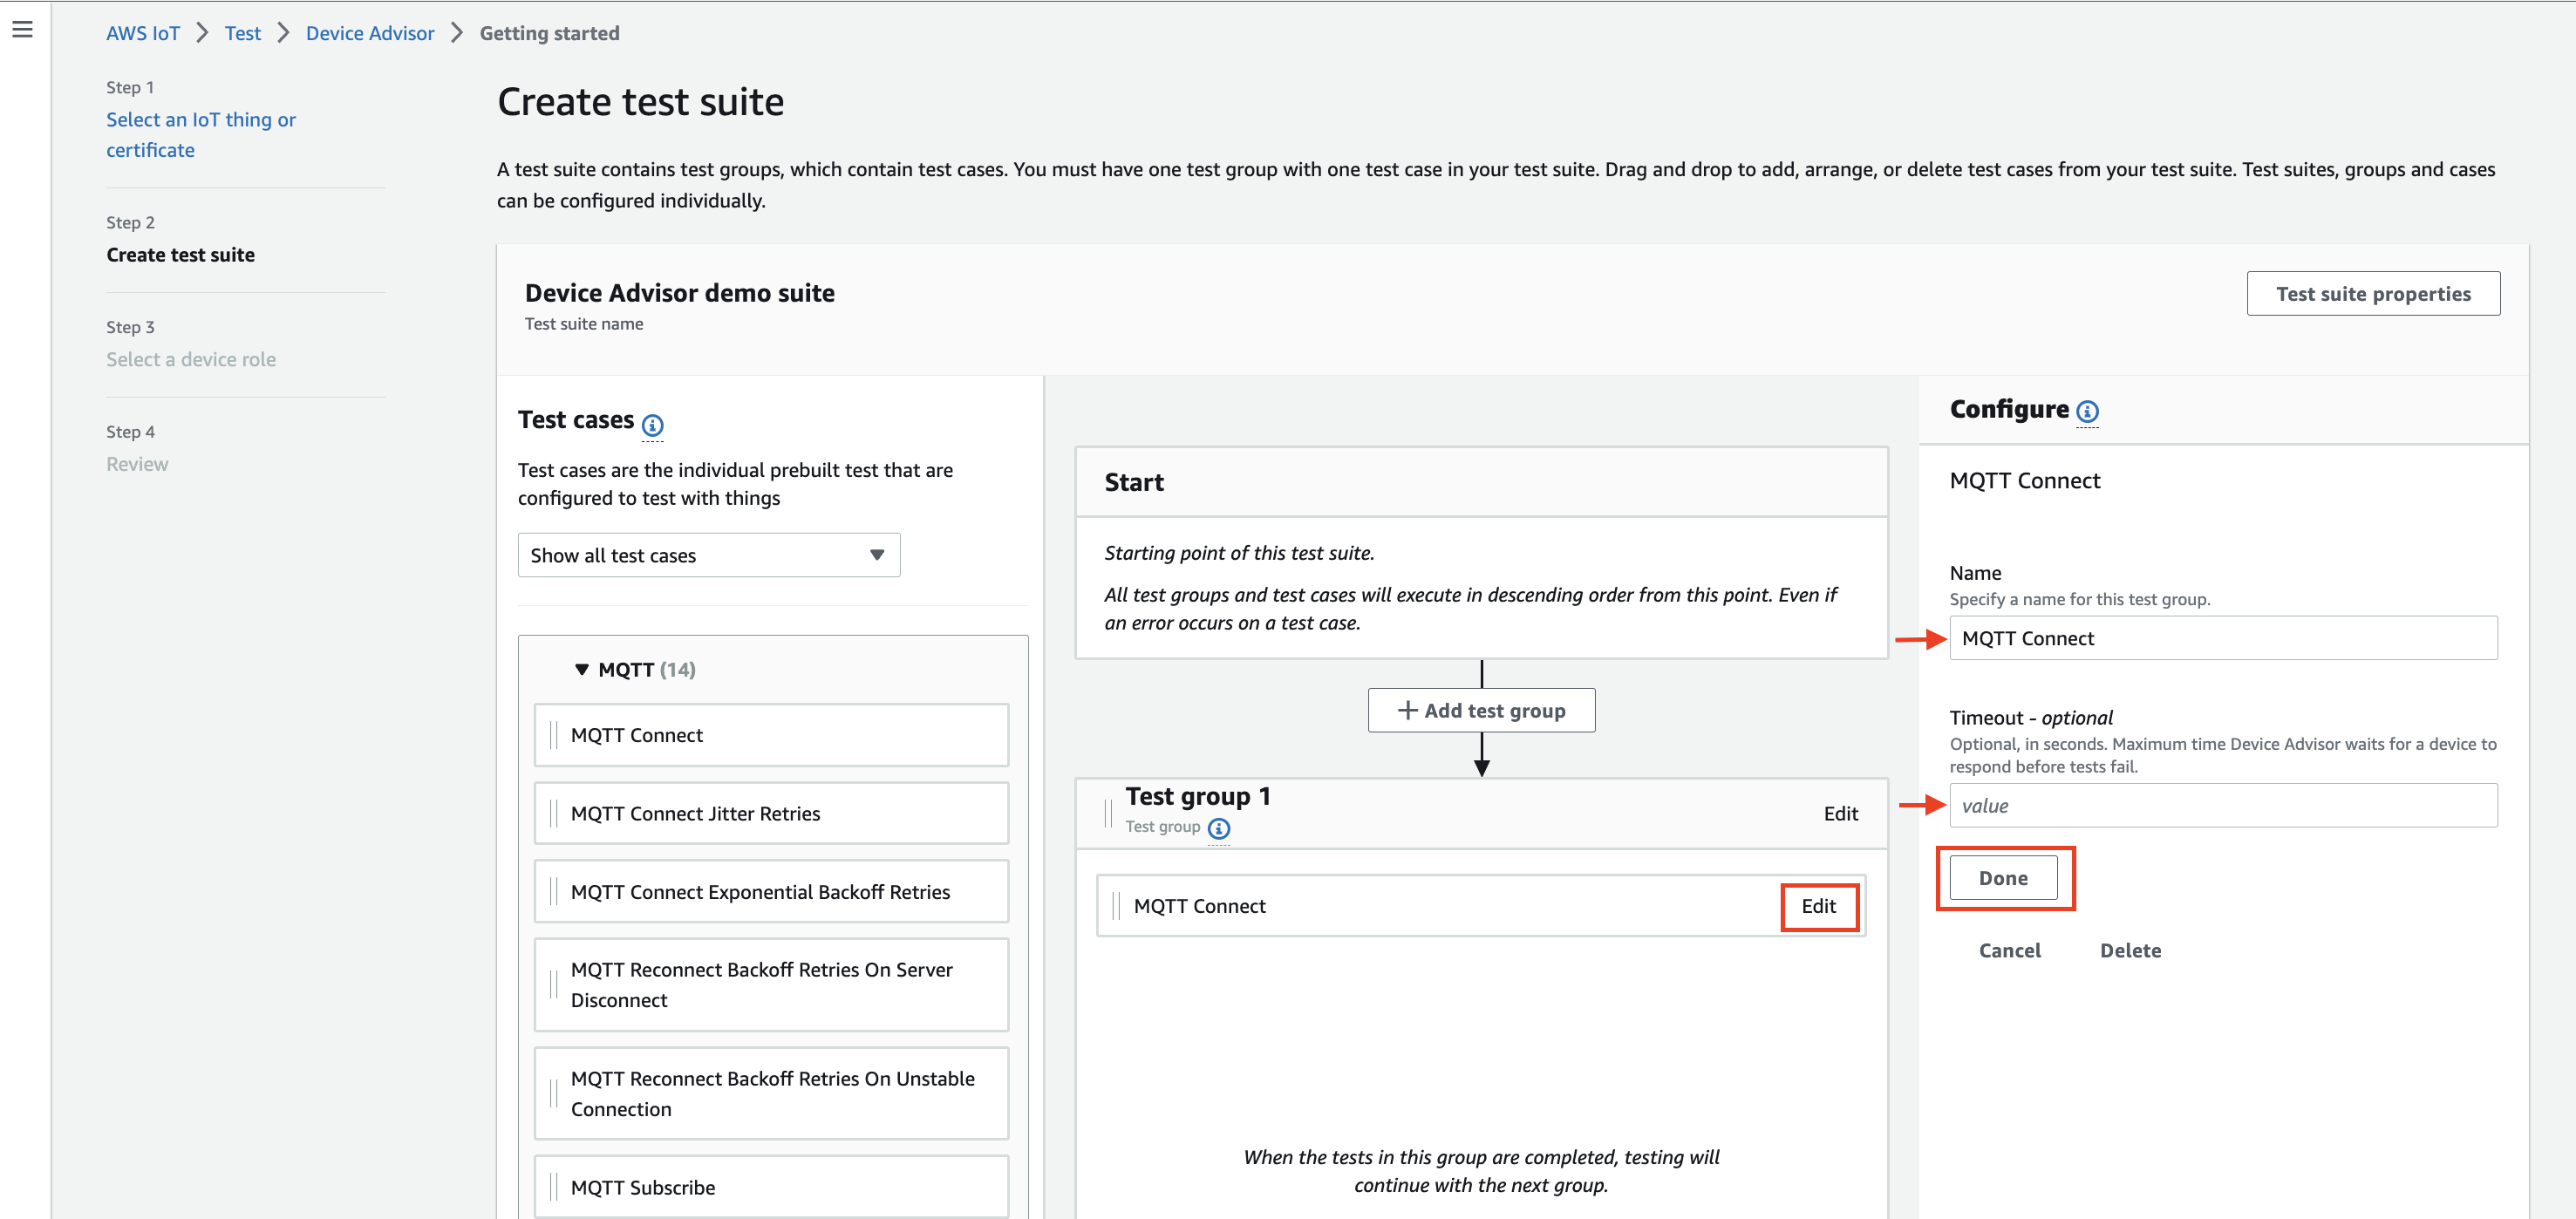
(Optional) To update the test case configuration for a test case, choose the Edit button next to the test case name.
-
Name: Enter a custom name for the test suite group.
-
Timeout (optional): The timeout (in seconds) for the selected test case. If you don't specify a timeout value, the default value is used.
When finished, choose Done to continue.
-
-
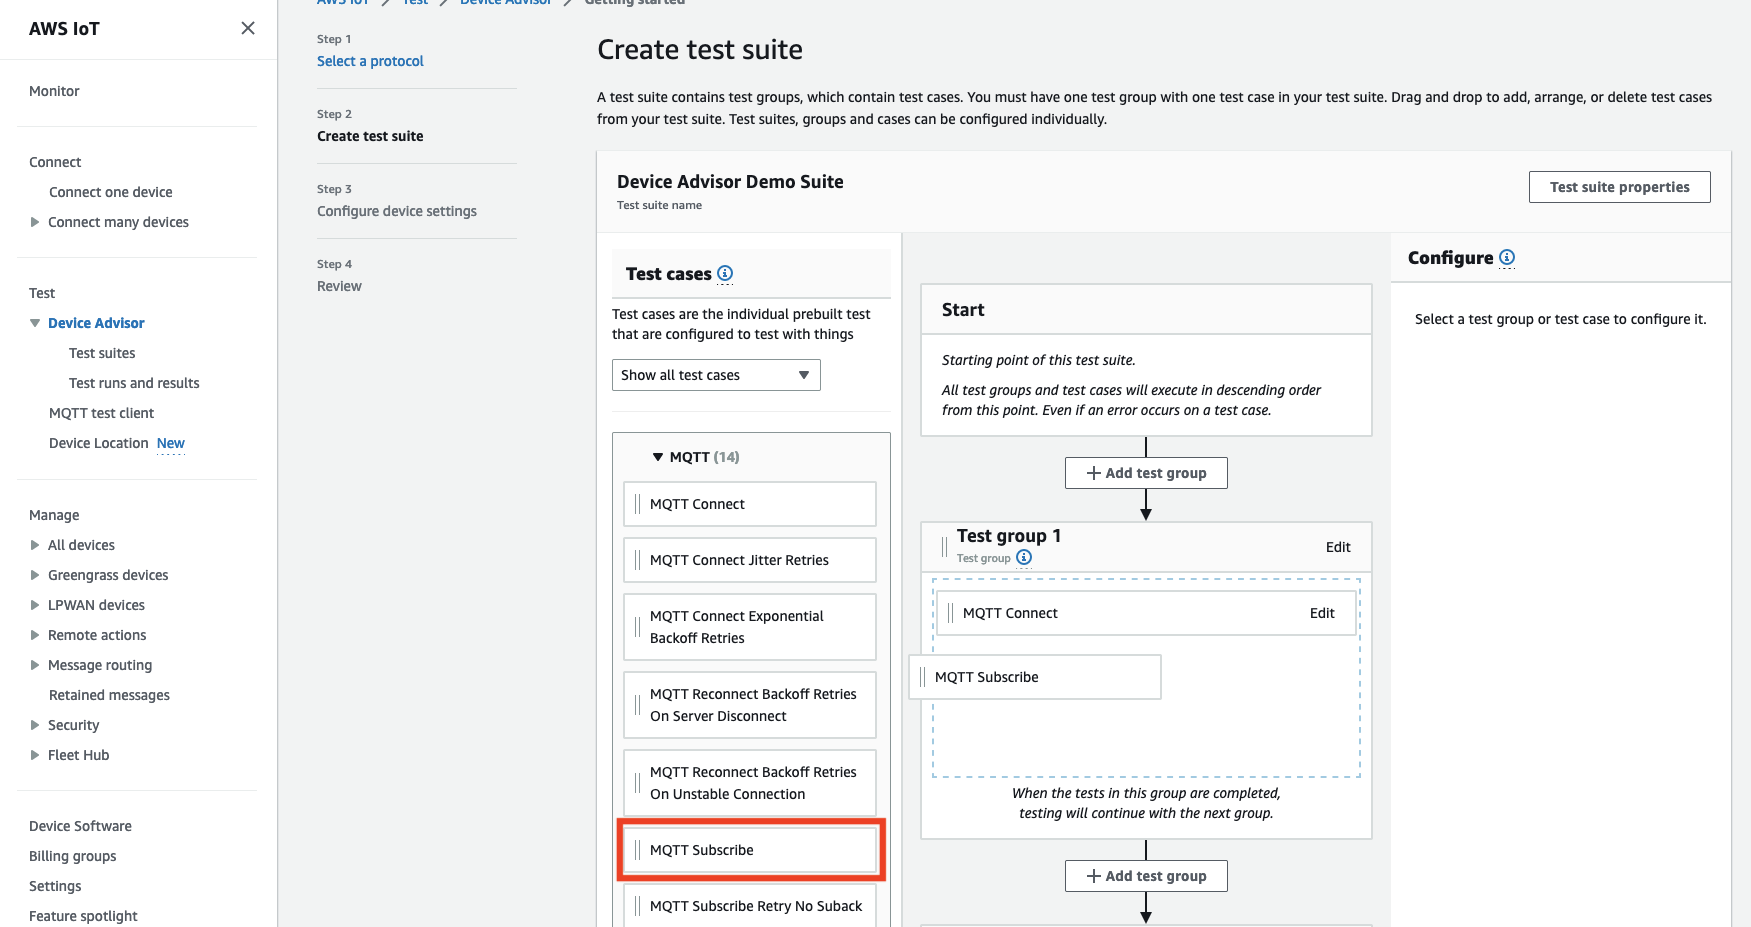
(Optional) To add more test groups to the test suite, choose Add test group, then follow the instructions in Step 5.
-
(Optional) To add more test cases, drag the test cases in the Test cases section into any of your test groups.
-
You can change the order of your test groups and test cases. To make changes, drag the listed test cases up or down the list. Device Advisor runs tests in the order you listed them in.
After you've configured your test suite, choose Next.
-
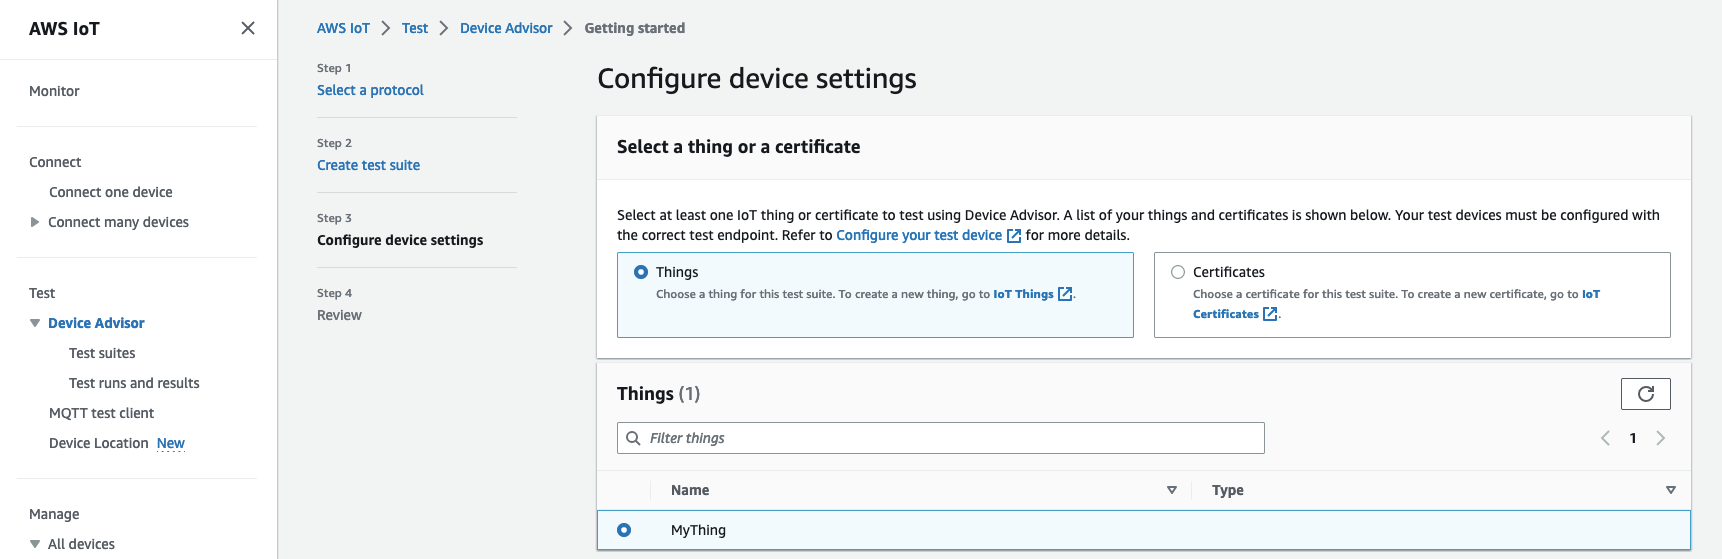
In Step 3, select an AWS IoT thing or certificate to test using Device Advisor. If you don't have any existing things or certificates, see Setting up.
-
You can configure a device role that Device Advisor uses to perform AWS IoT MQTT actions on behalf of your test device. For MQTT Connect test case only, the Connect action is selected automatically. This is because the device role requires this permission to run the test suite. For other test cases, the corresponding actions are selected.
Provide the resource values for each of the selected actions. For example, for the Connect action, provide the client ID your device uses to connect to the Device Advisor endpoint. You can provide multiple values with comma seperated values, and prefix values with a wildcard (*) character. For example, to provide permission to publish on any topic beginning with
MyTopic, enterMyTopic*as the resource value.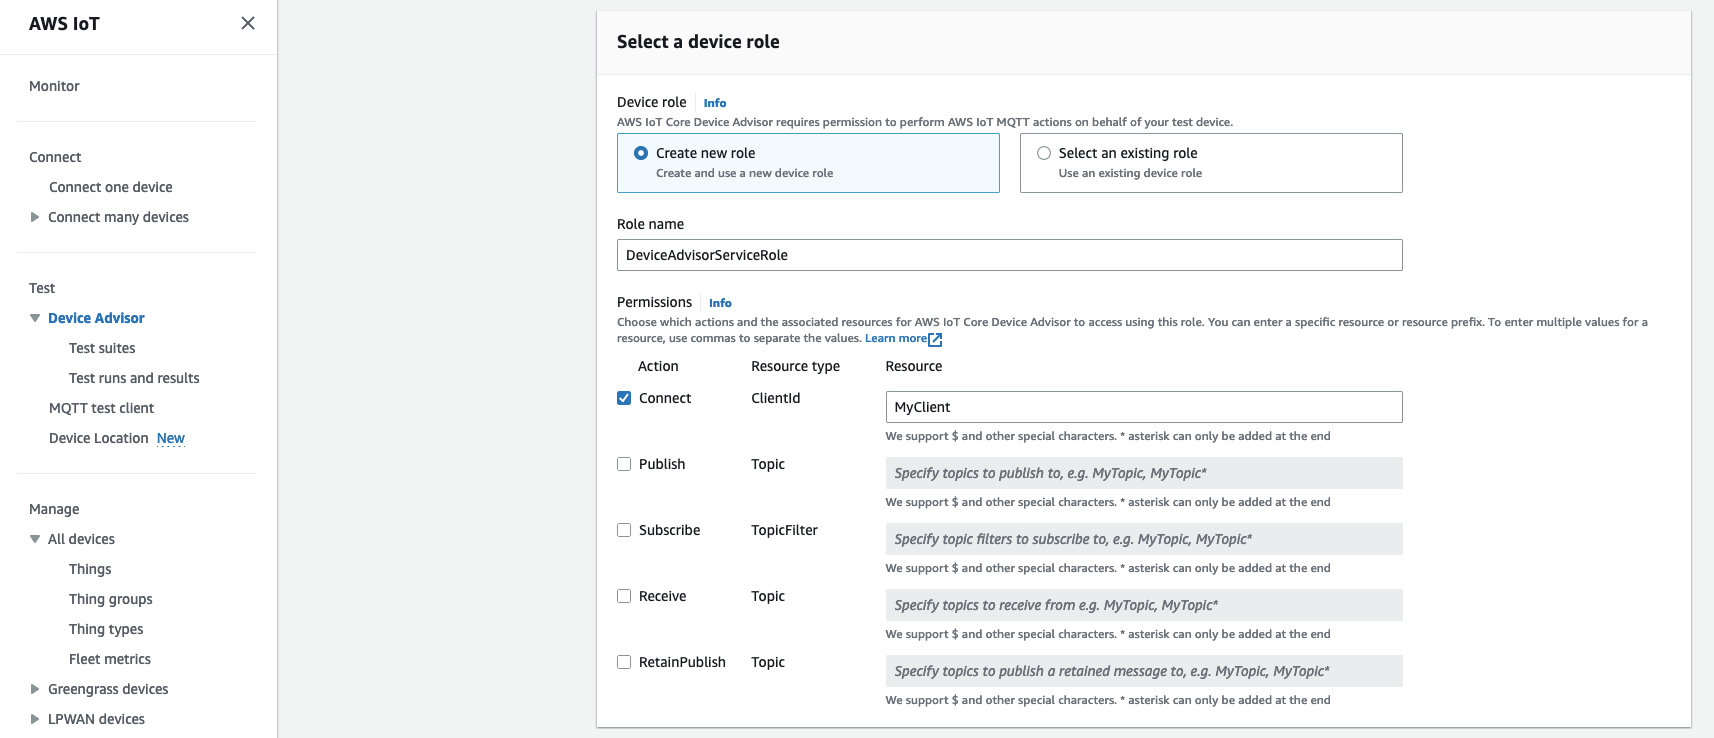
To use a previously created device role from Setting up, choose Select an existing role. Then choose your device role under Select role.

Configure your device role with one of the two provided options, and then choose Next.
-
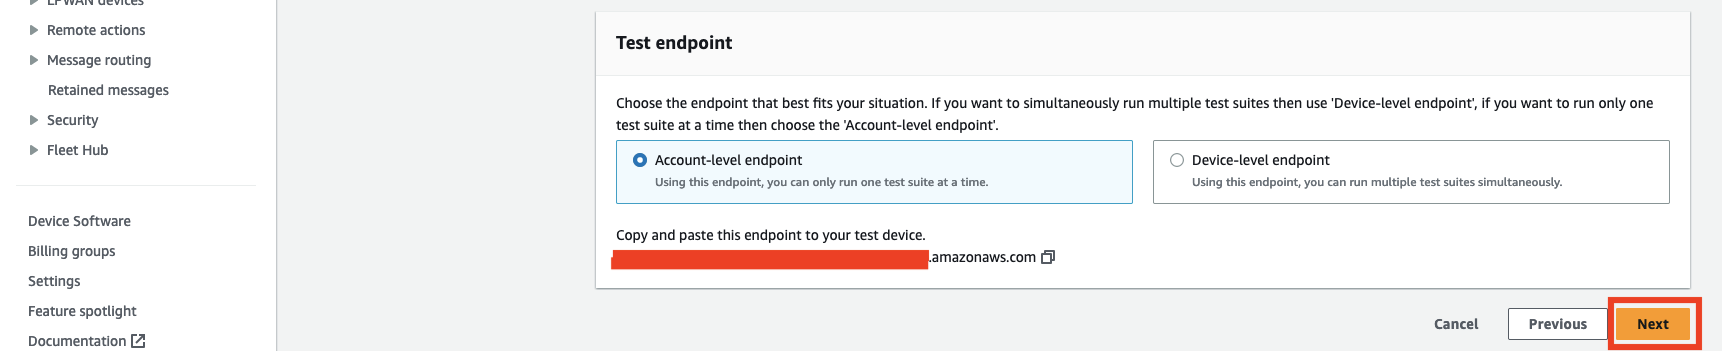
In the Test endpoint section, select the endpoint that best fits your use case. To run multiple test suites simultaneously with the same AWS account, select Device-level endpoint. To run one test suite at a time, select Account-level endpoint.
-
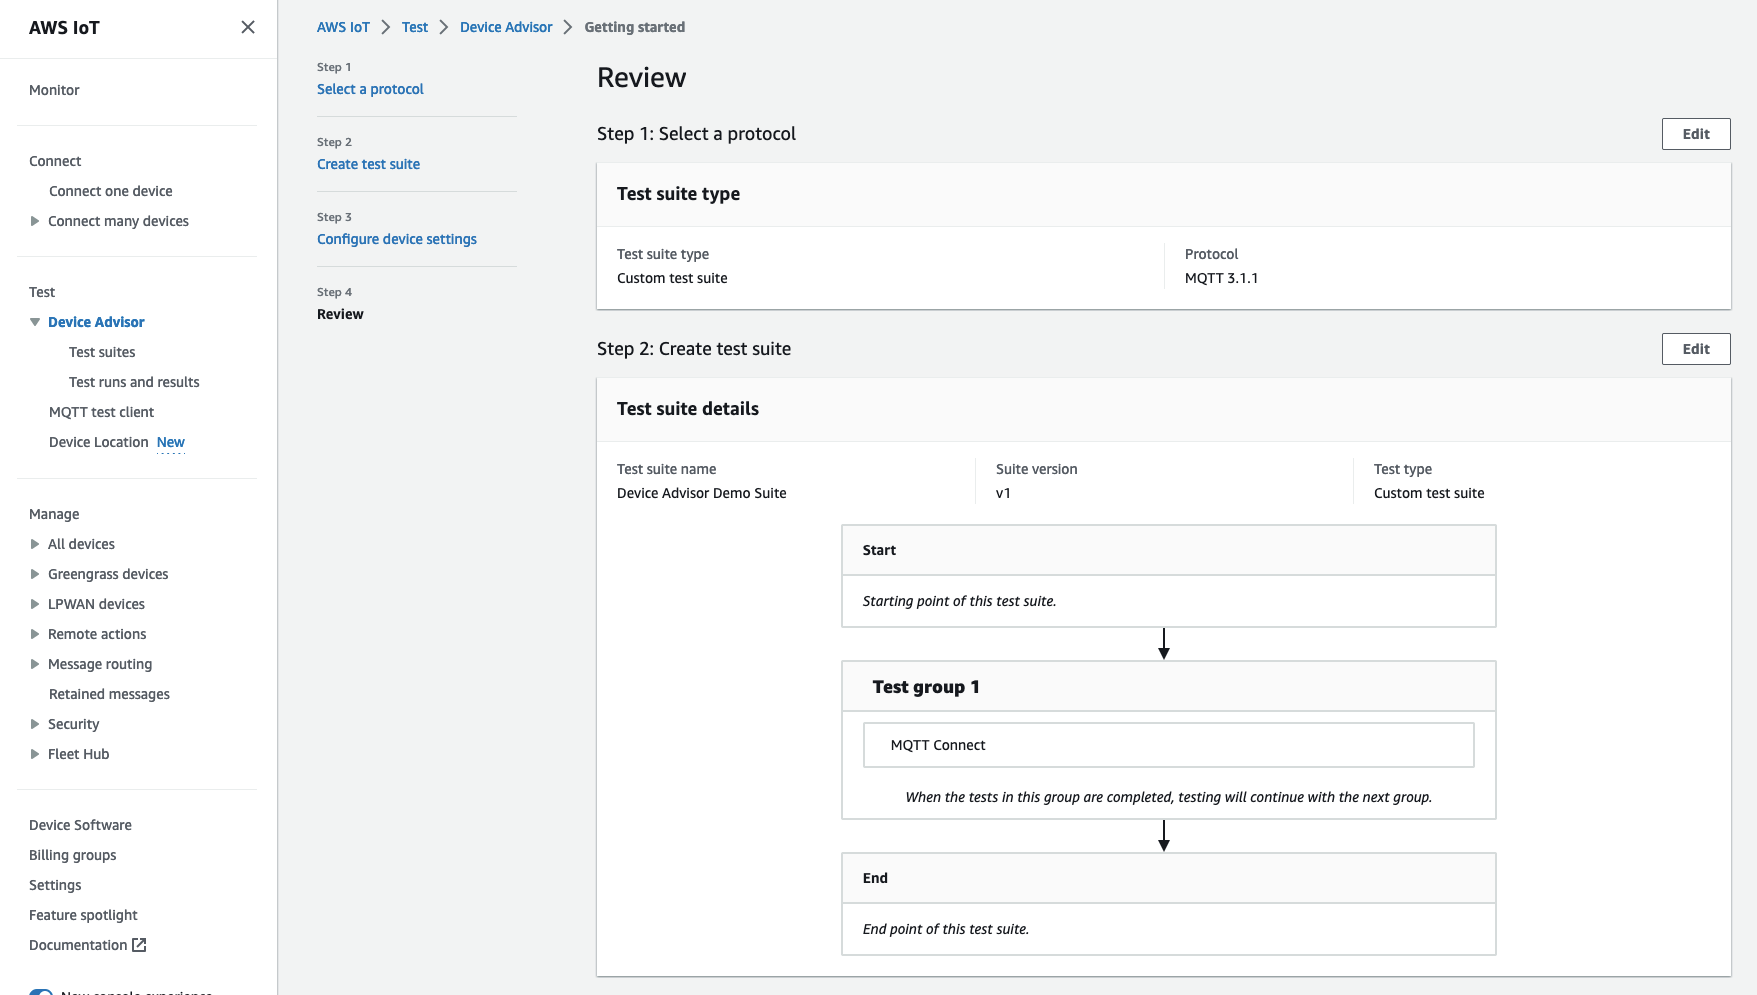
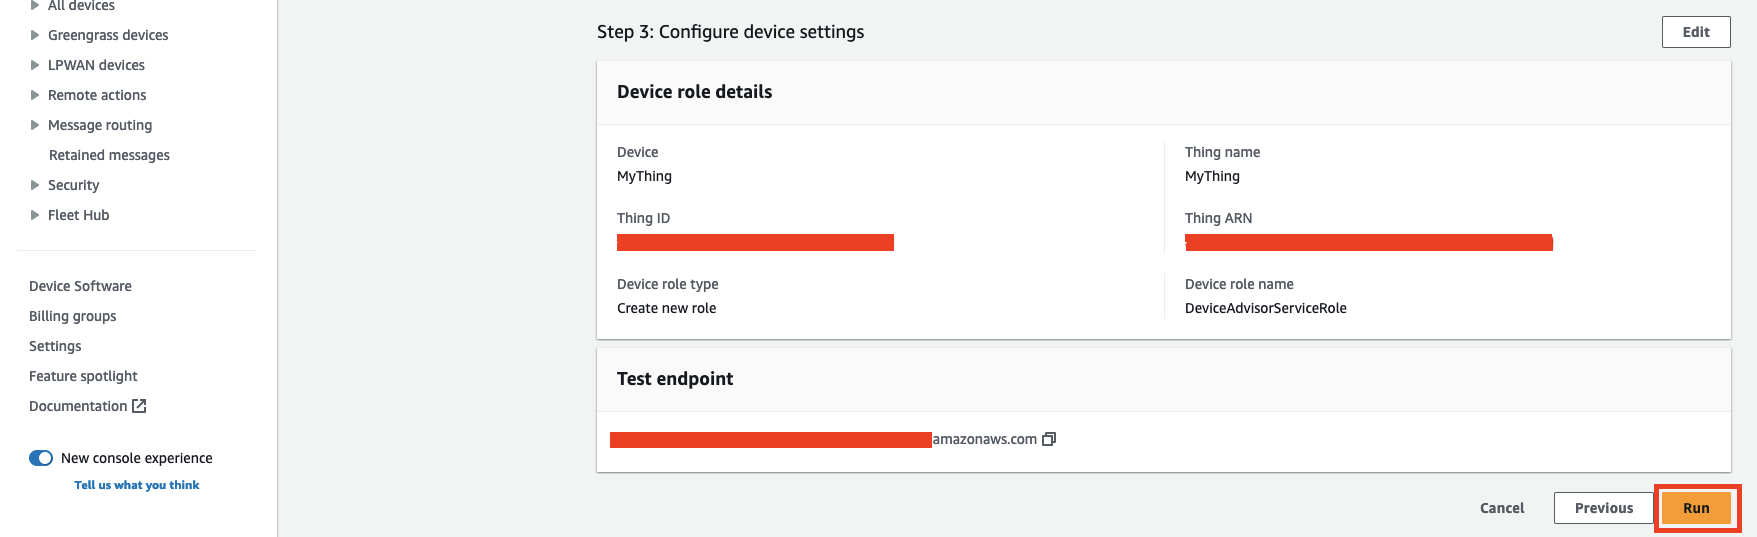
Step 4 shows an overview of the selected test device, test endpoint, test suite, and test device role configured. To make changes to a section, choose the Edit button for the section you want to edit. Once you've confirmed your test configuration, choose Run to create the test suite and run your tests.
Note
For best results, you can connect your selected test device to the Device Advisor test endpoint before you start the test suite run. We recommend that you have a mechanism built for your device to try connecting to our test endpoint every five seconds for up to one to two minutes.
-
In the navigation pane under Test, choose Device Advisor, and then choose Test runs and results. Select a test suite run to view its run details and logs.
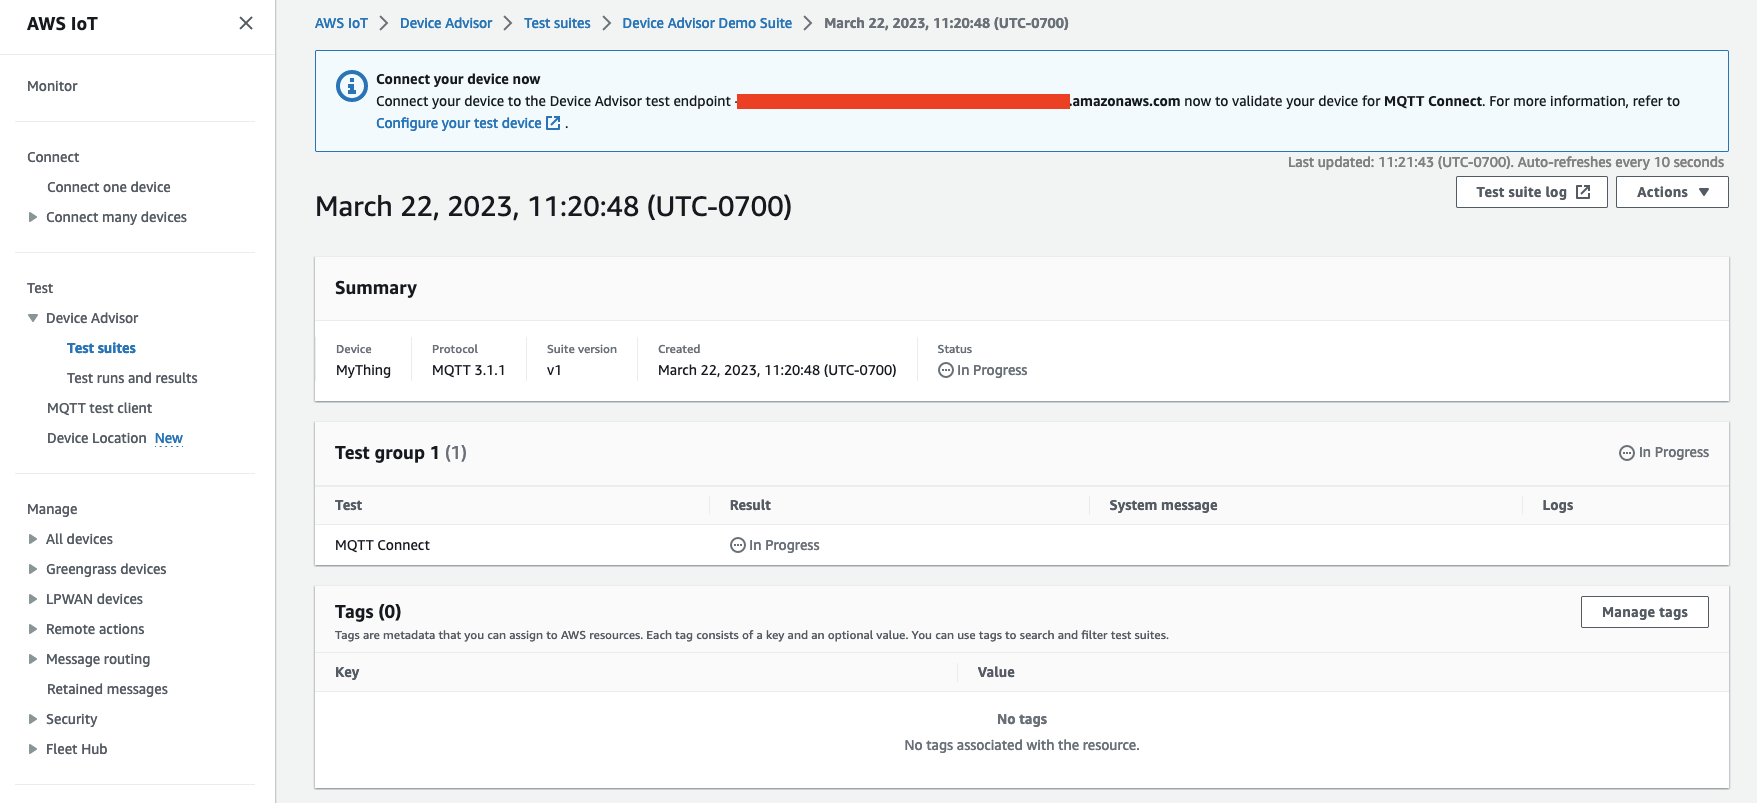
-
To access the Amazon CloudWatch logs for the suite run:
-
Choose Test suite log to view the CloudWatch logs for the test suite run.
-
Choose Test case log for any test case to view test case-specific CloudWatch logs.
-
-
Based on your test results, troubleshoot your device until all tests pass.
