Open a tunnel and use browser-based SSH to access remote device
You can use the quick setup or the manual setup method for creating a tunnel. This tutorial shows how to open a tunnel using the quick setup method and use the browser-based SSH to connect to the remote device. For an example that shows how to open a tunnel using the manual setup method, see Open a tunnel using manual setup and connect to remote device.
Using the quick setup method, you can create a new tunnel with default configurations that can be edited. A web-based local proxy is configured for you and the access token is automatically delivered to your remote destination device using MQTT. After creating a tunnel, you can start interacting with your remote device using a command line interface within the console.
With the quick setup method, you must use SSH as the destination service to access the remote device. For more information about the different setup methods, see Tunnel setup methods.
Prerequisites for quick setup method
-
The firewalls that the remote device is behind must allow outbound traffic on port 443. The tunnel that you create will use this port to connect to the remote device.
-
You have an IoT device agent (see IoT agent snippet) running on the remote device that connects to the AWS IoT device gateway and is configured with an MQTT topic subscription. For more information, see connect a device to the AWS IoT device gateway.
-
You must have an SSH daemon running on the remote device.
Open a tunnel
You can open a secure tunnel using the AWS Management Console, the AWS IoT API Reference, or the AWS CLI. You can optionally configure a destination name but it's not required for this tutorial. If you configure the destination, secure tunneling will automatically deliver the access token to the remote device using MQTT. For more information, see Tunnel creation methods in AWS IoT console.
To open a tunnel using the console
Go to the Tunnels hub of the AWS IoT console
and choose Create tunnel. 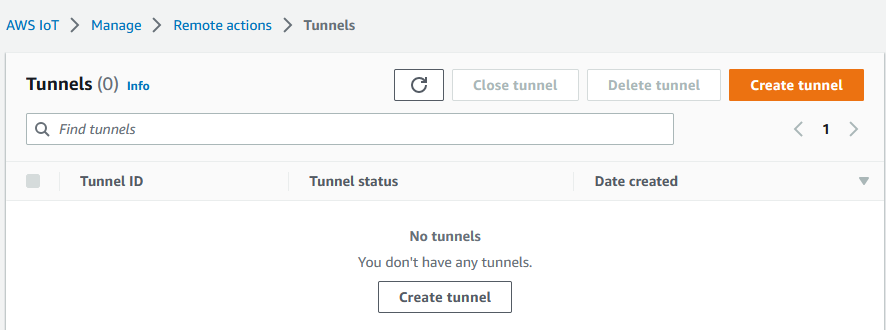
-
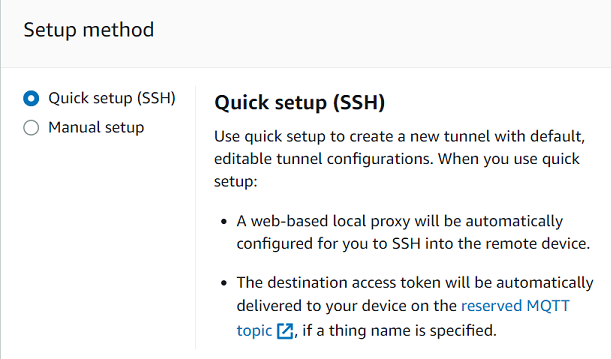
For this tutorial, choose Quick setup as the tunnel creation method and then choose Next.
Note
If you create a secure tunnel from the details page of a thing you created, you can choose whether to create a new tunnel or use an existing one. For more information, see Open a tunnel for remote device and use browser-based SSH.
-
Review and confirm the tunnel configuration details. To create a tunnel, choose Confirm and create. If you want to edit these details, choose Previous to go back to the previous page and then confirm and create the tunnel.
Note
When using quick setup, the service name can't be edited. You must use SSH as the Service.
-
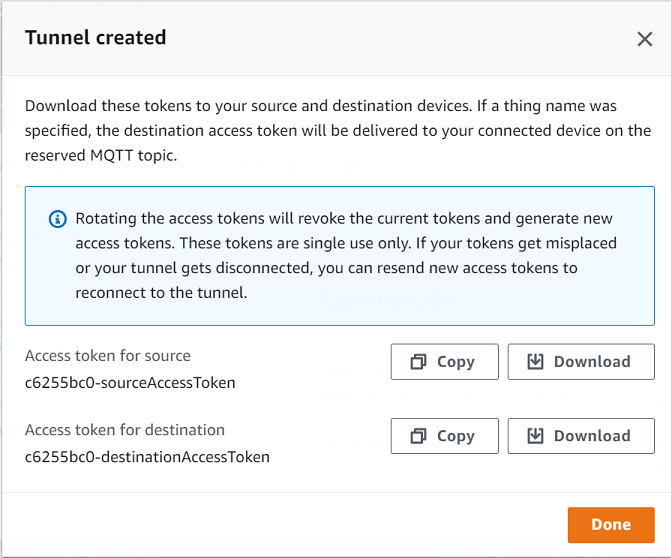
To create the tunnel, choose Done.
For this tutorial, you don't have to download the source or destination access tokens. These tokens can only be used once to connect to the tunnel. If your tunnel gets disconnected, you can generate and send new tokens to your remote device for reconnecting to the tunnel. For more information, see Resend tunnel access tokens.
To open a tunnel using the API
To open a new tunnel, you can use the OpenTunnel API operation.
Note
You can create a tunnel using the quick setup method only from the AWS IoT console. When you use the AWS IoT API Reference API or the AWS CLI, it will use the manual setup method. You can open the existing tunnel that you created and then change the setup method of the tunnel to use the quick setup. For more information, see Open an existing tunnel and use browser-based SSH.
The following shows an example of how to run this API operation. Optionally, if
you want to specify the thing name and the destination service, use the
DestinationConfig parameter. For an example that shows how to
use this parameter, see Open a new tunnel for the remote device.
aws iotsecuretunneling open-tunnel
Running this command creates a new tunnel and provides you the source and destination access tokens.
{
    "tunnelId": "01234567-89ab-0123-4c56-789a01234bcd",
    "tunnelArn": "arn:aws:iot:us-east-1:123456789012:tunnel/01234567-89ab-0123-4c56-789a01234bcd",
    "sourceAccessToken": "<SOURCE_ACCESS_TOKEN>",
    "destinationAccessToken": "<DESTINATION_ACCESS_TOKEN>"
}
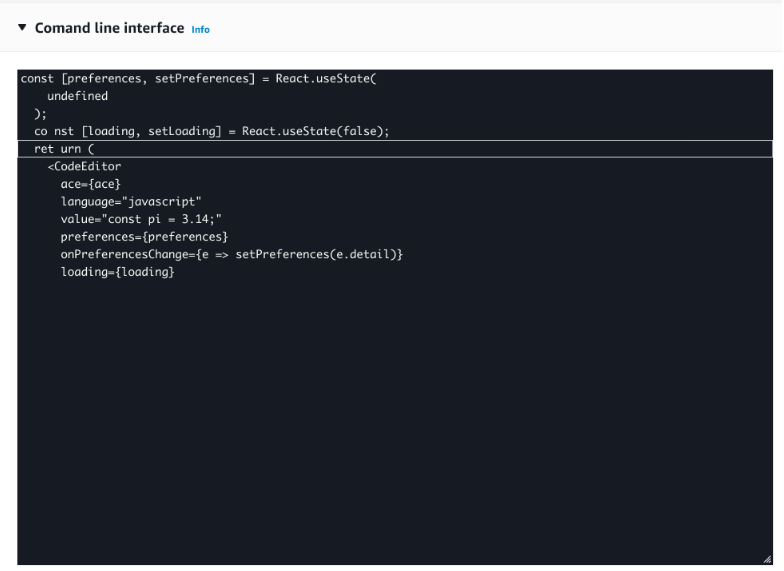
Using the browser-based SSH
After you create a tunnel using the quick setup method, and your destination device has connected to the tunnel, you can access the remote device using a browser-based SSH. Using the browser-based SSH, you can directly communicate with the remote device by entering commands into an in-context command line interface within the console. This feature makes it easier for you to interact with the remote device because you don't have to open a terminal outside the console or configure the local proxy.
To use the browser-based SSH
Go to the Tunnels hub of the AWS IoT console
and choose the tunnel that you created to view its details. Expand the Secure Shell (SSH) section and then choose Connect.
-
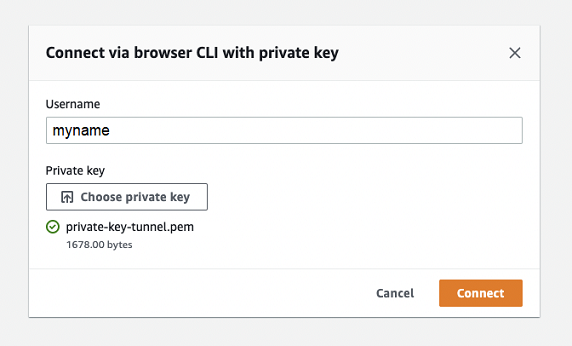
Choose whether you want to authenticate into the SSH connection by providing your username and password, or, for more secure authentication, you can use your device's private key. If you're authenticating using the private key, note that only PEM formatted (256 and 512) RSA keys work with AWS IoT Secure Tunneling SSH console.
-
To connect using your username and password, choose Use password. You can then enter your username and password and start using the in-browser CLI.
-
To connect using your destination device's private key, choose Use private key. Specify your username and upload the device's private key file, and then choose Connect to start using the in-browser CLI.
-
After you've authenticated into the SSH connection, you can quickly get started with entering commands and interact with the device using the browser CLI, as the local proxy has already been configured for you.
If the browser CLI stays open after the tunnel duration, it might time out, causing the command line interface to get disconnected. You can duplicate the tunnel and start another session to interact with the remote device within the console itself.
Troubleshooting issues when using the browser-based SSH
The following shows how to troubleshoot some issues that you might run into when using the browser-based SSH.
-
You see an error instead of the command line interface
You might be seeing the error because your destination device got disconnected. You can choose Generate new access tokens to generate new access tokens and send the tokens to your remote device using MQTT. The new tokens can be used to reconnect to the tunnel. Reconnecting to the tunnel clears the history and refreshes the command line session.
-
You see a tunnel disconnected error when authenticating using private key
You might be seeing the error because your private key might not have been accepted by the destination device. To troubleshoot this error, check the private key file that you uploaded for authentication. If you still see an error, check your device logs. You can also try reconnecting to the tunnel by sending new access tokens to your remote device.
-
Your tunnel was closed when using the session
If your tunnel was closed because it stayed open for more than the specified duration, your command line session might get disconnected. A tunnel cannot be reopened once closed. To reconnect, you must open another tunnel to the device.
You can duplicate a tunnel to create a new tunnel with the same configurations as the closed tunnel. You can duplicate a closed tunnel from the AWS IoT console. To duplicate the tunnel, choose the tunnel that was closed to view its details, and then choose Duplicate tunnel. Specify the tunnel duration that you want to use and then create the new tunnel.
Cleaning up
-
Close tunnel
We recommend that you close the tunnel after you've finished using it. A tunnel can also become closed if it stayed open for longer than the specified tunnel duration. A tunnel cannot be reopened once closed. You can still duplicate a tunnel by choosing the closed tunnel and then choosing Duplicate tunnel. Specify the tunnel duration that you want to use and then create the new tunnel.
-
To close an individual tunnel or multiple tunnels from the AWS IoT console, go to the Tunnels hub
, choose the tunnels that you want to close, and then choose Close tunnel. -
To close an individual tunnel or multiple tunnels using the AWS IoT API Reference API, use the CloseTunnel API.
aws iotsecuretunneling close-tunnel \
    --tunnel-id "01234567-89ab-0123-4c56-789a01234bcd"
-
-
Delete tunnel
You can delete a tunnel permanently from your AWS account.
Warning
Deletion actions are permanent and can't be undone.
-
To delete an individual tunnel or multiple tunnels from the AWS IoT console, go to the Tunnels hub
, choose the tunnels that you want to delete, and then choose Delete tunnel. -
To delete an individual tunnel or multiple tunnels using the AWS IoT API Reference API, use the CloseTunnel API. When using the API, set the
deleteflag totrue.aws iotsecuretunneling close-tunnel \ --tunnel-id "01234567-89ab-0123-4c56-789a01234bcd" --delete true
-
