View MQTT messages with the AWS IoT MQTT client
This section describes how to use the AWS IoT MQTT test client in the AWS IoT consoletopicName used in the examples with any topic name or topic filter used by your IoT solution.
Devices publish MQTT messages that are identified by topics to communicate their state to AWS IoT, and AWS IoT publishes MQTT messages to inform the devices and apps of changes and events. You can use the MQTT client to subscribe to these topics and watch the messages as they occur. You can also use the MQTT test client to publish MQTT messages to subscribed devices and services in your AWS account.
Contents
Viewing MQTT messages in the MQTT client
The following procedure explains how to subscribe to a specific MQTT topic that
your device publishes messages to and view those messages in the AWS IoT console
To view MQTT messages in the MQTT test client
-
In the AWS IoT console
, in the left menu, choose Test and then choose MQTT test client. 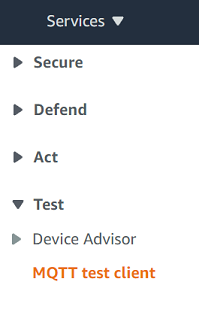
-
In the Subscribe to a topic tab, enter the
topicNameto subscribe to the topic on which your device publishes. For the getting started sample app, subscribe to#, which subscribes to all message topics.Continuing with the getting started example, on the Subscribe to a topic tab, in the Topic filter field, enter
#, and then choose Subscribe.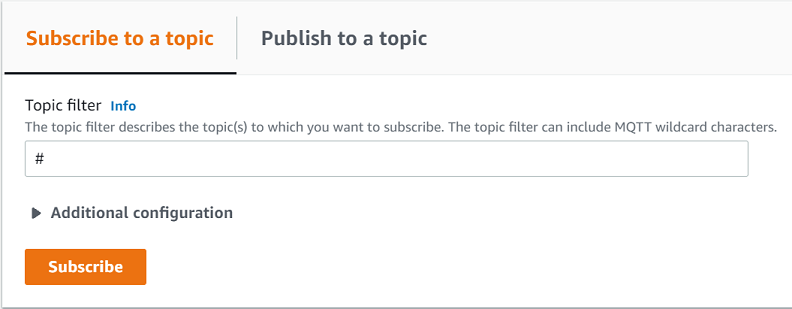
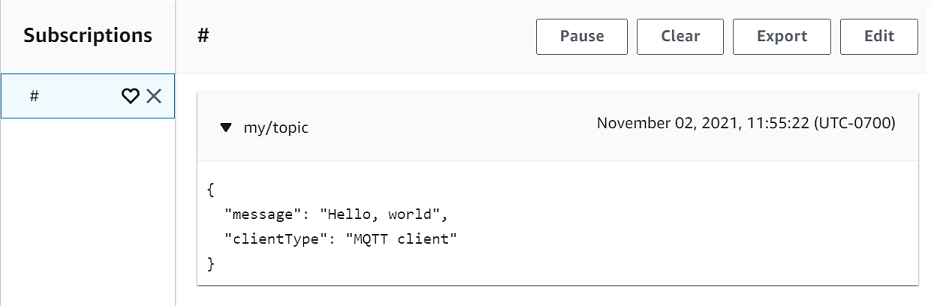
The topic message log page, # opens and
#appears in the Subscriptions list. If the device that you configured in Configure your device is running the example program, you should see the messages it sends to AWS IoT in the # message log. The message log entries will appear below the Publish section when messages with the subscribed topic are received by AWS IoT.
-
On the # message log page, you can also publish messages to a topic, but you'll need to specify the topic name. You cannot publish to the # topic.
Messages published to subscribed topics appear in the message log as they are received, with the most recent message first.
Troubleshooting MQTT messages
Use the wild card topic filter
If your messages are not showing up in the message log as you expect, try
subscribing to a wild card topic filter as described in Topic name filters. The MQTT
multi-level wild card topic filter is the hash or pound sign
( # ) and can be used as the topic filter in the
Subscription topic field.
Subscribing to the # topic filter subscribes to every topic
received by the message broker. You can narrow the filter down by replacing
elements of the topic filter path with a # multi-level wild card
character or the '+' single-level wild-card character.
When using wild cards in a topic filter
-
The multi-level wild card character must be the last character in the topic filter.
-
The topic filter path can have only one single-level wild card character per topic level.
For example:
|
Topic filter |
Displays messages with |
|---|---|
|
|
Any topic name |
|
|
A topic name that starts with
|
|
|
A topic name that starts with
|
|
|
A topic name that starts with |
For more information on topic filters, see Topic name filters.
Check for topic name errors
MQTT topic names and topic filters are case sensitive. If, for example,
your device is publishing messages to Topic_1 (with a capital
T) instead of topic_1, the topic to
which you subscribed, its messages would not appear in the MQTT test client.
Subscribing to the wild card topic filter, however would show that the
device is publishing messages and you could see that it was using a topic
name that was not the one you expected.
Publishing MQTT messages from the MQTT client
To publish a message to an MQTT topic
-
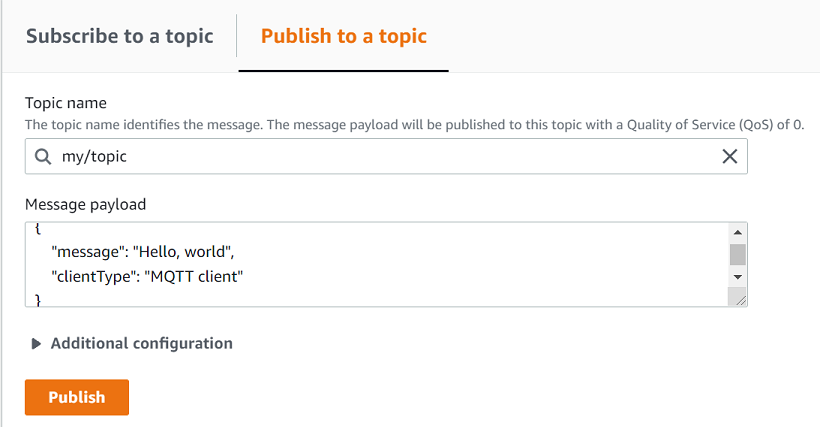
On the MQTT test client page, in the Publish to a topic tab, in the Topic name field, enter the
topicNameof your message. In this example, usemy/topic.Note
Do not use personally identifiable information in topic names, whether using them in the MQTT test client or in your system implementation. Topic names can appear in unencrypted communications and reports.
-
In the message payload window, enter the following JSON:
{ "message": "Hello, world", "clientType": "MQTT test client" } -
Choose Publish to publish your message to AWS IoT.
Note
Make sure you are subscribed to the my/topic topic before publishing your message.
-
In the Subscriptions list, choose my/topic to see the message. You should see the message appear in the MQTT test client below the publish message payload window.
You can publish MQTT messages to other topics by changing the
topicName in the Topic name
field and choosing the Publish button.
Important
When you create multiple subscriptions with overlapping topics (e.g., probe1/temperature and probe1/#), there is a possibility that a single message published to a topic matching both subscriptions will be delivered multiple times, once for each overlapping subscription.
Testing Shared Subscriptions in the MQTT client
This section describes how to use the AWS IoT MQTT client in the AWS IoT console
To share a subscription to an MQTT topic
-
In the AWS IoT console
, in the navigation pane, choose Test and then choose MQTT test client. -
In the Subscribe to a topic tab, enter the
topicNameto subscribe to the topic on which your device publishes. To use Shared Subscriptions, subscribe to a Shared Subscription's topic filter as follows:$share/{ShareName}/{TopicFilter}An example topic filter can be
$share/group1/topic1, which subscribes to the message topictopic1.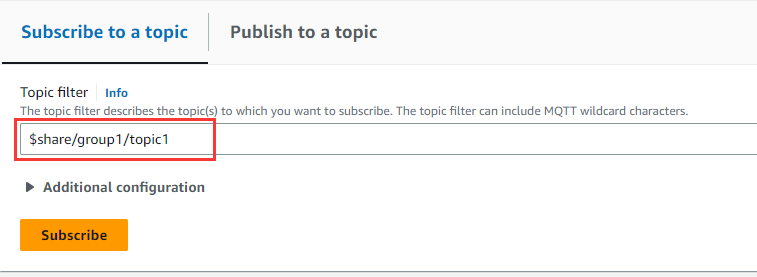
-
Open another web browser and repeat step1 and step2. In this way, you are simulating two different MQTT clients that share the same subscription
$share/group1/topic1. -
Choose one MQTT client, in the Publish to a topic tab, in the Topic name field, enter the
topicNameof your message. In this example, usetopic1. Try publishing the message a few times. From the Subscriptions list of both MQTT clients, you should be able to see that the clients receive the message using a random distribution. In this example, we publish the same message "Hello from AWS IoT console" three times. The MQTT client on the left received the message twice and the MQTT client on the right received the message once.