Batch Upload Files to Amazon S3 Using the AWS CLI
|
AWS experience |
Beginner |
|
Time to complete |
10 minutes |
|
Cost to complete |
Free
Tier |
|
Requires |
|
|
Last updated |
Aug 9, 2022 |
Overview
In this how-to guide, we are going to help you use the AWS Command Line Interface (AWS CLI) to access Amazon Simple Storage Service (Amazon S3). We will do this so you can easily build your own scripts for backing up your files to the cloud and easily retrieve them as needed. This will make automating your backup process faster, more reliable, and more programmatic. You can use this information to build a scheduled task (or cron job) to handle your backup operations.
Note
This guide builds upon the concepts from the Store and Retrieve a File with Amazon S3 how-to guide. If you haven't done that guide yet, you should complete it first.
Implementation
In this step, you will use the IAM service to create a user account with administrative permission. In later steps, you will use this user account to securely access AWS services using the AWS CLI.
-
Sign in to the console
Click on the AWS Management Console home
to open the console in a new browser window, so you can keep this step-by-step guide open. When this screen loads, enter your user name and password to get started. Then type IAM in the search bar and select IAM to open the Identity and Access Management dashboard. 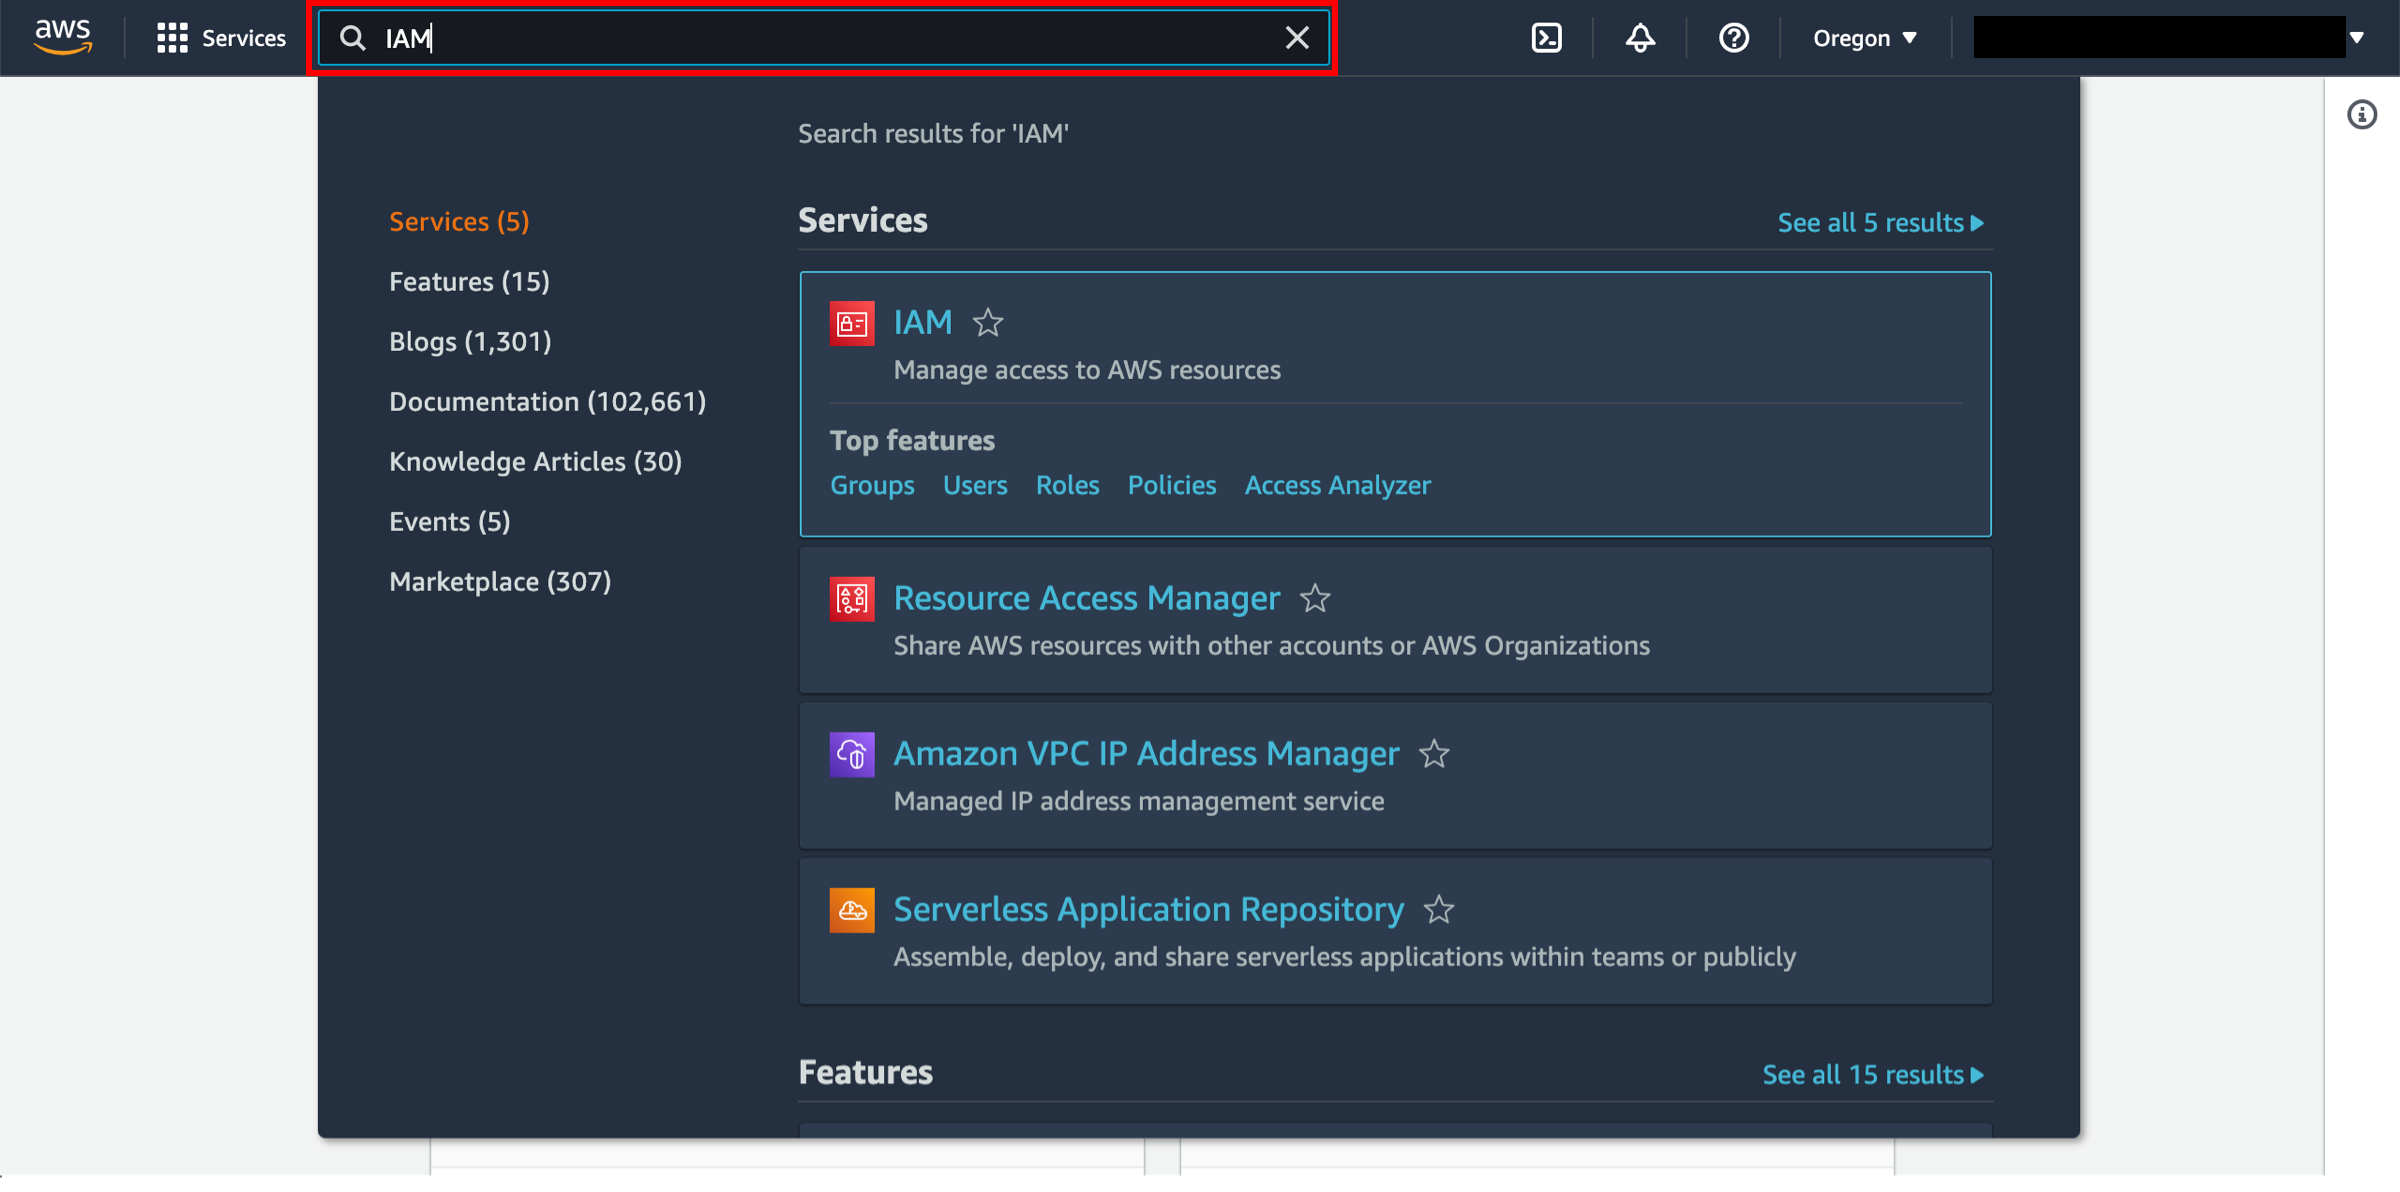
-
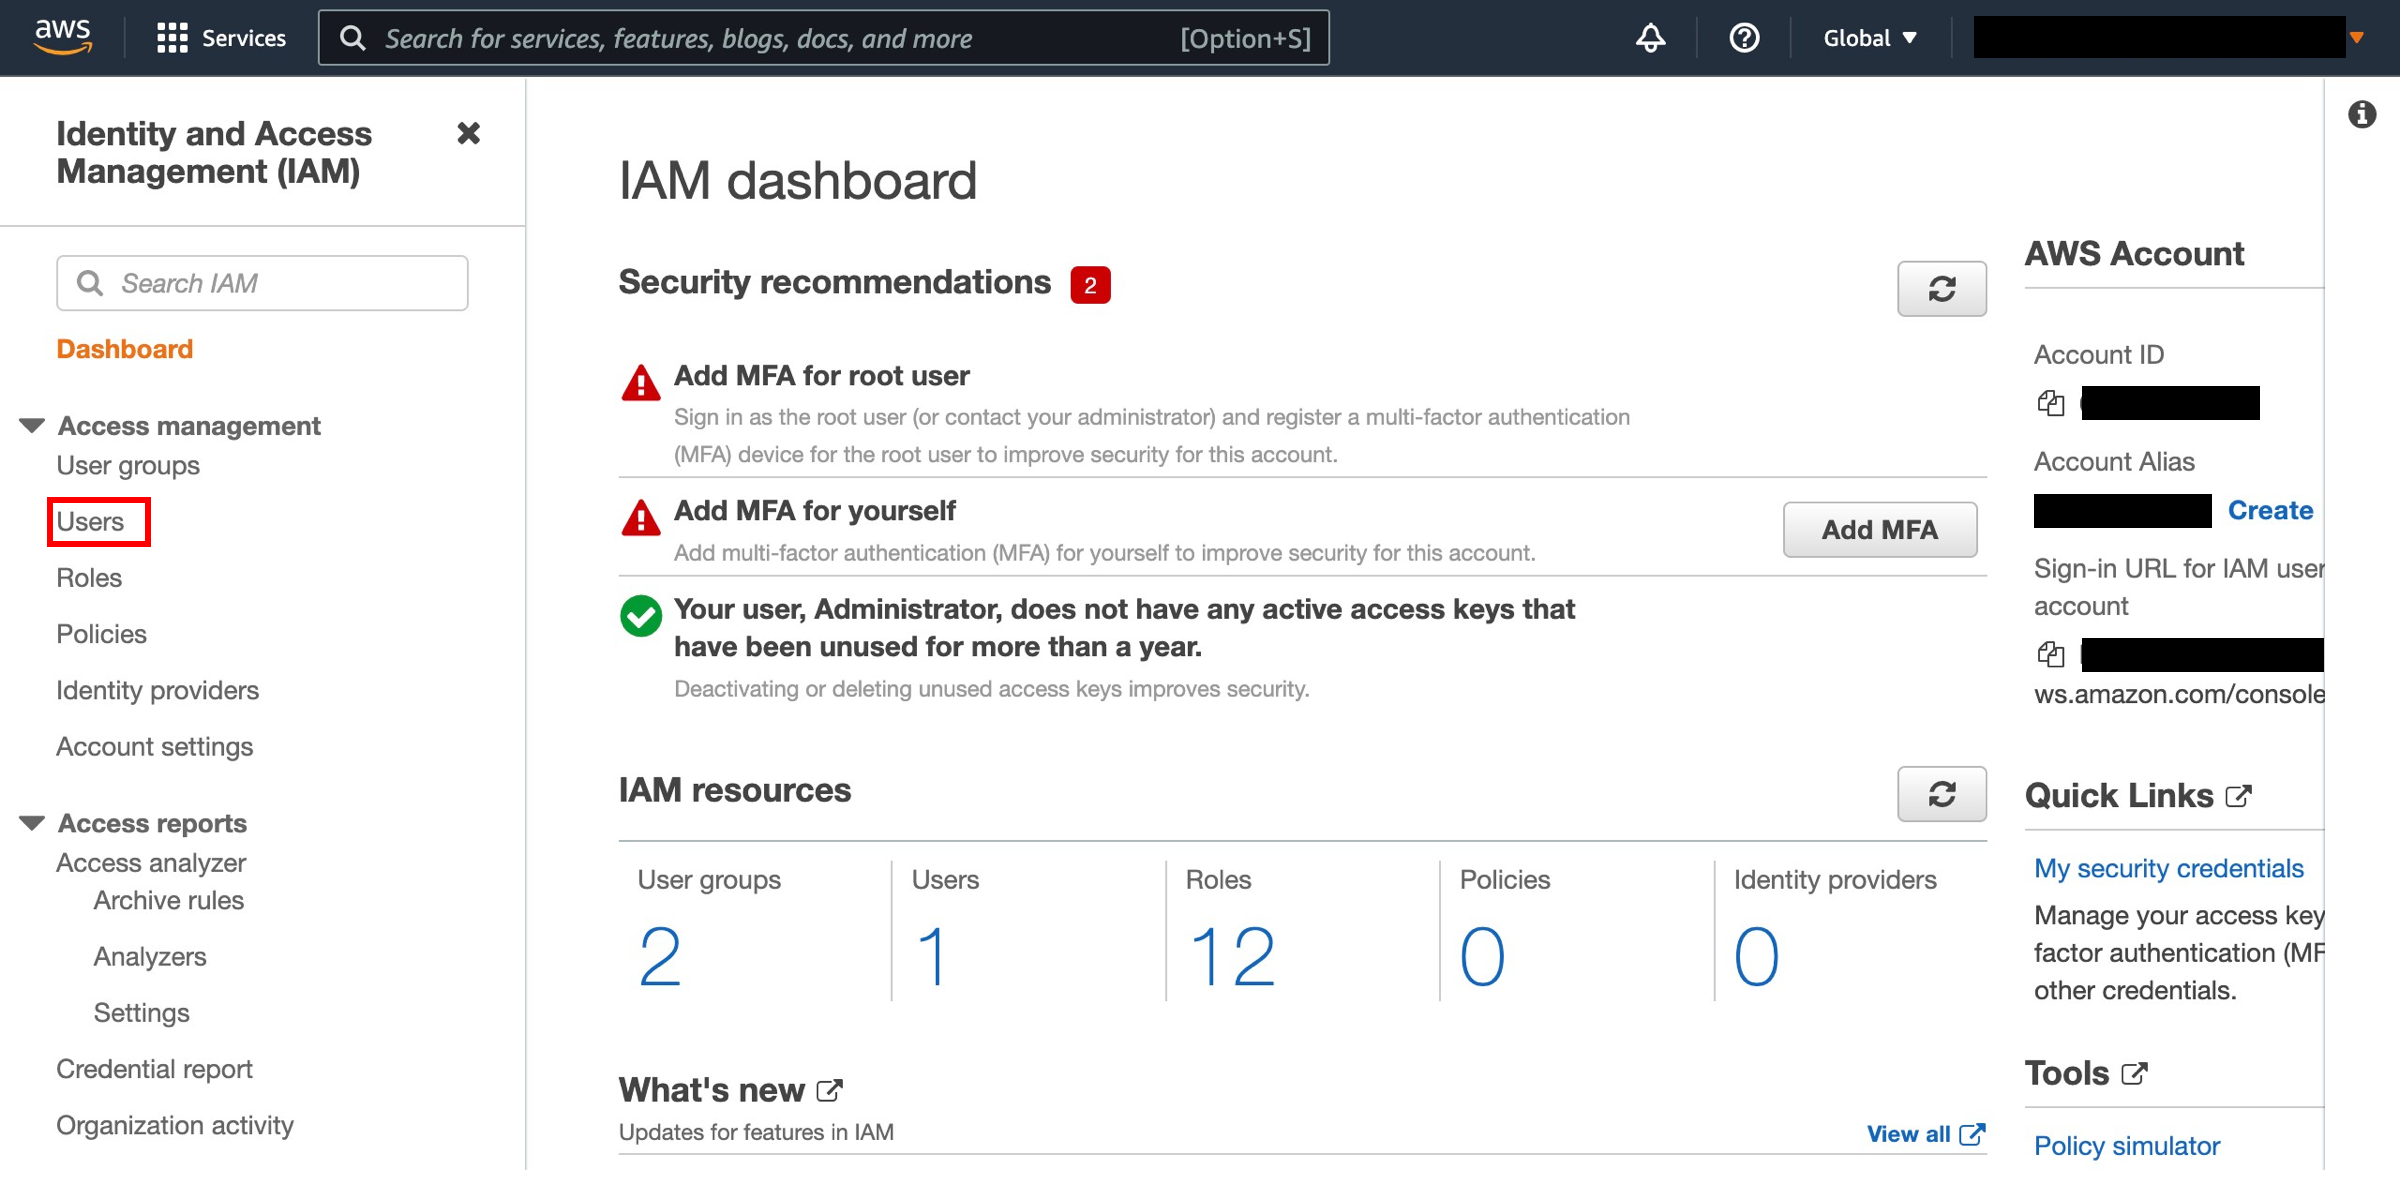
Choose Users
From the AWS Identity and Access Management dashboard, click on Users on the left side.
-
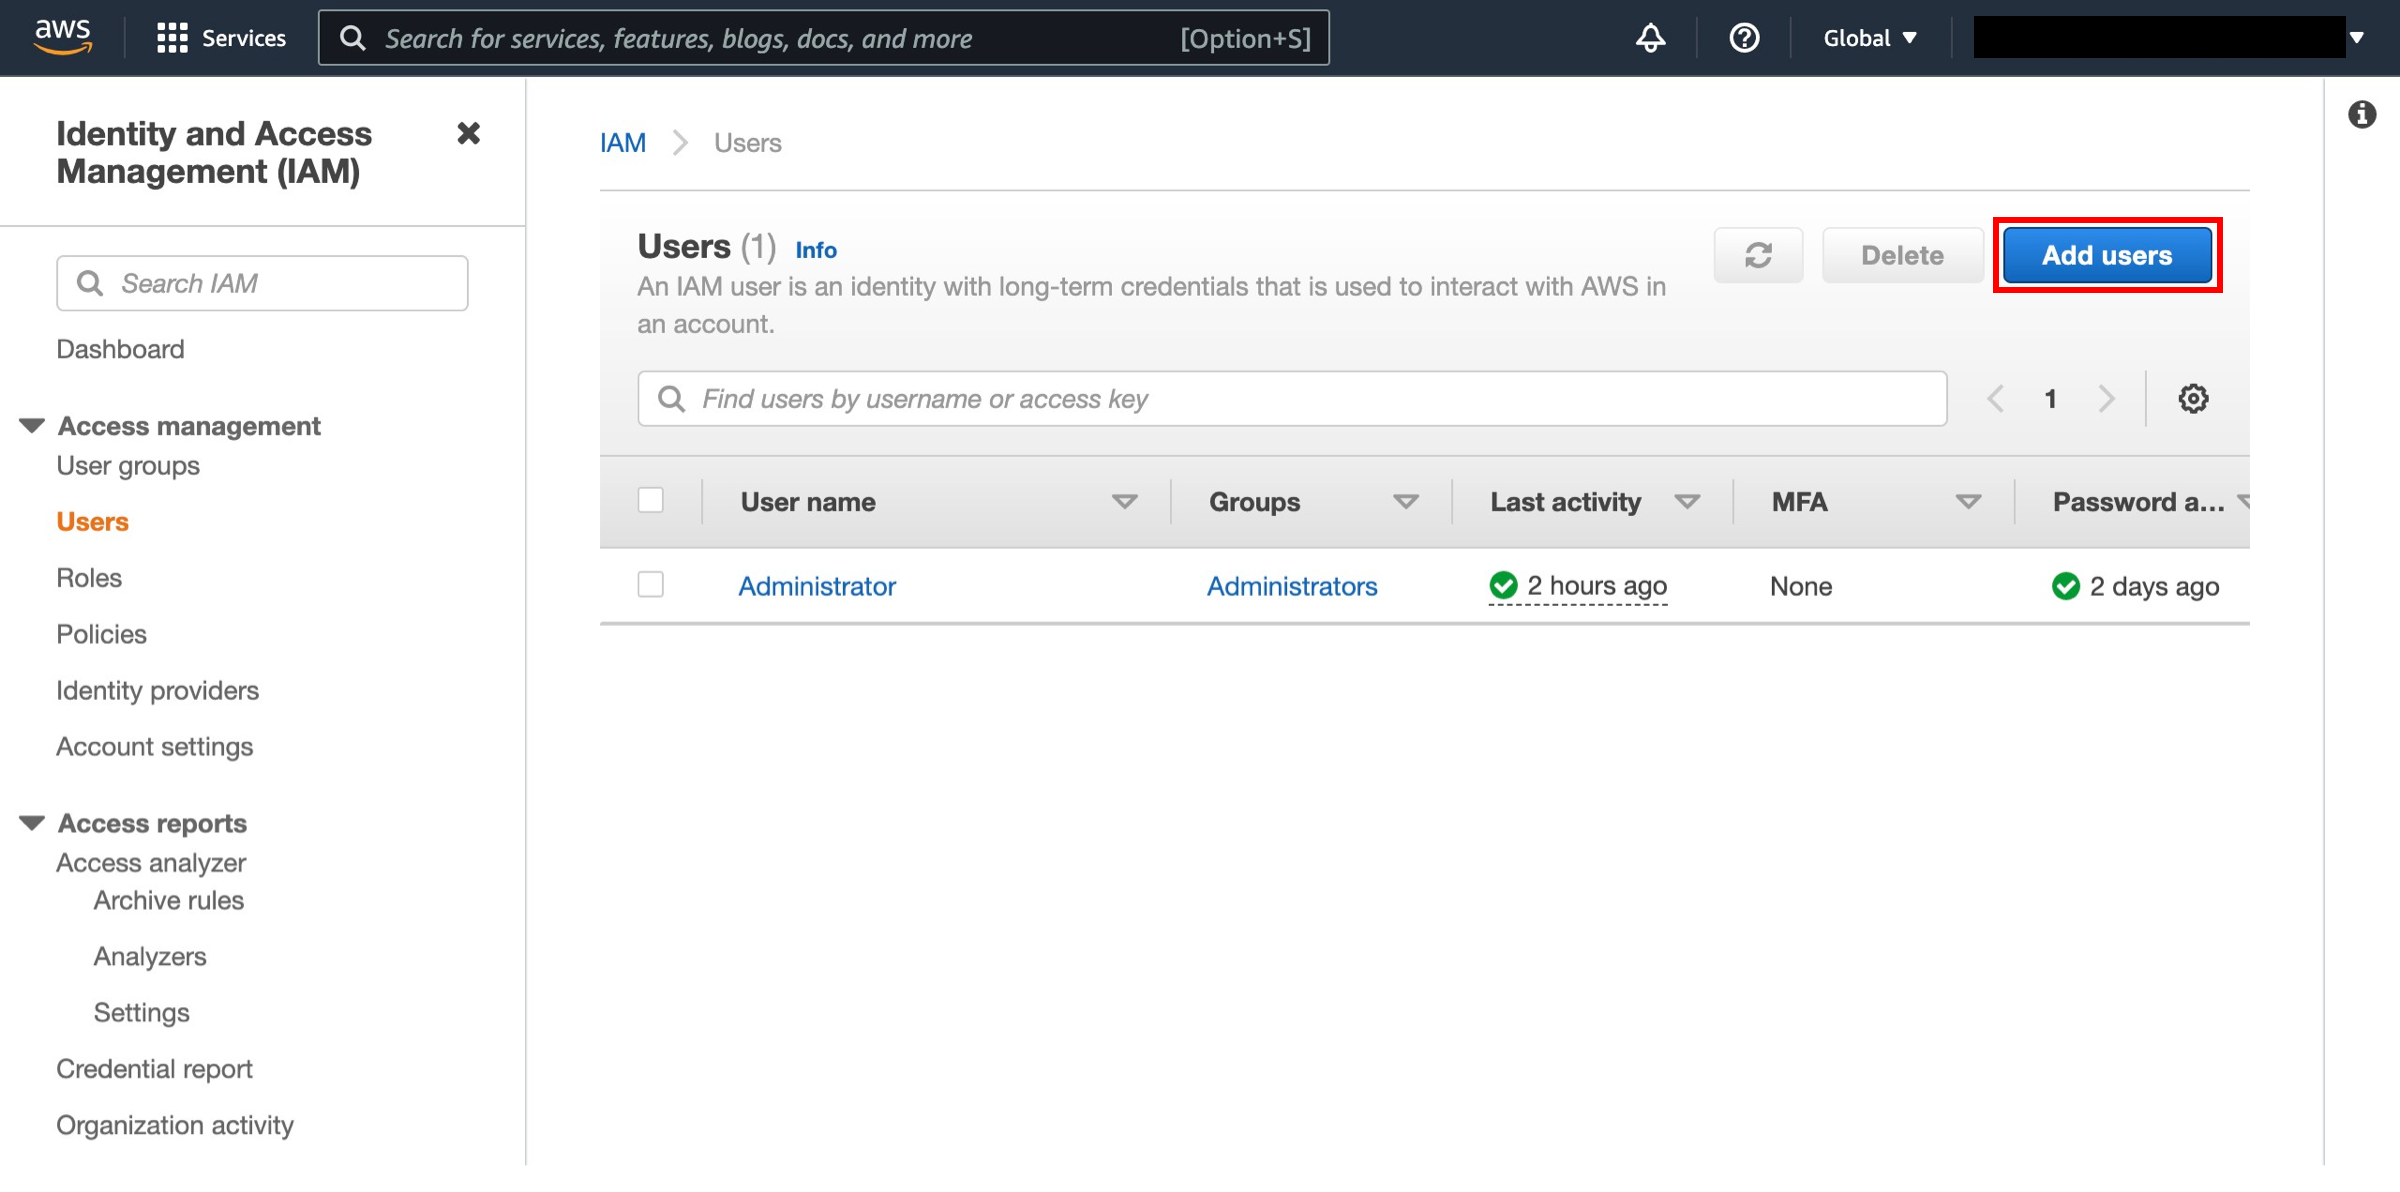
Create a user
Click the Add user button.
-
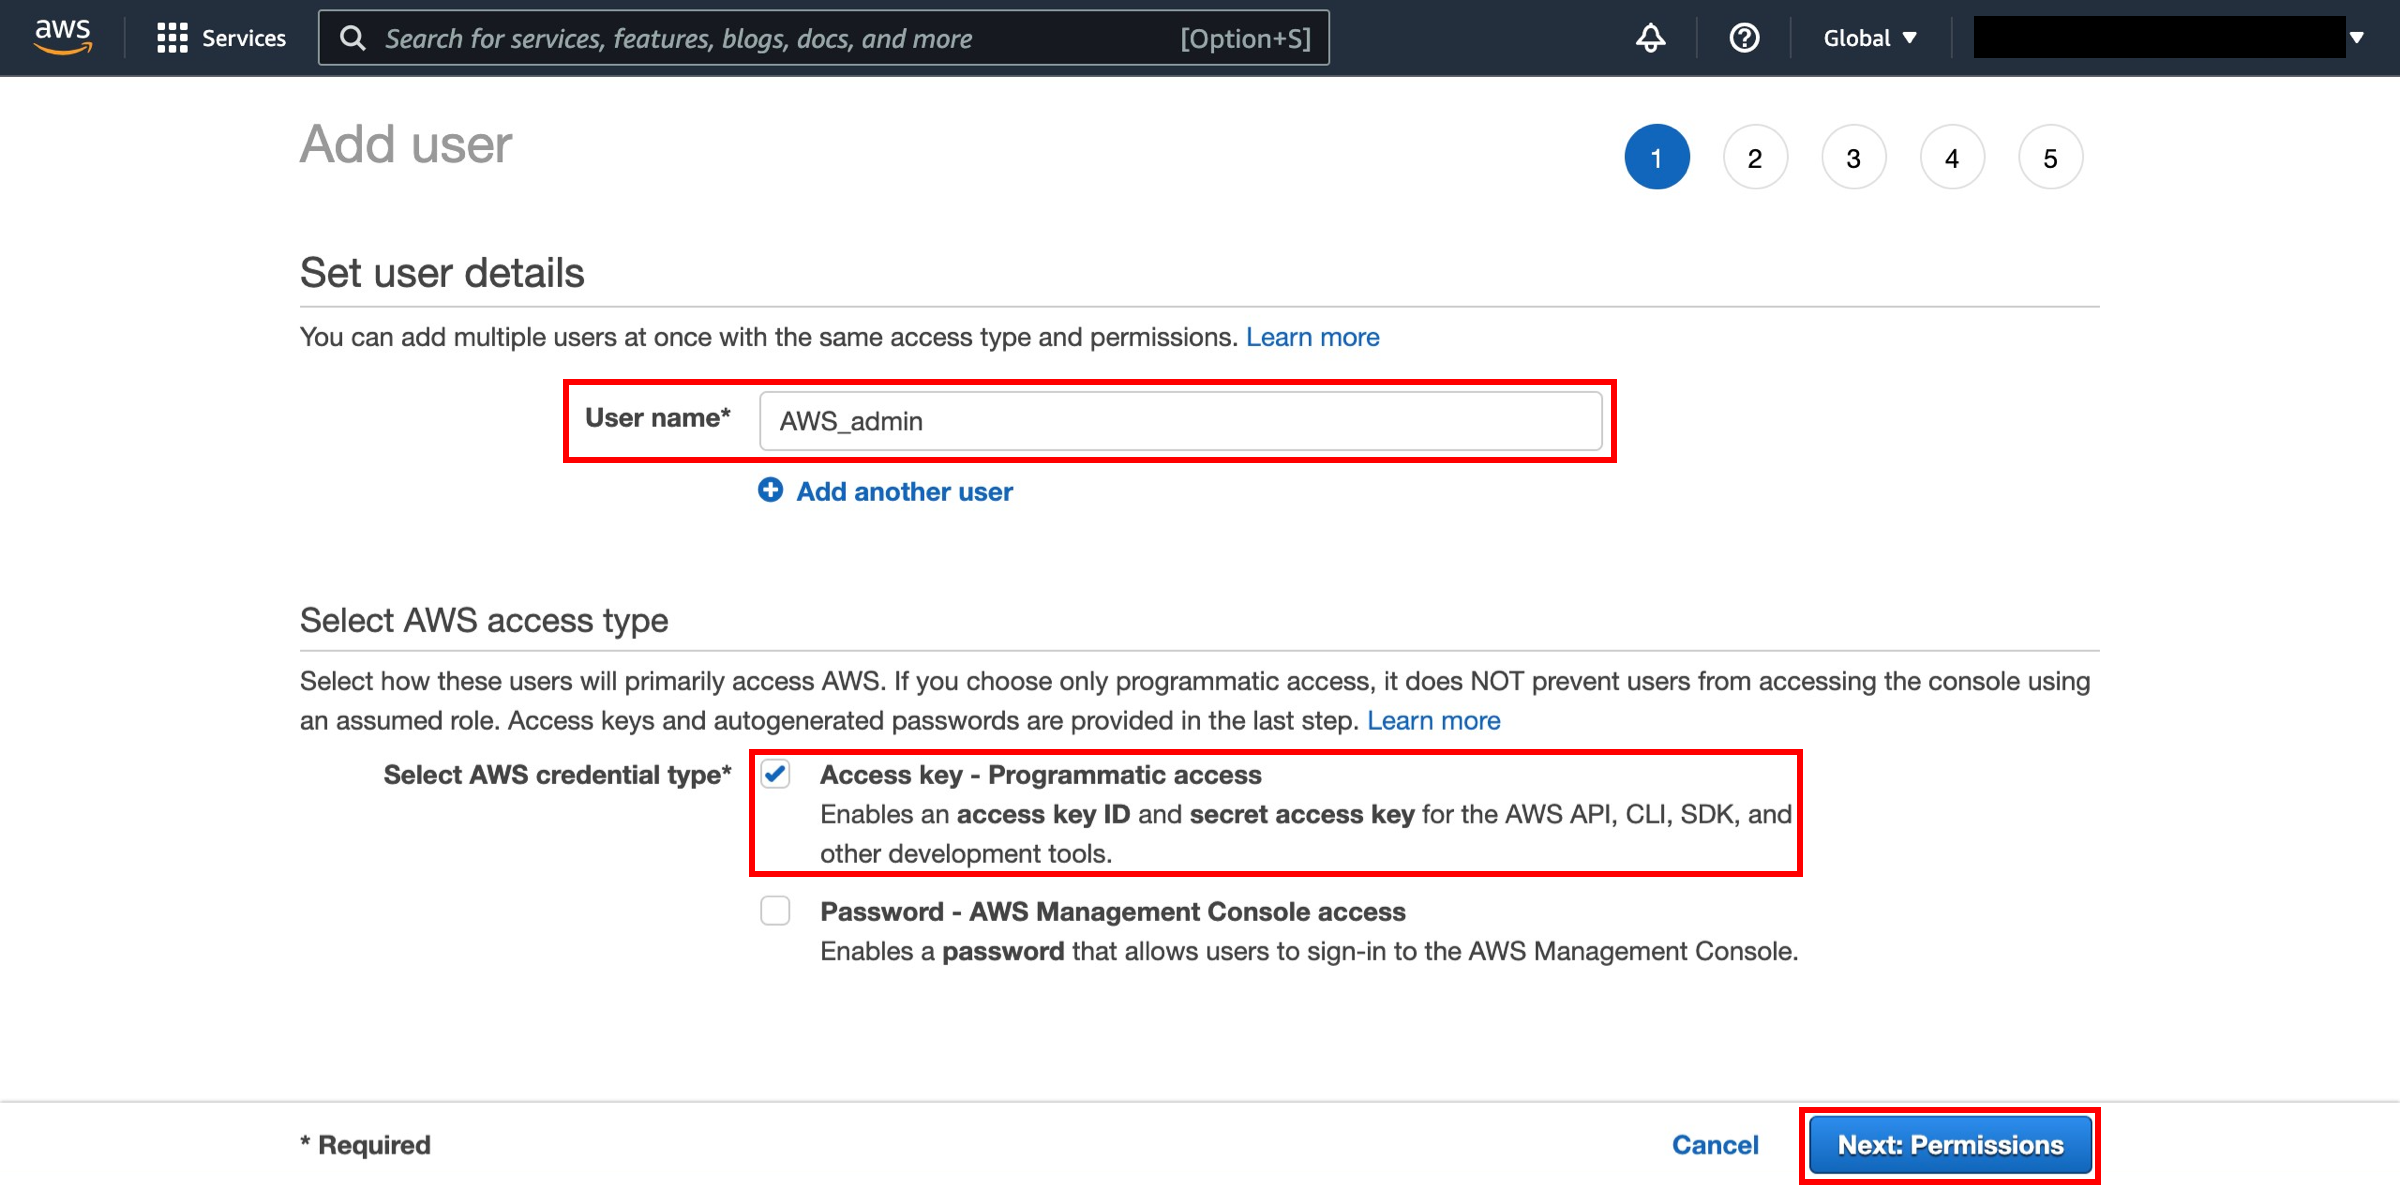
Specify user details
Enter a user name in the textbox next to User name: (we’ll use AWS_Admin for this example) and select Programmatic access in the Select AWS Access Type section. Click the Next: Permissions button.
-
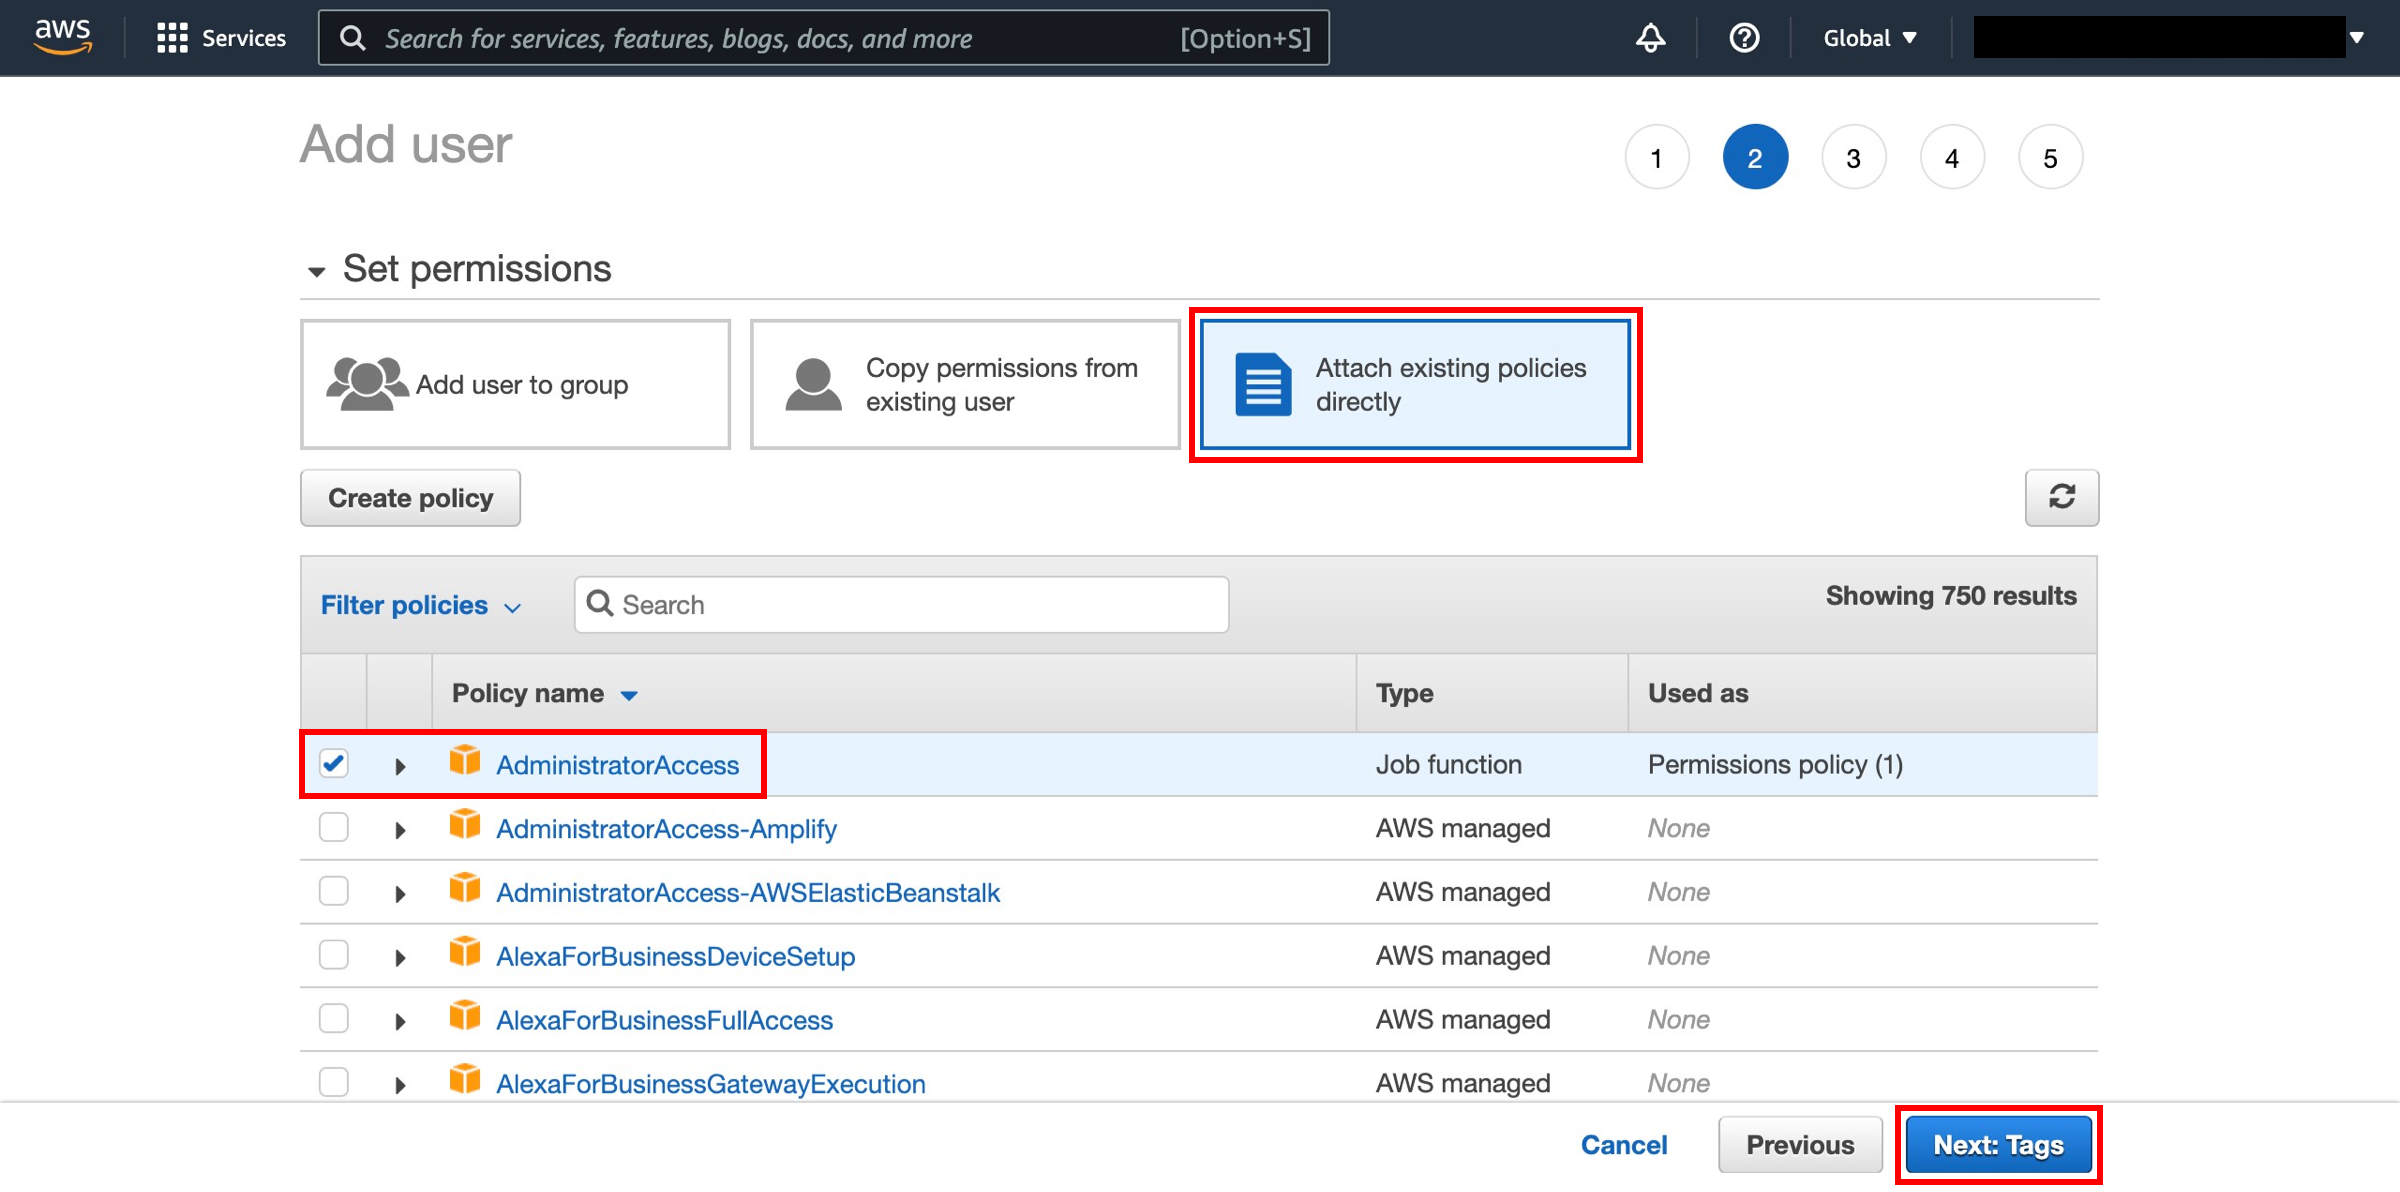
Add permissions
Click on Attach existing policies directly option. Select AdministratorAccess then click Next: Tags.
-
Add tags
IAM tags are key-value pairs you can add to your user. We’ll skip this step for this example. Click the Next: Review button.

-
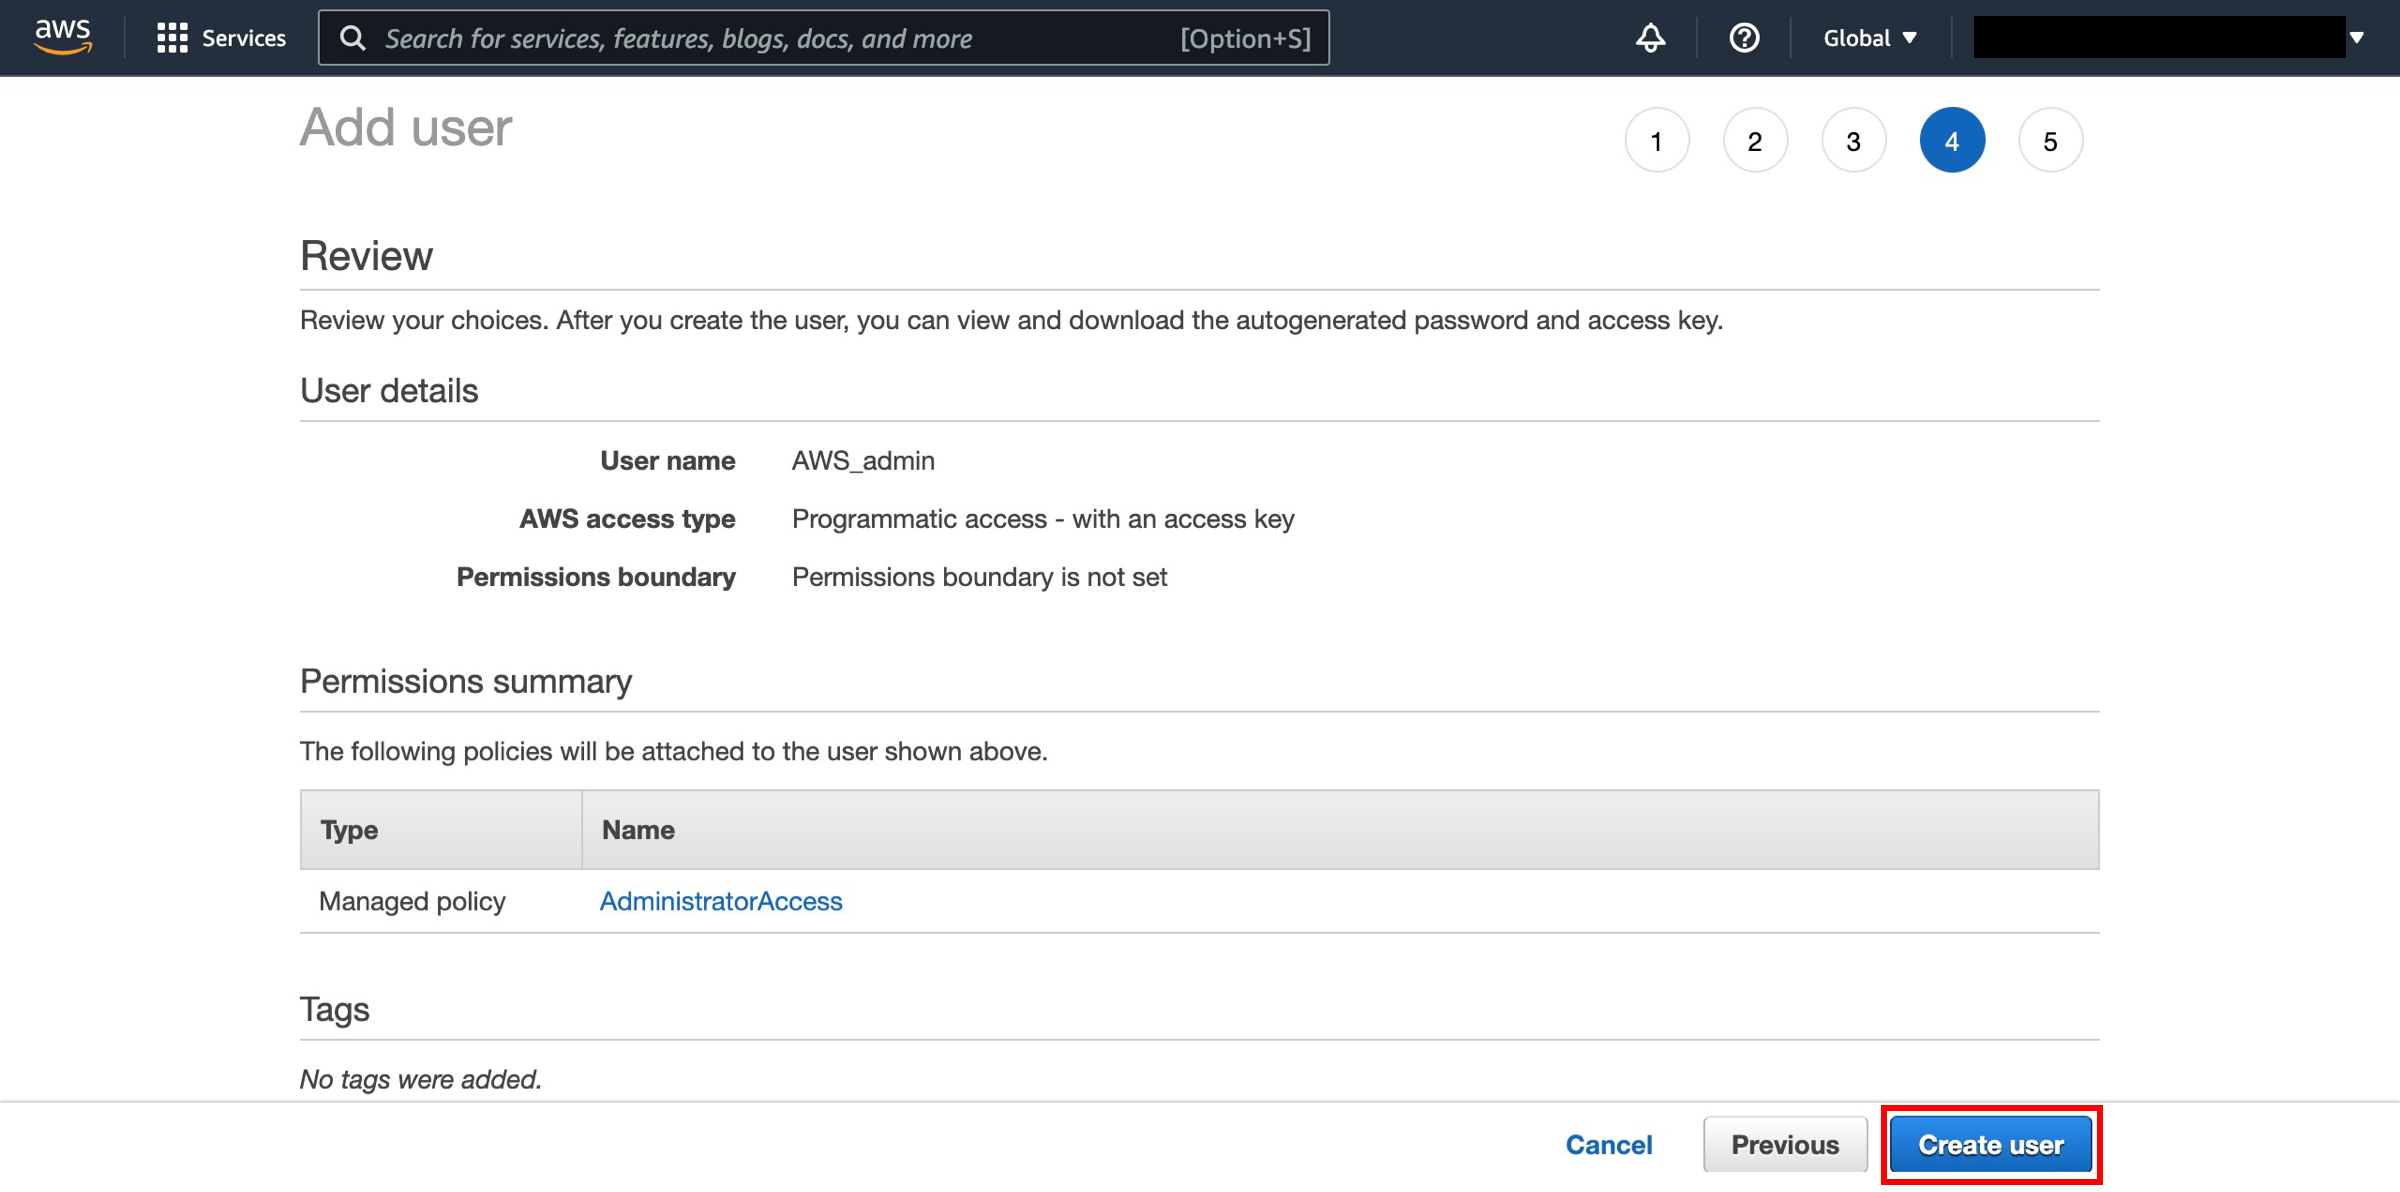
Review and create
Take this opportunity to review that all settings are correct. When you are ready, click on Create user.
-
Review and create
Click the Download Credentials button and save the
credentials.csvfile in a safe location (you’ll need this later in step 3) and then click the Close button.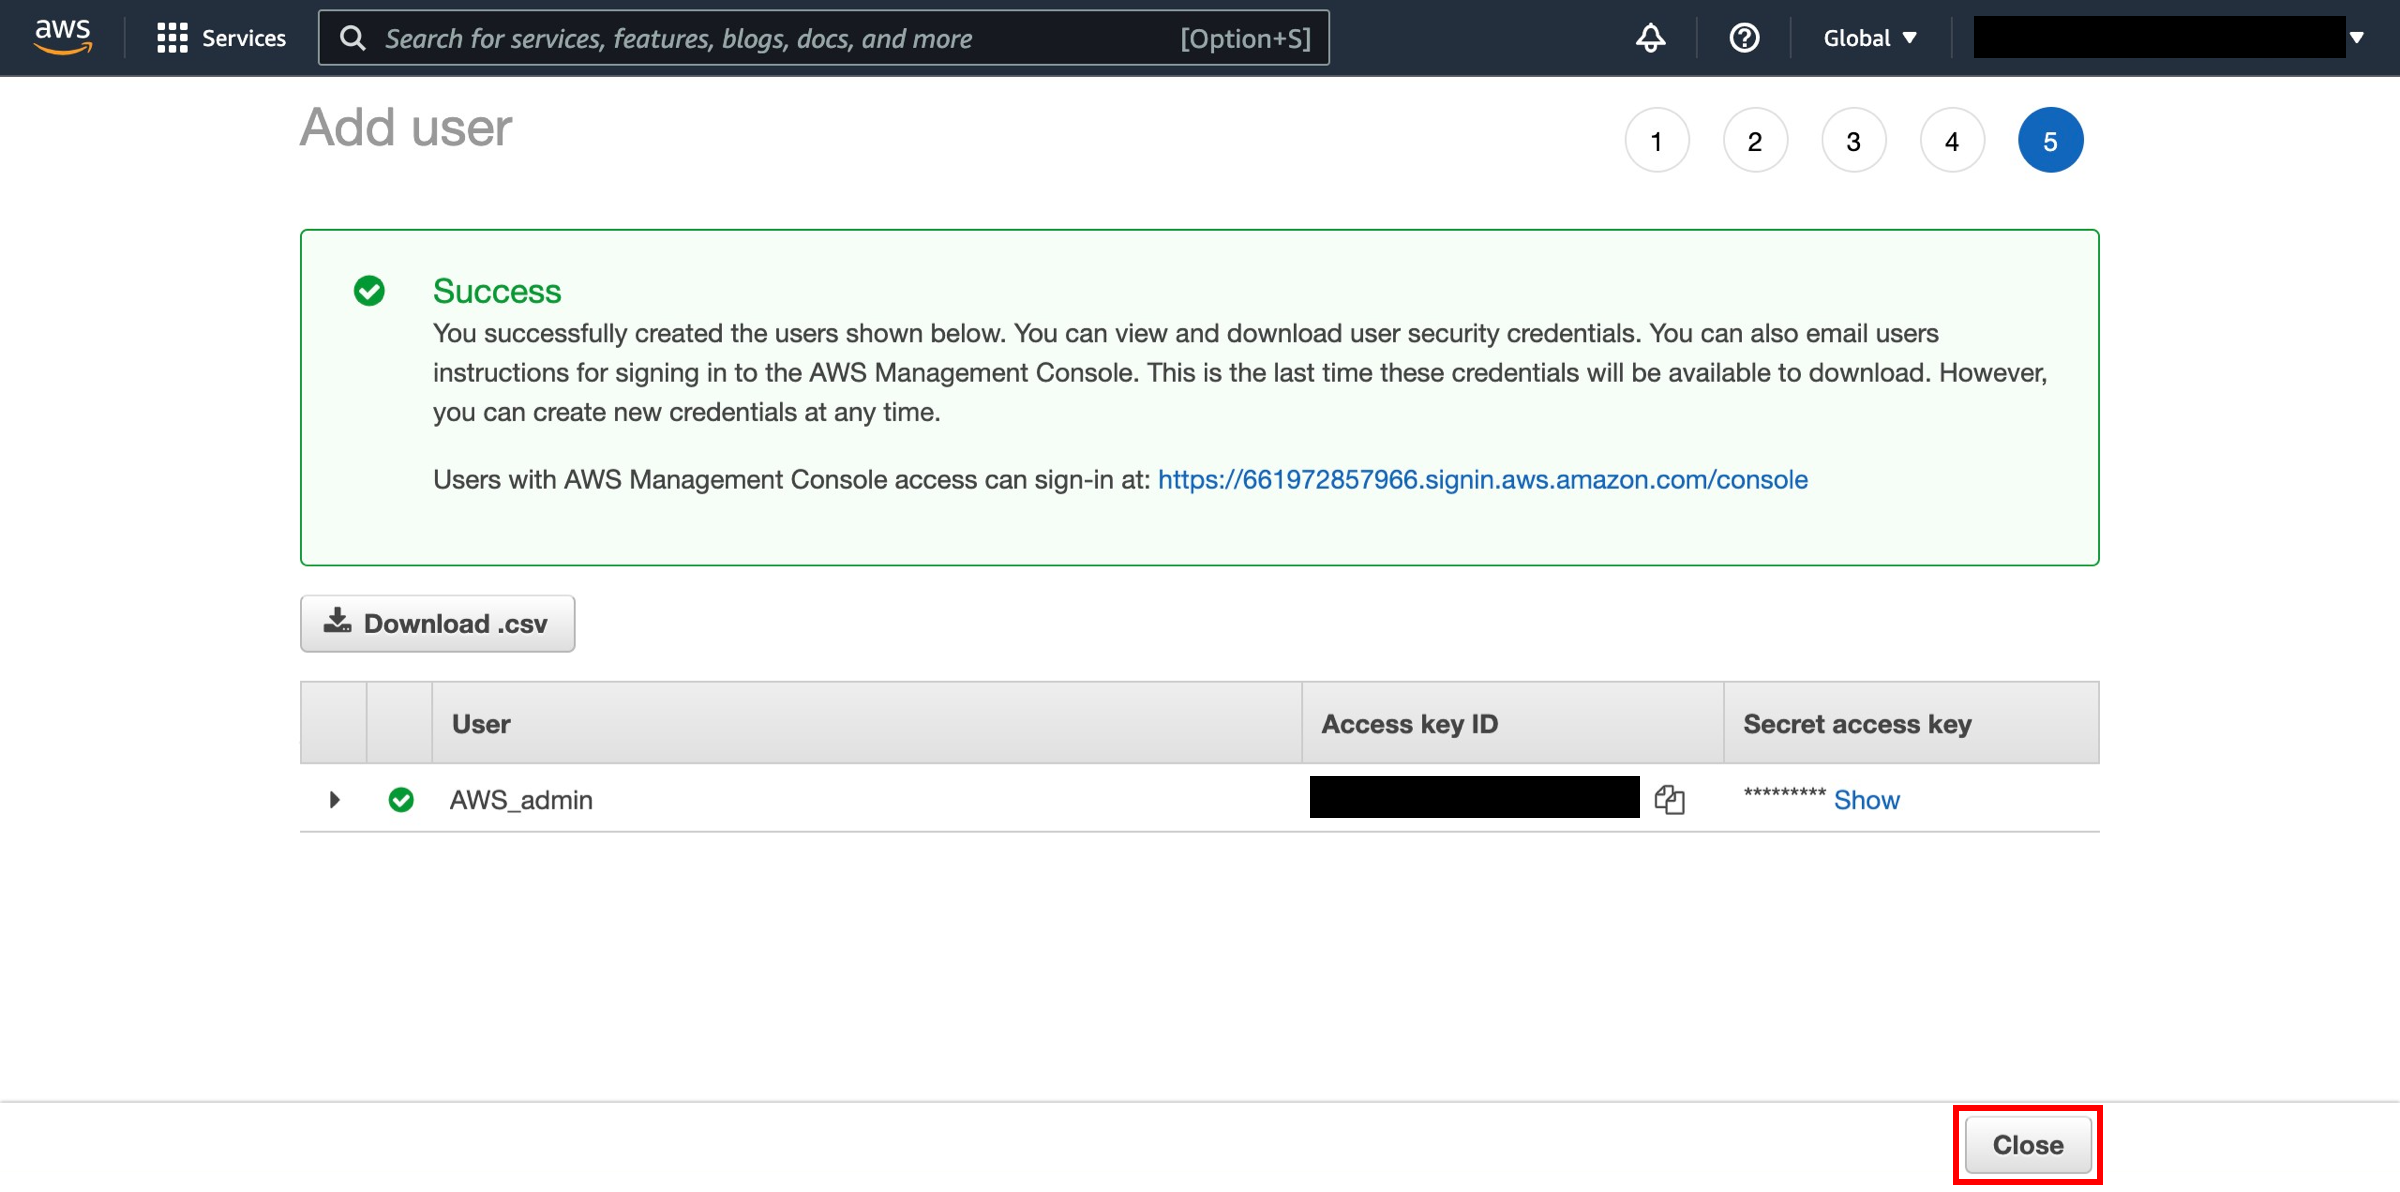
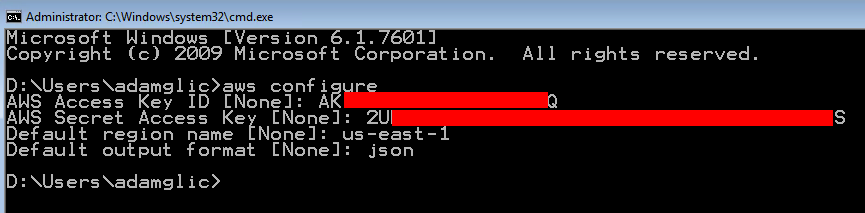
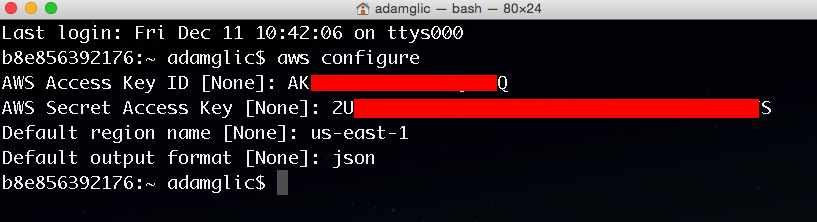
Now that you have your IAM user, you need to install the AWS CLI. For instructions, select the tab that corresponds to your operating system.
In this step, you will use the AWS CLI to create a bucket in Amazon S3 and copy a file to the bucket.
-
Create an S3 bucket
Creating a bucket is optional if you already have a bucket created that you want to use. To create a new bucket named my-first-backup-bucket type:
aws s3 mb s3://my-first-backup-bucketNote
Bucket naming has some restrictions; one of those restrictions is that bucket names must be globally unique (for example, two different AWS users can not have the same bucket name); because of this, if you try the command above you will get a BucketAlreadyExists error.

-
Upload files to Amazon S3
To upload the file my first backup.bak located in the local directory (
C:\users) to the S3 bucket my-first-backup-bucket, you would use the following command:aws s3 cp “C:\users\my first backup.bak” s3://my-first-backup-bucket/Or, use the original syntax if the filename contains no spaces.

-
Download files from Amazon S3
To download my-first-backup.bak from S3 to the local directory we would reverse the order of the commands as follows:
aws s3 cp s3://my-first-backup-bucket/my-first-backup.bak ./
-
Delete files from Amazon S3
To delete my-first-backup.bak from your my-first-backup-bucket bucket, use the following command:
aws s3 rm s3://my-first-backup-bucket/my-first-backup.bak
Conclusion
Congratulations! You have set up an IAM user, configured your machine for use with the AWS Command Line Interface, and learned how to create, copy, retrieve, and delete files from the cloud.
