翻訳は機械翻訳により提供されています。提供された翻訳内容と英語版の間で齟齬、不一致または矛盾がある場合、英語版が優先します。
設定プロバイダーを用いた機密情報の外部化
この例は、オープンソースの設定プロバイダーを使用して Amazon MSK Connect の機密情報を外部化する方法を示しています。設定プロバイダーを使用すると、コネクタまたはワーカー設定でプレーンテキストの代わりに変数を指定でき、コネクタで実行されているワーカーは実行時にこれらの変数を解決します。これにより、認証情報やその他のシークレットがプレーンテキストで保存されるのを防ぐことができます。この例の設定プロバイダーは、 AWS Secrets Manager、Amazon S3、および Systems Manager (SSM) からの設定パラメータの取得をサポートしています。ステップ 2 では、設定するサービスの機密情報の保存と取得をセットアップする方法を確認できます。
トピック
ステップ 1: カスタムプラグインを作成して S3 にアップロードする
カスタムプラグインを作成するには、ローカルマシンで次のコマンド msk-config-provider を実行して、コネクタと を含む zip ファイルを作成します。
ターミナルウィンドウと Debezium をコネクタとして使用してカスタムプラグインを作成するには
AWS CLI を使用して、 AWS S3 バケットへのアクセスを許可する認証情報を持つスーパーユーザーとしてコマンドを実行します。 AWS CLI のインストールとセットアップの詳細については、 ユーザーガイドの「 AWS CLI の開始方法AWS Command Line Interface 」を参照してください。Amazon S3 で AWS CLI を使用する方法については、「 ユーザーガイド」の「 CLI で Amazon S3 AWS を使用するAWS Command Line Interface 」を参照してください。
-
ターミナルウィンドウで、以下のコマンドを使用して
custom-pluginという名前のフォルダをワークスペースに作成します。mkdir custom-plugin && cd custom-plugin -
次のコマンドを使用して、Debezium サイト
から MySQL コネクタプラグインの最新の安定版リリースをダウンロードします。 wget https://repo1.maven.org/maven2/io/debezium/debezium-connectormysql/ 2.2.0.Final/debezium-connector-mysql-2.2.0.Final-plugin.tar.gz次のコマンドを使用して、ダウンロードした gzip ファイルを
custom-pluginフォルダに解凍します。tar xzf debezium-connector-mysql-2.2.0.Final-plugin.tar.gz -
次のコマンドを使用して、MSK 設定プロバイダーの zip ファイル
をダウンロードします。 wget https://github.com/aws-samples/msk-config-providers/releases/download/r0.1.0/msk-config-providers-0.1.0-with-dependencies.zip次のコマンドを使用して、ダウンロードした zip ファイルを
custom-pluginフォルダに解凍します。unzip msk-config-providers-0.1.0-with-dependencies.zip -
上記のステップで取得した MSK 設定プロバイダーとカスタムコネクタの内容を、
custom-plugin.zipという名前を付けた単一のファイルに圧縮します。zip -r ../custom-plugin.zip * -
このファイルを後で参照できるように S3 にアップロードします。
aws s3 cp ../custom-plugin.zip s3:<S3_URI_BUCKET_LOCATION> Amazon MSK コンソールの [MSK Connect] セクションで [カスタムプラグイン] を選択し、次に [カスタムプラグインの作成] を選択して s3:<
S3_URI_BUCKET_LOCATION> S3 バケットを参照し、アップロードしたカスタムプラグインの ZIP ファイルを選択します。
プラグイン名には
debezium-custom-pluginと入力します。オプションで説明を入力し、[カスタムプラグインの作成] を選択します。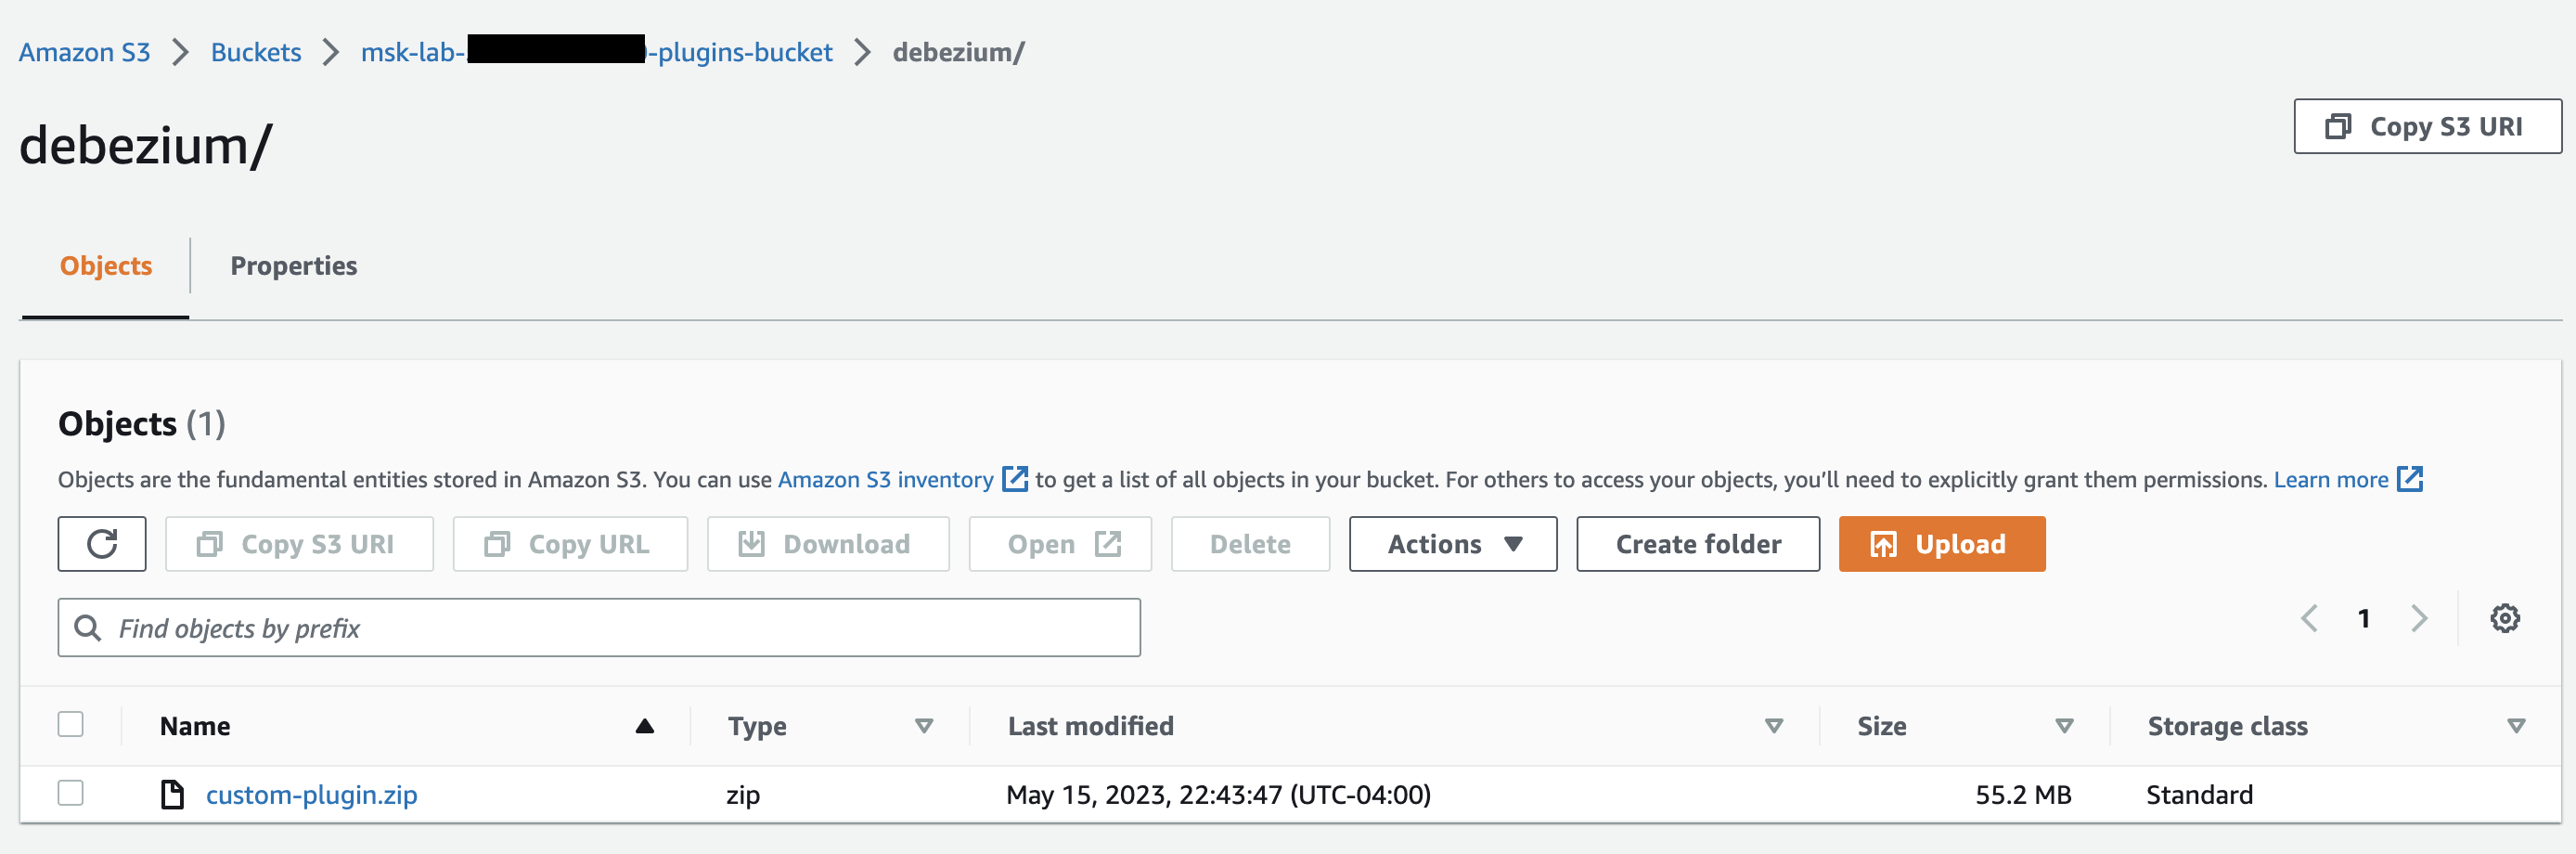
ステップ 2: さまざまなプロバイダーのパラメータとアクセス許可を設定する
次の 3 つのサービスでパラメータ値を設定できます。
Secrets Manager
Systems Manager Parameter Store
S3 - Simple Storage Service
以下のタブのいずれかを選択すると、そのサービスのパラメータと関連するアクセス許可の設定方法が表示されます。
ステップ 3: 設定プロバイダーに関する情報を使用してカスタムワーカー設定を作成する
-
[Amazon MSK Connect] セクションで [ワーカー設定] を選択します。
[ワーカー設定の作成] を選択します。
[ワーカー設定名] テキストボックスに
SourceDebeziumCustomConfigを入力します。説明はオプションです。必要なプロバイダーに基づいて関連する設定コードをコピーし、[ワーカー設定] テキストボックスに貼り付けます。
3 つのプロバイダーすべてのワーカー設定の例を以下に示します。
key.converter=org.apache.kafka.connect.storage.StringConverter key.converter.schemas.enable=false value.converter=org.apache.kafka.connect.json.JsonConverter value.converter.schemas.enable=false offset.storage.topic=offsets_my_debezium_source_connector # define names of config providers: config.providers=secretsmanager,ssm,s3import # provide implementation classes for each provider: config.providers.secretsmanager.class = com.amazonaws.kafka.config.providers.SecretsManagerConfigProvider config.providers.ssm.class = com.amazonaws.kafka.config.providers.SsmParamStoreConfigProvider config.providers.s3import.class = com.amazonaws.kafka.config.providers.S3ImportConfigProvider # configure a config provider (if it needs additional initialization), for example you can provide a region where the secrets or parameters are located: config.providers.secretsmanager.param.region = us-east-1 config.providers.ssm.param.region = us-east-1[ワーカー設定の作成] をクリックします。
ステップ 4: コネクタを作成する
「Create a new connector」の手順に従って新しいコネクタを作成します。
ステップ 1: カスタムプラグインを作成して S3 にアップロードする で S3 バケットにアップロードした
custom-plugin.zipファイルをカスタムプラグインのソースとして選択します。必要なプロバイダーに基づいて関連する設定コードをコピーし、[コネクタの設定] フィールドに貼り付けます。
3 つのプロバイダーすべてのコネクタ設定の例を以下に示します。
#Example implementation for parameter store variable schema.history.internal.kafka.bootstrap.servers=${ssm::MSKBootstrapServerAddress} #Example implementation for secrets manager variable database.hostname=${secretsmanager:MSKAuroraDBCredentials:username} database.password=${secretsmanager:MSKAuroraDBCredentials:password} #Example implementation for Amazon S3 file/object database.ssl.truststore.location = ${s3import:us-west-2:my_cert_bucket/path/to/trustore_unique_filename.jks}「カスタム設定を使用する」を選択し、「ワーカー設定」ドロップダウンSourceDebeziumCustomConfigから選択します。
「Create connector」の残りの手順に従います。
考慮事項
Amazon MSK Connect で MSK 設定プロバイダーを使用する際には、次の点を考慮してください。
設定プロバイダーを使用するときは、IAM サービス実行ロールに適切なアクセス許可を割り当てます。
ワーカー設定で設定プロバイダーを定義し、コネクタ設定でその実装を定義します。
-
プラグインで機密設定値をシークレットとして定義していない場合、機密設定値がコネクタログに表示される可能性があります。Kafka Connect は、未定義の設定値を他のプレーンテキスト値と同じように扱います。詳細については、「シークレットがコネクタログに表示されないようにする」を参照してください。
-
デフォルトでは、コネクタが設定プロバイダーを使用するときに、MSK Connect はコネクタを頻繁に再起動します。この再起動動作を無効にするには、コネクタ設定で
config.action.reloadの値をnoneに設定します。
